Tears of the Kingdom’s Shrines are excellent, pushing players with devious puzzles that bend the mind and often break Link’s bones. However, the combat Shrines are probably the easiest, meaning they can be overshadowed by the more complex Shrines around Hyrule. Yamiyo Shrine is no pushover, though, subverting expectations and making players battle the game’s control scheme, fighting against the complex mechanics they’ve learned in Hyrule. This guide explains how to find and complete Yamiyo Shrine so no one is stuck for longer than necessary.
Related: Tears of the Kingdom – Where to Farm Golden Apples & Best Recipes
Where to Find Yamiyo Shrine in TotK
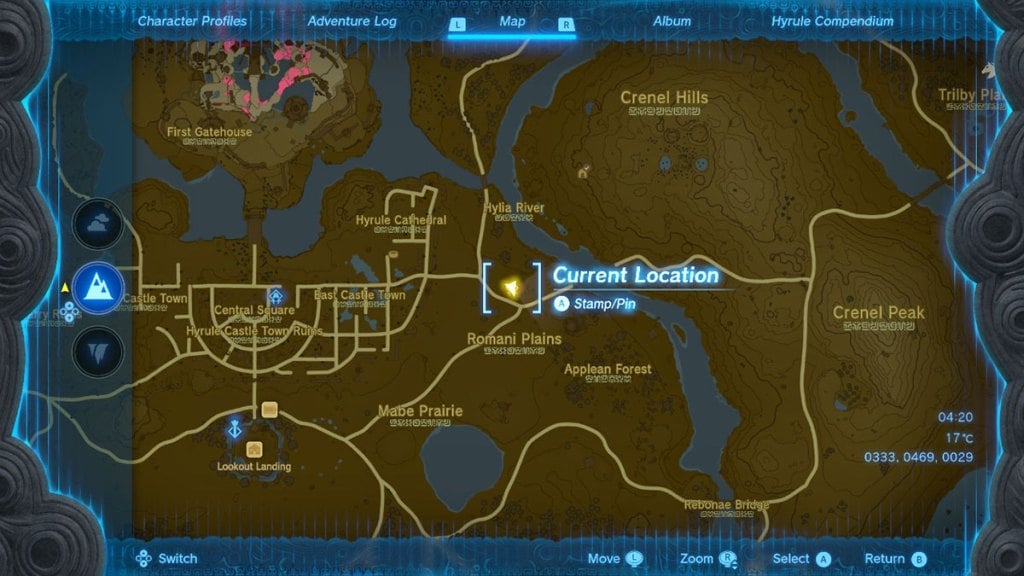
Players can find Yamiyo Shrine to the east of Hyrule Castle Town Ruins in TotK at map coordinates 0333, 0469, 0029. The Shrine is on a crossroads above the name Romani Plains on the Hyrule map. The easiest way to get there is to fast travel to the Central Castle Town Ruins and run east. When we first ran for this Shrine, we encountered a Battle Talus but quickly defeated it because we had some decent gear.
How to Complete Yamiyo Shrine in Tears of the Kingdom
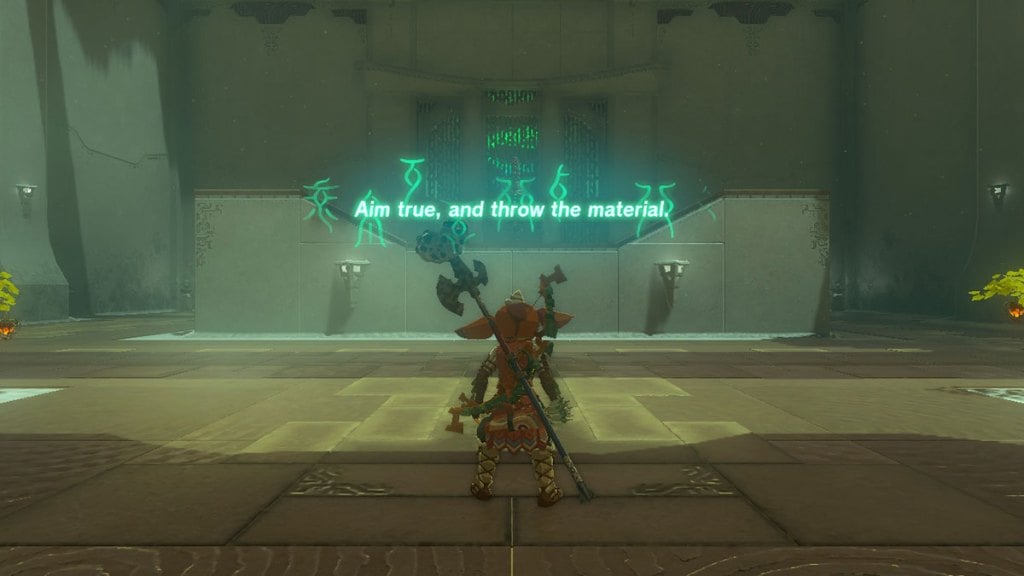
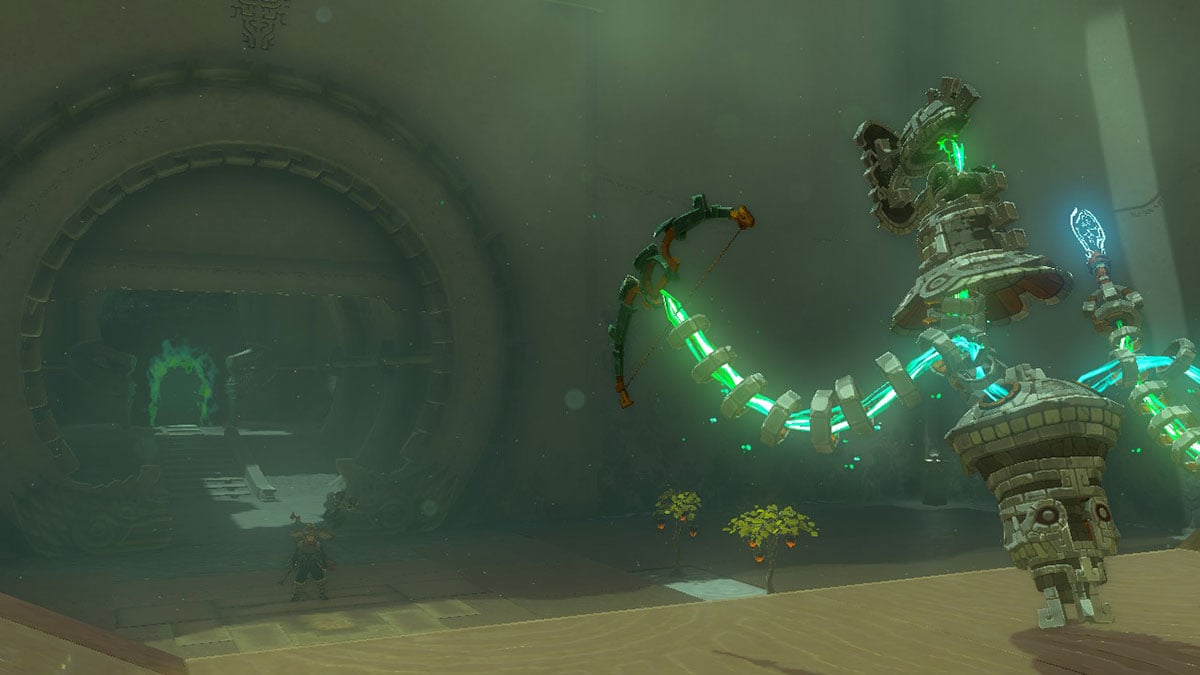
To complete Yamiyo Shrine, Link needs to pick the Fire Fruit from the trees within the Shrine and throw them at the Construct enemy. Tears of the Kingdom provides helpful instructions informing players to press the Up Direction Button to select the Fire Fruit, then to press the R Shoulder button to throw it. This doesn’t work quite as intended, though. We struggled for longer than we want to admit trying to figure out how to get Link to do what we wanted. In the end, the thing that worked was unequipping all weapons, shields, and bows, selecting the Fire Fruit with the Up Direction Button, then hammering the R button immediately while locking on to the Construct enemy. It didn’t feel right in the moment, but it worked.
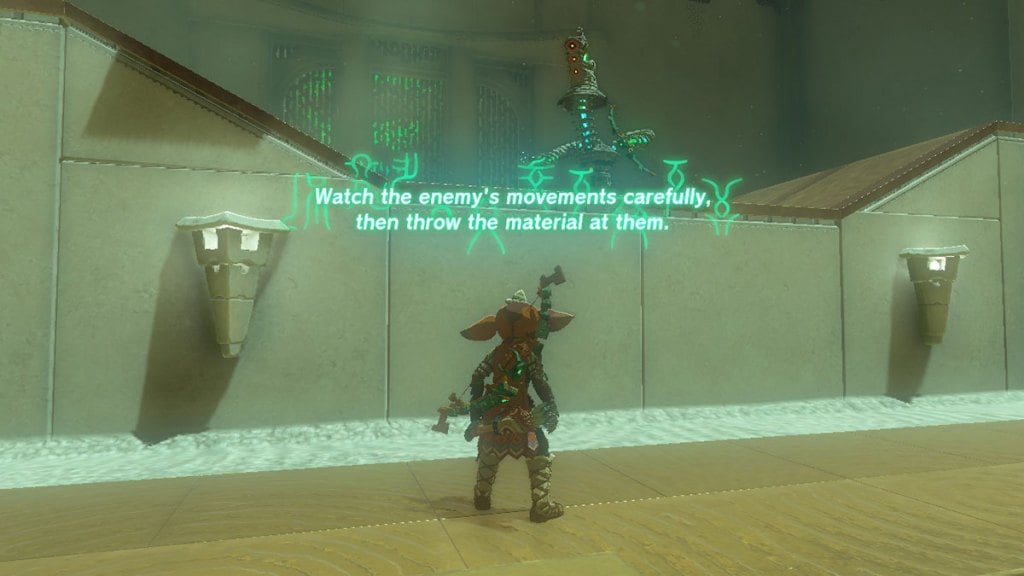
The second part of the challenge requires players to wait until the Construct enemy stops moving before throwing Fire Fruit at it again. Repeat the process outlined above, and the Shrine’s exit will open. Make sure Link collects his hard-earned loot from the chest at the end before he goes. To us, no reward made up for the frustration of figuring out the precise button presses needed to complete this Shrine, and we’re trying to put the whole experience behind us.
And that’s it! Check out our other The Legend of Zelda: Tears of the Kingdom guides below to help with crafting, exploring, and tackling challenges across Hyrule.
Tears of the Kingdom Complete Guide | Every Ability & How To Unlock Them | How to Get The Paraglider | How to Get & Use The Travel Medallion | All Armor Locations & Where to Find Them | All Construct Materials & Where to Find Them | All Shrine Locations & Strategies | How to Get More Heart Containers




Published: May 20, 2023 08:56 am