Some Tears of the Kingdom’s Shrines are easier to find than others. They can lie next to a road or atop a mountain in plain sight. Some other shrines lie hidden in caves or behind complex crystal retrieval puzzles.
Luckily, most shrines that are hard to find actually give up a chest and a Light of Blessing as soon as you walk in — a much-appreciated compensation for going through the trouble of reaching the shrine in the first place. However, Otak Shrine breaks all manner of rules by being hard to find and hard to beat.
How to Reach Otak Shrine in Tears of the Kingdom
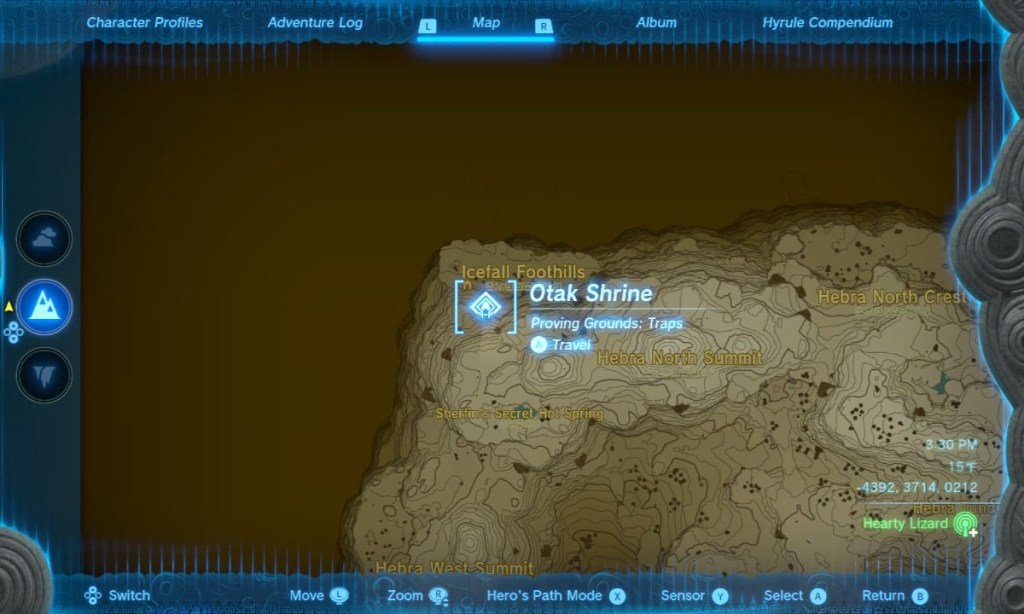
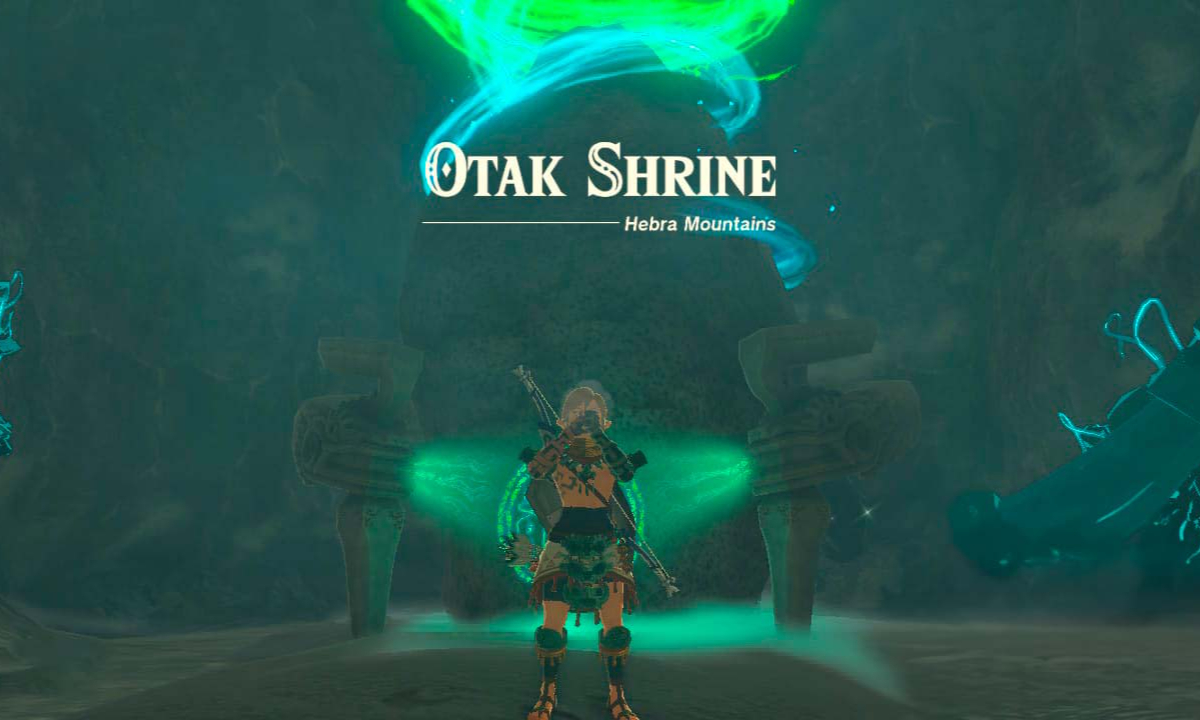
Otak Shrine is located in the Northwest corner of the map, up in the cold, snowy Hebra Region. The fastest way to reach it is to teleport to the Hebra Mountain Skyview Tower, use the trampoline, and start gliding west. It’s still a long hike, so pack some cold-resistant elixirs or warm clothes. Don’t forget to bring some fire fruit or chuchus to break into the shrine’s location.
Related: Tears of the Kingdom – All Shrine Locations, Maps & Strategies
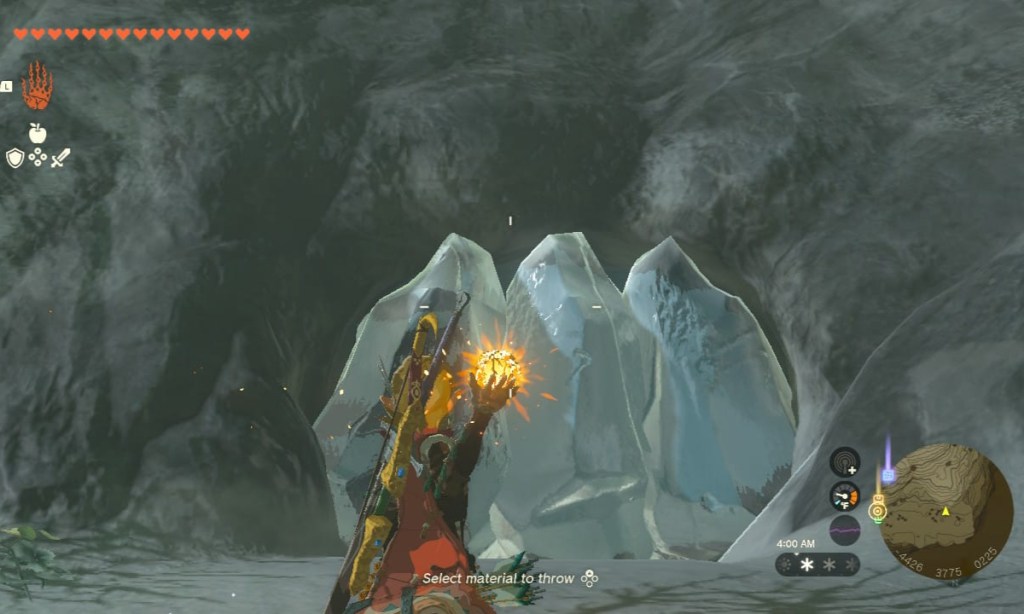
To find Otak Shrine, locate the entrance to the Icefall Foothill Cave, which is covered in ice. The entrance will be cleared with fire fruit, fire chuchus, or even by throwing a torch repeatedly at the ice spikes.
Once inside, find a second ice-covered door that leads to the next area. Repeat the same process to take this wall down.
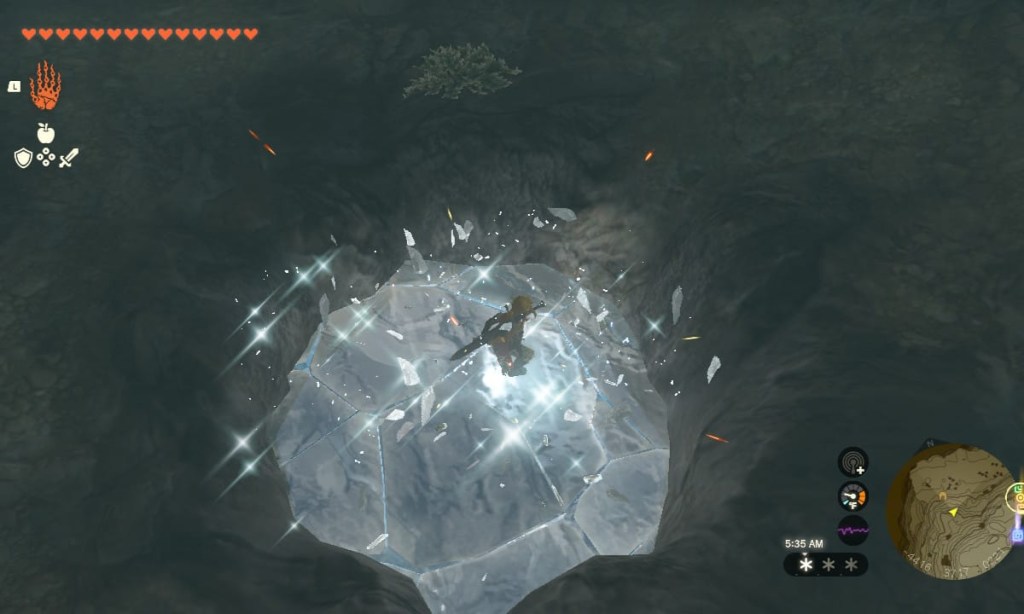
In the next room, hop on the ice layer covering a hole three times to drop down to an area full of blue, black, and even silver Bokoblins. Take them down to have a clearer view of the surroundings.
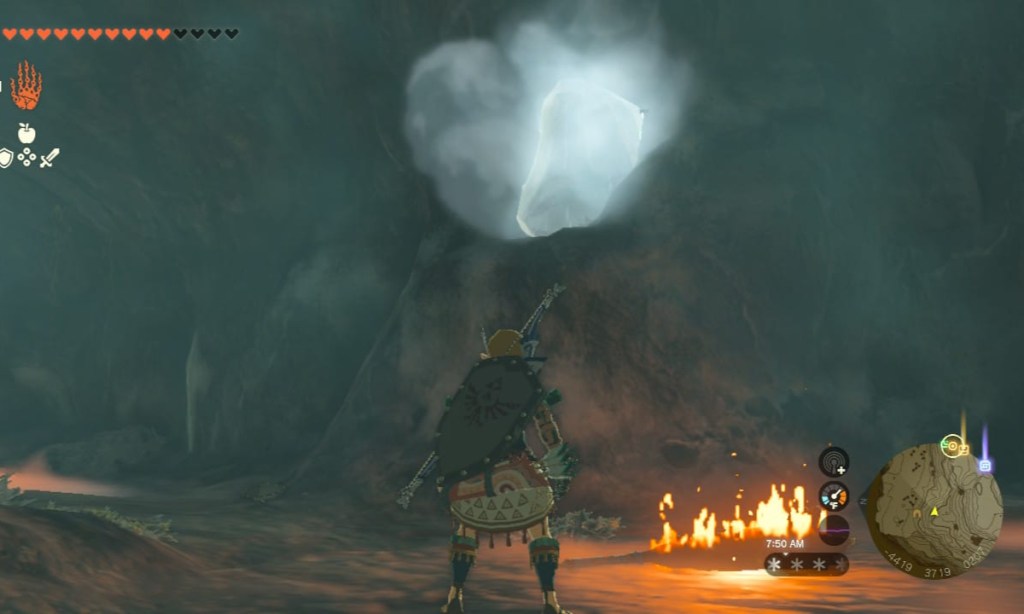
A suspiciously positioned ice spike can be cleared on this area’s wall. Once the ice is out, climb up the hole to find Otak Shrine.
How to Solve Otak Shrine in Tears of the Kingdom
Otak Shrine tests the player’s ability to defeat enemies with little to no weaponry. Around 8 Zonai Soldiers will be in the room, each waiting in every corner. The goal is to take them down to recover your gear, grab the chest, and get one more Light of Blessing.
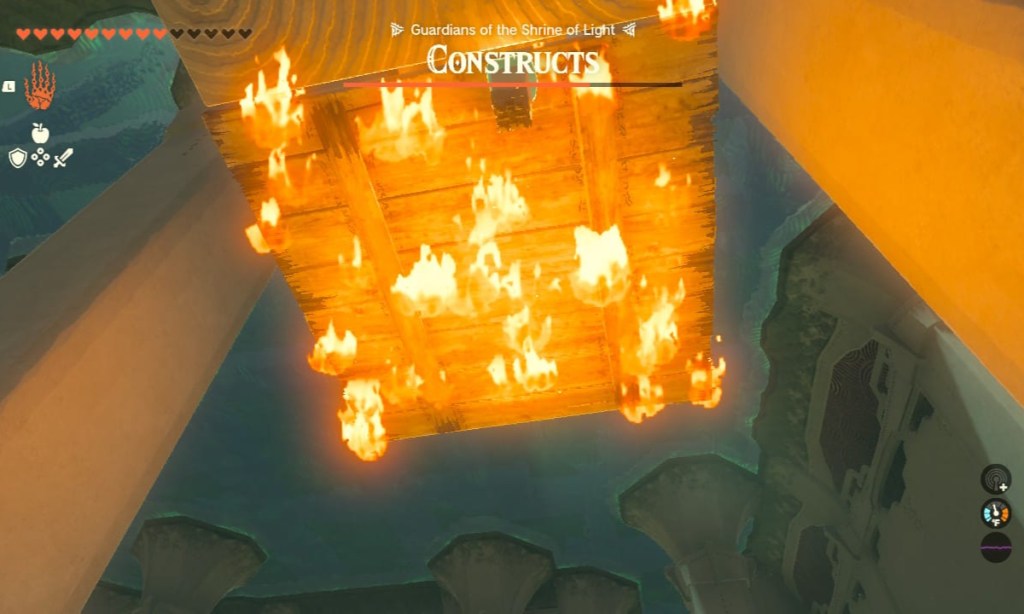
The game does provide minimal gear: 10 arrows and two low-level weapons. You can use these materials to kill the first Soldier Construct and steal its gear, which will be at least level 8. Then, approach each of the remaining Construct Soldiers individually and take them down.
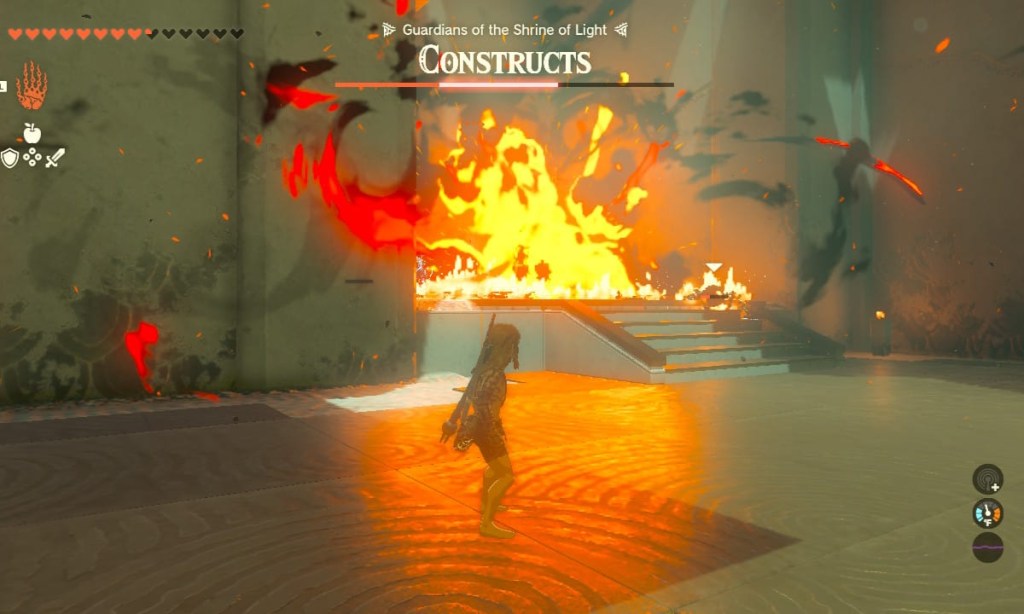
Taking advantage of the explosive and fiery surroundings is a much more fun approach. Many flammable objects are around, like leaves, explosive barrels, and planks with rocks on top. You can take down at least half their health by luring the Soldier Constructs to these traps and blowing them up in their faces. This way, they’ll be much weaker in a melee fight.
Once all Soldier Constructs have been taken down, you’ll recover your equipment, and the final gate will open. Time to grab the Zonai Bow inside the chest and ask the statues for a Light of Blessing.
And that’s it! Check out our other The Legend of Zelda: Tears of the Kingdom guides below to help with crafting, exploring, and tackling challenges across Hyrule.
Tears of the Kingdom Complete Guide | Every Ability & How To Unlock Them | How to Get The Paraglider | How to Get & Use The Travel Medallion | All Armor Locations & Where to Find Them | All Construct Materials & Where to Find Them | All Shrine Locations & Strategies | How to Get More Heart Containers



Published: Jun 13, 2023 02:22 pm