There are so many wild and wacky side quests in Tears of the Kingdom, all of which add to the overall feel of the world of Hyrule. They make it feel lived in and give everything in it a sense of purpose. Eldin’s Colossal Fossil is a sight-seeing side quest in TotK that takes Link to a part of the world he’d likely never normally visit. This guide explains where to find and how to complete the quest because it’s more complex than it looks, helping all players appreciate what it adds to Hyrule.
Related: Tears of the Kingdom – How to Find Malanya The Horse God
How to Complete Eldin’s Colossal Fossil in Tears of the Kingdom
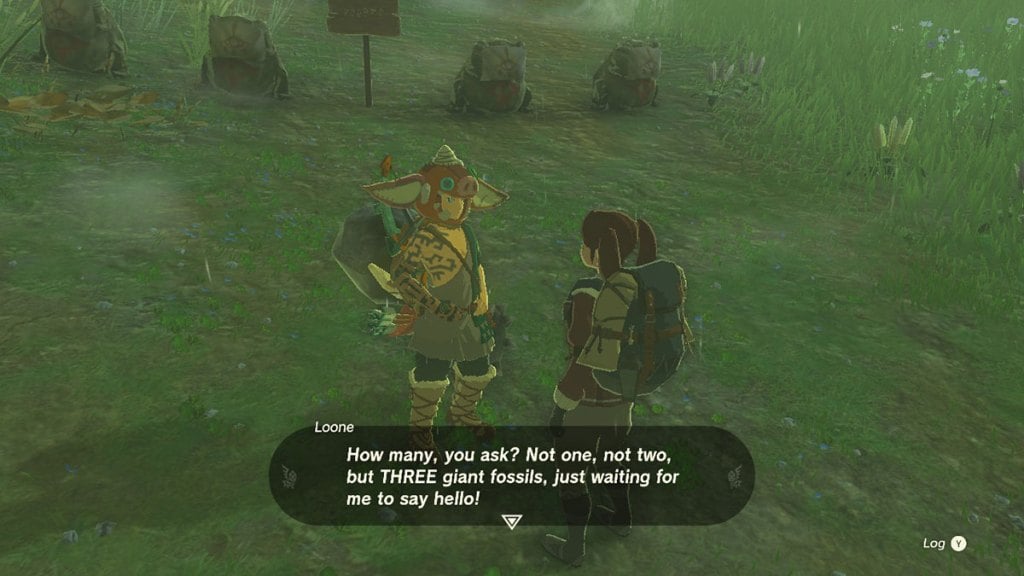
Players can start Eldin’s Colossal Fossil in Tears of the Kingdom by heading to East Akkala Stable and following the path up the hill. The Stable is located at map coordinates 4236, 2727, 0125 and is a safe haven before the much more hostile northern parts of Hyrule lurking nearby. By following the road up the hill, Link will encounter a character called Loone. When he speaks to her, she’ll tell him about three massive fossils in Hyrule before marking the first one on his Pura Pad. This will start the Eldin’s Colossal Fossil side quest.
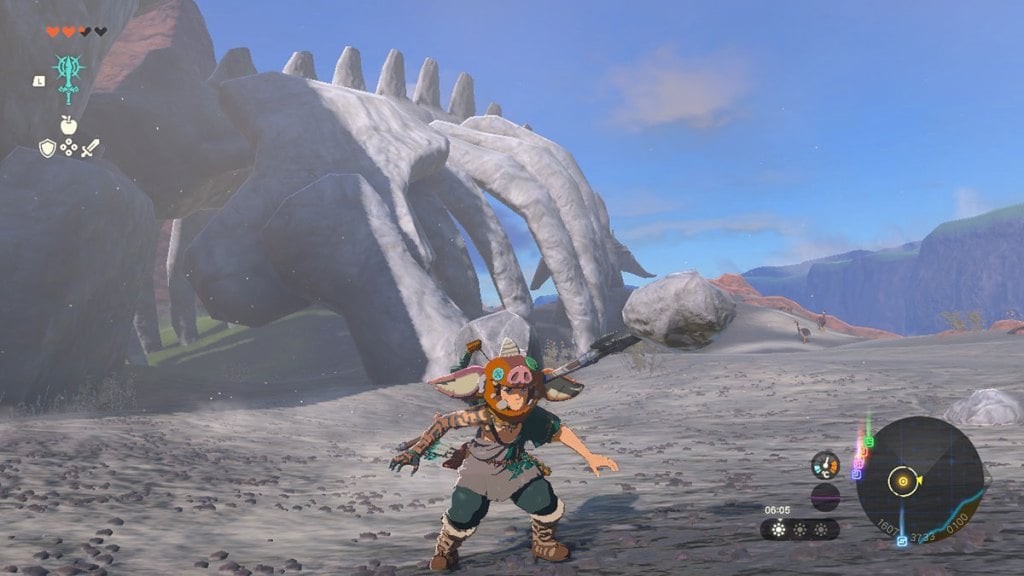
The first part of Eldin’s Colossal Fossil side quest is to head to the map marker, which can take quite a while if players haven’t explored that part of the map yet. It took me about an hour in real-time to reach the marker just because of the sheer amount of stuff to encounter along the way, including Shrines, Malanya, and many very rocky enemies.
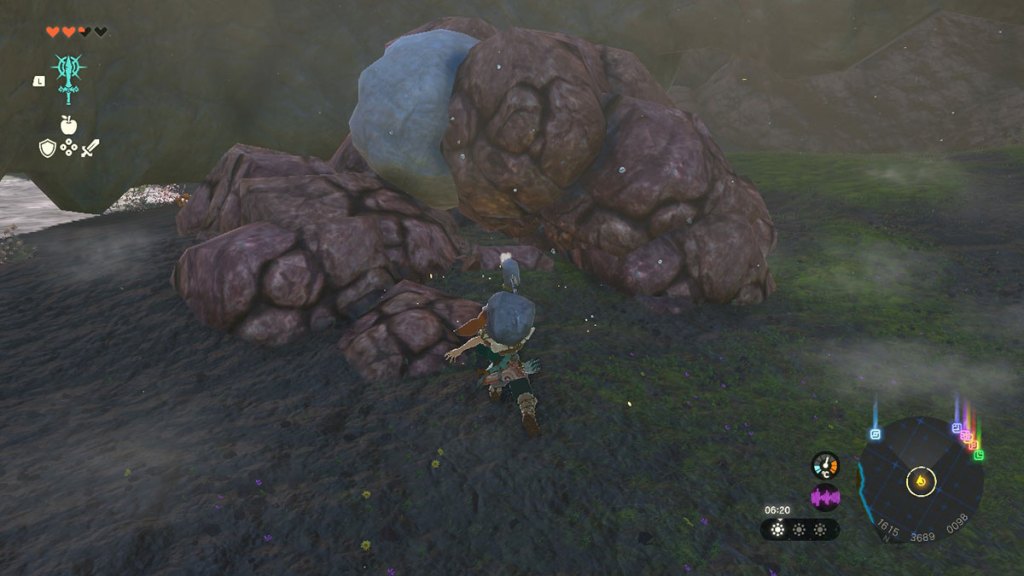
Once Link arrives at the colossal fossil, what he needs to do is not obvious. It’s a giant skeleton at the map market, but nothing makes a sound or indicates the quest has been completed. That’s because it hasn’t. To complete Eldin’s Colossal Fossil quest, Link needs to head under the skull and use a weapon fused with a stone to break the large stone sphere out of the pile of rocks it’s become trapped in.
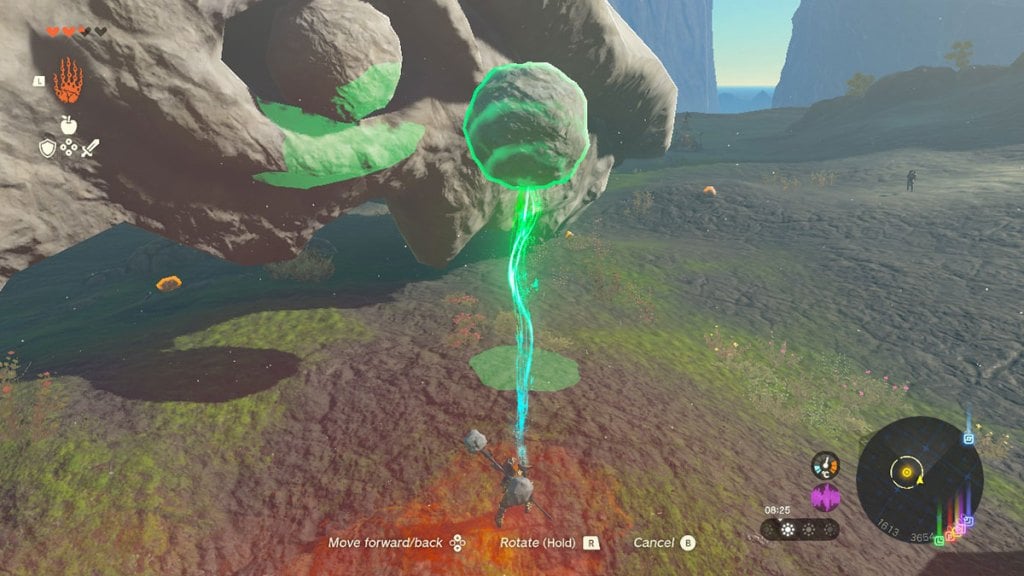
Walking around the skull, it’s clear that the sphere needs to go into the eye socket on its right-hand side. It’s got one on the left, so it seems obvious that the sphere should fit on the left. However, it won’t just slot in. For 20 minutes or so, we toyed with various solutions to this puzzle but couldn’t get the sphere to fit in the eye socket.
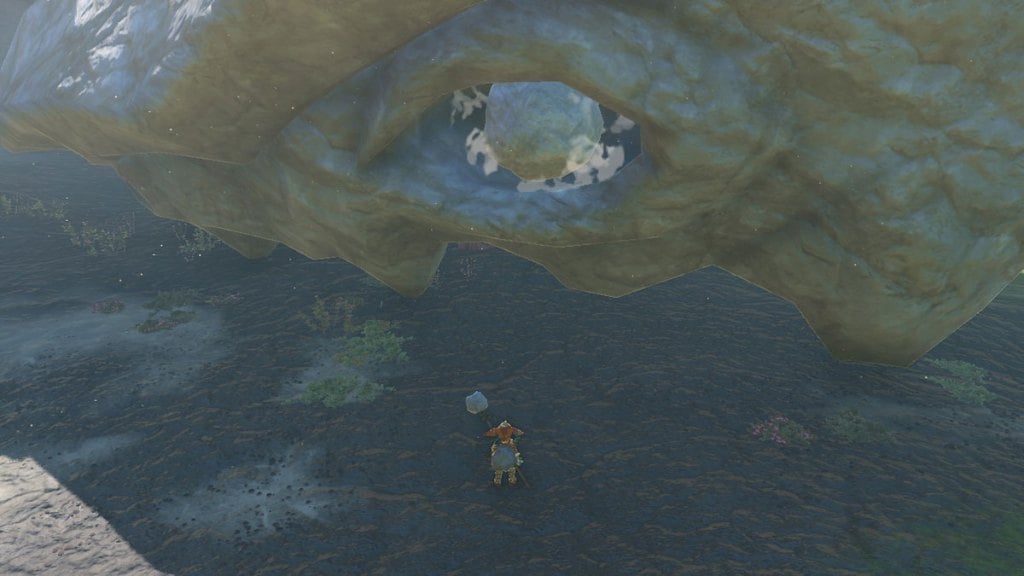
After using every ability on the sphere and trying a few solutions, such as plugging it into the ribs of this long-dead beast, we figured out that it needed to be turned around to face the correct direction. That’s right. Link must use Ultrahand to twist the sphere around in the empty eye socket until it clicks. Then, that amazing puzzle-solving jungle will play.
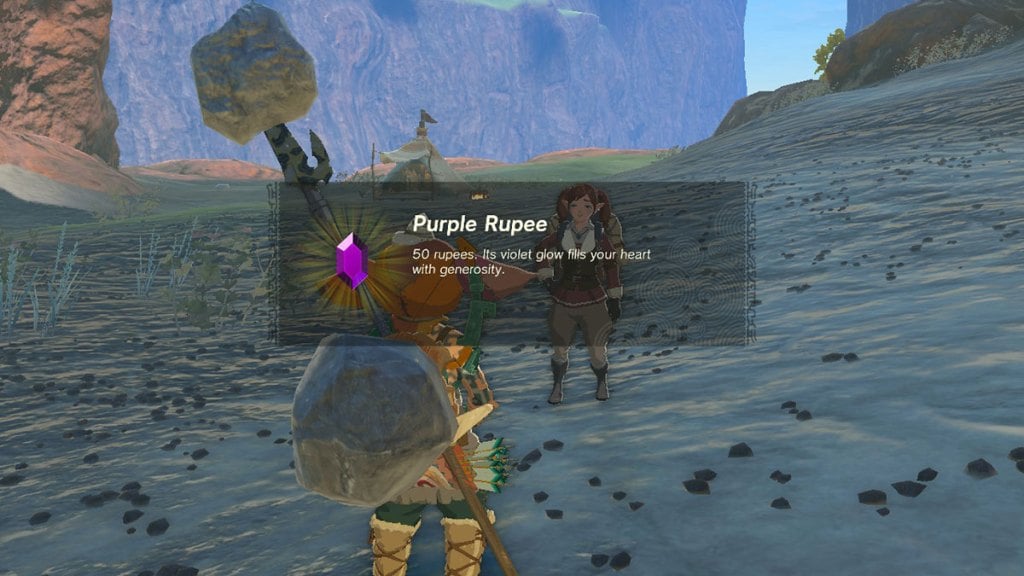
Finally, now that the puzzle has been solved, Link can find Loone standing in front of the skull. She’s disappointed about the eyes initially but soon realizes that they’re intact and can be properly enjoyed by any budding paleontologist. As a reward for sorting the fossil out, she’ll hand over 50 Rupees, and Eldin’s Colossal Fossil quest will end. However, she’ll also give Link the location of the second colossal fossil, starting an entirely new quest.
And that’s it! Check out our other The Legend of Zelda: Tears of the Kingdom guides below to help with crafting, exploring, and tackling challenges across Hyrule.
Tears of the Kingdom Complete Guide | Every Ability & How To Unlock Them | How to Get The Paraglider | How to Get & Use The Travel Medallion | All Armor Locations & Where to Find Them | All Construct Materials & Where to Find Them | All Shrine Locations & Strategies | How to Get More Heart Containers




Published: May 17, 2023 04:52 pm