Starfield has quests that offer multiple ways for them to be completed, and provide different outcomes depending on your choices, as well as affecting other quests you do later on. Guilty Parties is one of those quests, and it involves tracking down a suspected traitor to Ryujjin Industries.
With numerous ways to tackle the quest, optional objectives, and possible repercussions later on, it can be hard to know what the best course of action is to complete this quest. In this guide, we will walk you through how to complete the Guilty Parties quest in Starfield, including your options and what they will do.
Related: Starfield Complete Guide – Quest, Lore, Story & Trailers
Talk to Yuko and Plan Your Next Step
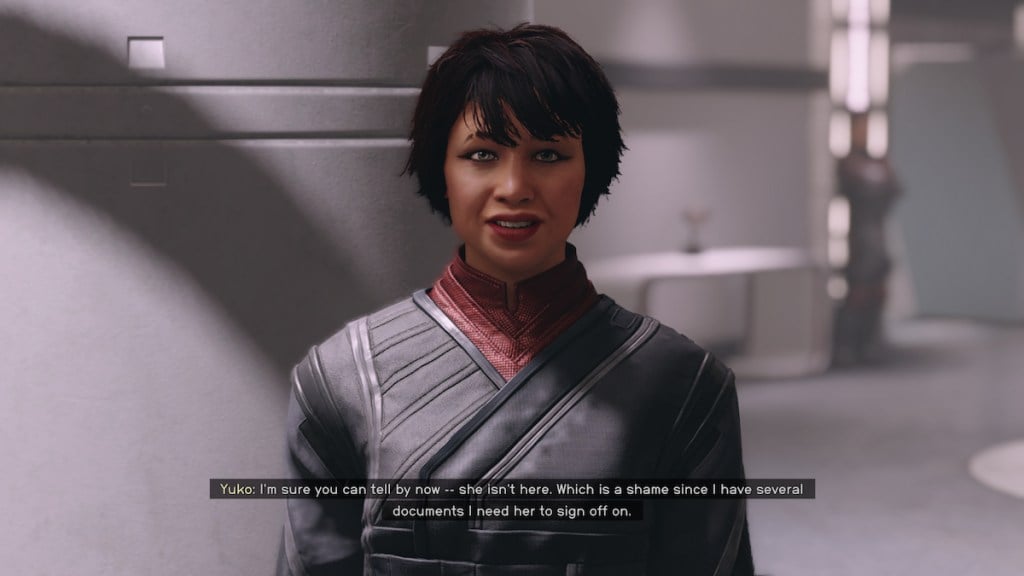
At the end of the previous quest, Background Checks, you learn that Imogene is the mole, or at least so it seems, and Dalton asks you to bring them to him for questioning. When you arrive at her office, she will be nowhere to be seen, and instead, you will be approached by Yuko. By talking with this NPC, you learn that Imogene’s last known location was Frankie’s Grab and Go, a front for the Seokguh crime syndicate owned by Benjamin Bayu.
There are a few ways this conversation can go with Yuko, which will give you two different optional objectives depending on what you say.
Talking with Dalton (Optional)
Yuko will suggest talking with Dalton, the head of security, about what to do regarding Imogene. This will give you the optional objective, and Dalton will recommend talking with Bayu about getting permission to go onto Seokguh territory, which you need due to Ryujin’s business relationship with Bayu.
Going Straight to Bayu (Optional)
If you have the Neon Street Rat trait like I did, you can choose a unique dialogue option that shows you already know this connection and about Bayu. By selecting this option, you can bypass talking with Dalton and go straight to Bayu, which speeds up the process. Like talking with Dalton, this is an optional objective but one that can make the mission a lot easier.
Talking to Bayu in the Astral Lounge

Once you are done at Ryujin, you’ll need to head to the Astral Lounge to talk with Bayu. The Astral Lounge is found on the other end of Neon Core, so leave Ryujin and head right down the main strip, and you will come to the club. Once inside, head up in the elevator to the left and go to the left when you exit, following the path around until you reach booth number four, and you will find Bayu inside.
Like with Yuko, there are a few ways this conversation can go depending on your choices, which will affect the rest of the quest.
When you talk with Bayu, you can either be standoffish and say you are going into Seokguh territory without asking for permission. This will cause him to tell you to go away and will not offer any assistance to you, and the conversation will be short. If you go in and are more friendly and say you are looking for someone, he will be willing to let you into the Seokguh territory, but he will ask you for a favor in return. If you choose not to, he will tell you to leave and you will not get assistance from him.
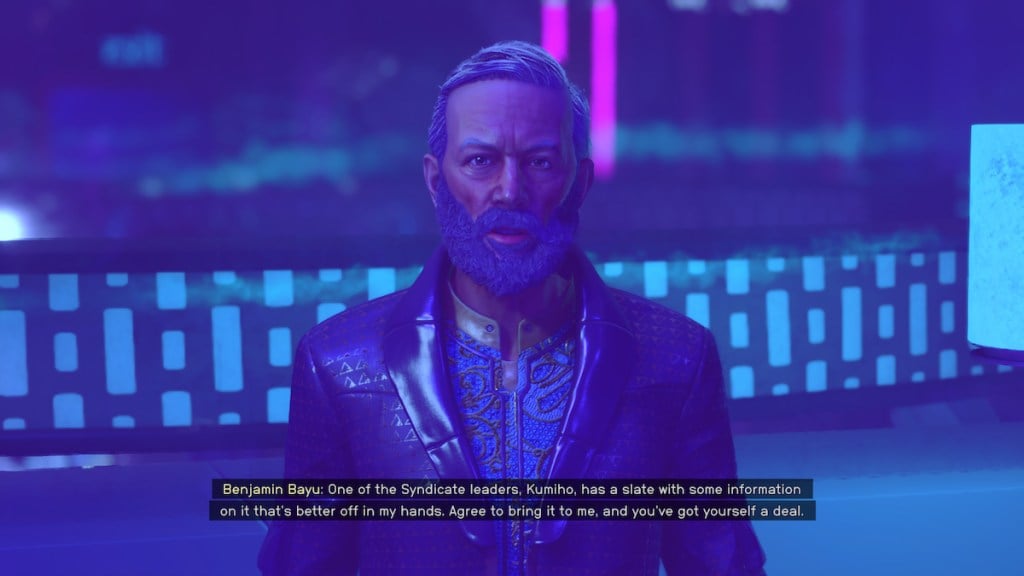
If you agree to do the favor, Bayu will ask you to steal a slate from Kumiko, a Seokguh gang leader, while inside the hideout. If you agree to do this favor, he will inform Frankie at Frankie’s Grab N’ Go to let you into the hideout without any issue, making this part of the quest much easier.
Alternatively, if you are able to Persuade Bayu, he will let you off from doing the favor, meaning you can talk into the hideout with no issue and have no need to do anything else, making this easily the best option if you want the quest done quickly.
Getting into the Hideout
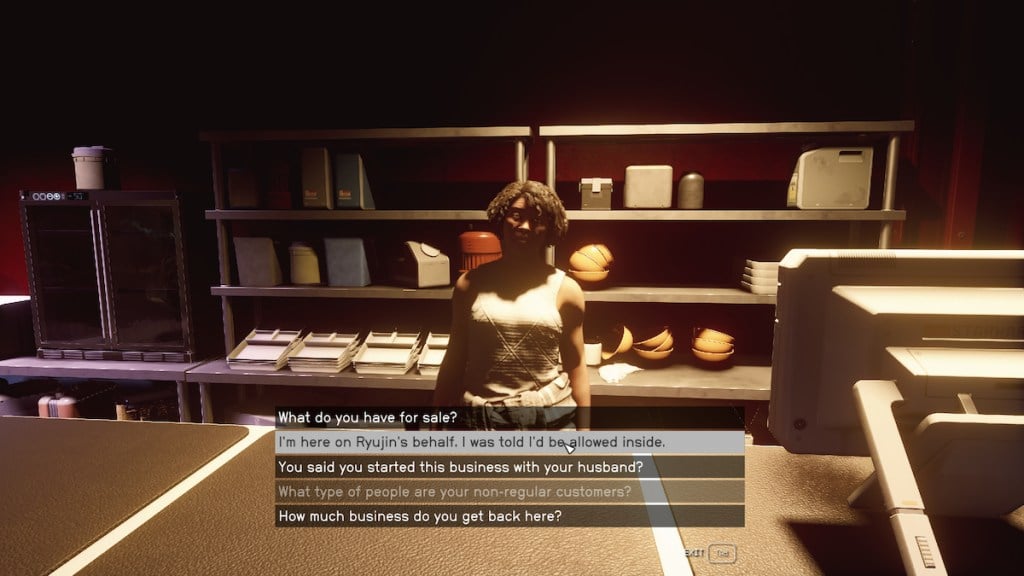
After talking with Bayu, you’ll be heading to Frankie’s Grab N’ Go out in Ebbside, and there are a few ways to enter the hideout depending on what happens with Bayu, and personal preference.
If you have agreed to do the favor for Bayu, talk to Frankie and say you have been permitted to enter the hideout through the door on the left of the counter, and they will let you in but warn you not to go onto the third floor as it’s off limits.
If you do not have permission to enter, Frankie won’t let you into the hideout, so you will need to find another way in. There are two options you can do here. First, you can attempt to pickpocket Frankie for the key, which can be tricky given you are right in the middle of a store with people around.
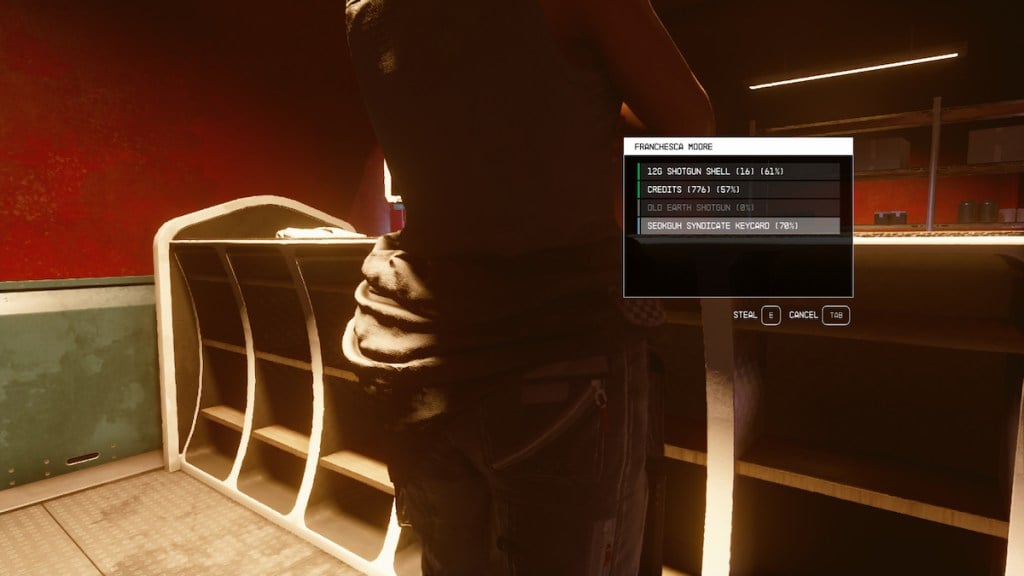
If that doesn’t sound like your style, you can enter through the roof. If you exit Frankie’s Grab N’ Go and take a right and another right, you will come to a large staircase that takes you all the way up to the rooftops. Once you are up here, take a left and walk around the structure in front of you, and you will come to a vent grate with a novice lock. Lockpick this, and you can enter the hideout and be led down towards the entrance.
Be warned that you are trespassing if you break in or steal the keycard, and you will be attacked if you are spotted, so be ready to sneak or blast your way through.
Finding Kumiko’s Slate
If you managed to persuade Bayu out of the favor, you don’t need to read this section and can skip to talking with Imogene. Otherwise, we will walk you through where to find it.
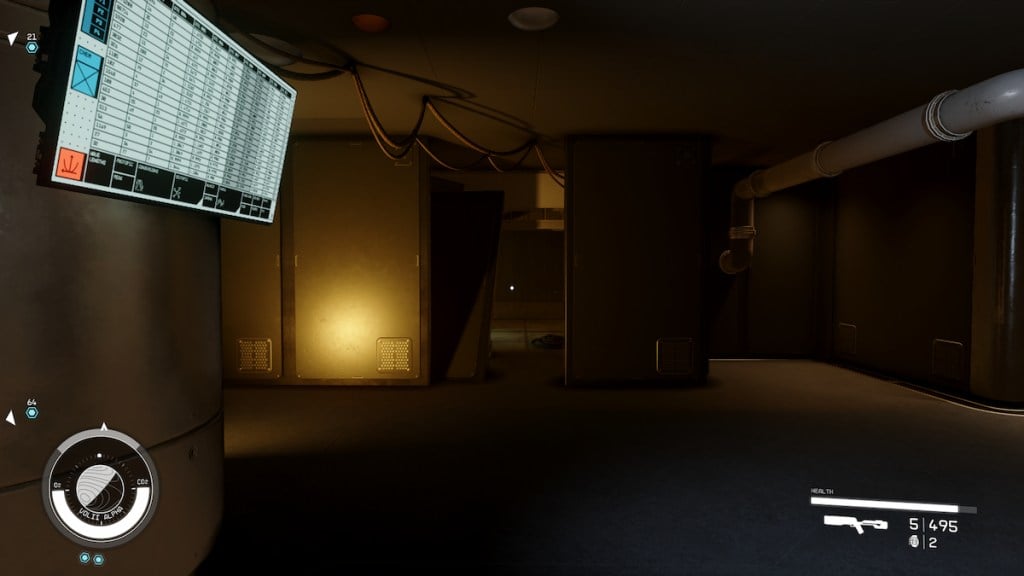
When you enter the hideout, head up the stairs to the left onto the second floor, and head off to the right until you reach a kitchen area. Turn right here and head down past this area, and you should come to an opening that looks like a broken wall with wires heading to it overhead. Move into here and then turn right, and you will see some boxes to climb into a vent area. Follow the vents and you will come to a cuttable wall you can break down. You do this by breaking the red pegs in each corner of the wall. Once that’s done, it will drop and open the way.
Next, you will see a server room with a gangster inside. Sneak across here to the other side of the room, and you’ll enter a new area that is very dark. However, you should see some red light to the right that is highlighting a few platform objects you can climb up and onto a small ledge with a vent grate you can open. Head inside, and towards the end you will see another vent grate on the left. Open this, and as you keep going you’ll eventually come to an opening you can drop down, which will land you right in Kumiko’s office.
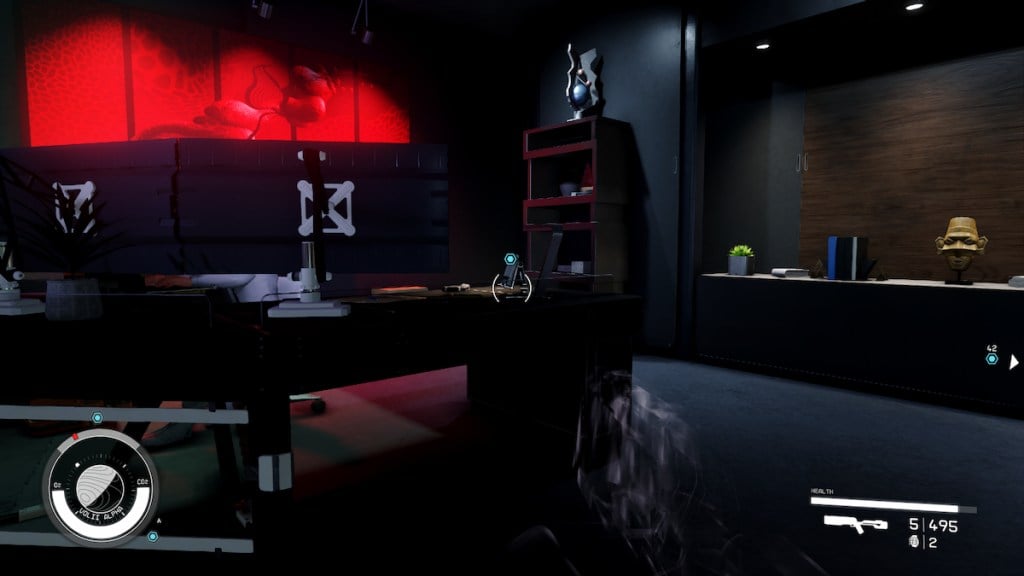
Kumiko will be in her office, so you need to be careful not to alert them. Wait until they are behind their desk, and approach slowly till you can grab the Slate off her desk. Now you need to get out and back down to the first floor. To do this, you can either go out the office door, which will lead you around to the server room, though there are quite a few guards to get past this way. Or, you can go back up the vent by jumping up the shelves under it and backtracking the way you came. This was a bit longer, but it seemed like the safer option when I was leaving. Now, head back down via the cuttable wall opening, and you will be all set to go and find Imogene.
Talking with Imogene
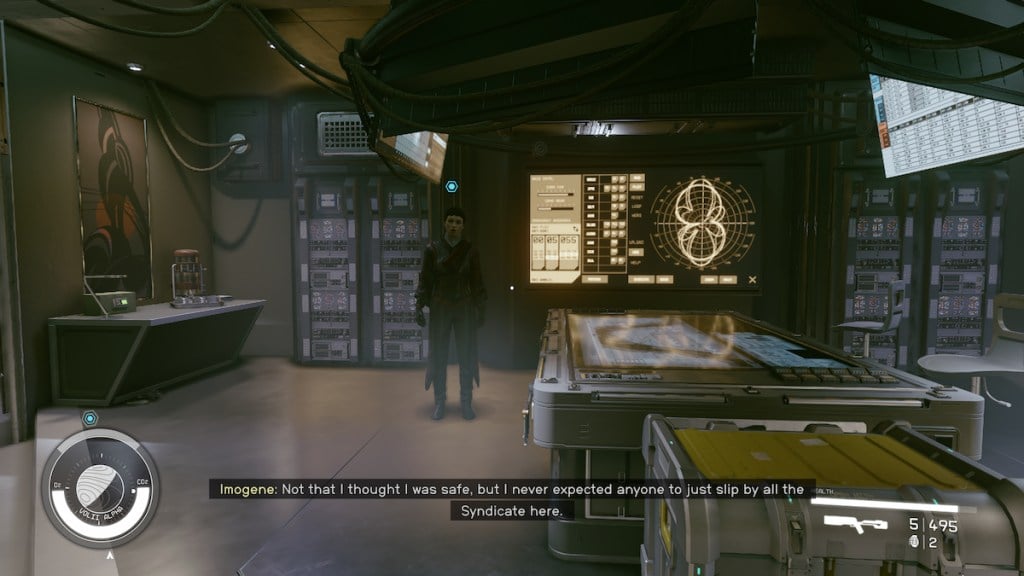
Imogene is easy to find in the hideout, as all you need to do is head to the very back of the hideout and into the backrooms, where Imogene will be waiting.
When you talk with Imogene, she will tell you that Ularu is setting her up to keep the heat off of her as she enacts her plans. She will also tell you she has a slate with evidence that proves she is innocent. You then get to decide her fate.
Spare Imogene
If you choose to spare Imogene, she will hand over the evidence and will remain in hiding to help Ularu believe her plan is working. You can then give this to Dalton later and explain the situation. Ultimately, this is the preferred option as Imogene can play a crucial part in later quests involving Ryujin, and she is innocent.
Kill Imogene
If you decide Imogene is lying, you can kill them and loot their body. This will get you the Slate as well as their unique outfit and some Credits, but it will affect some later quests and is the worst of the two options.
Back to Bayu and Ryujin
With everything settled in the hideout, it’s time to leave and begin the last part of the quest. If you have helped Bayu, you must head back to the Astral Lounge, hand over Kumiko’s Slate to Bayu, and then head back to Ryujin. If you didn’t help, you head straight to Ryujin.
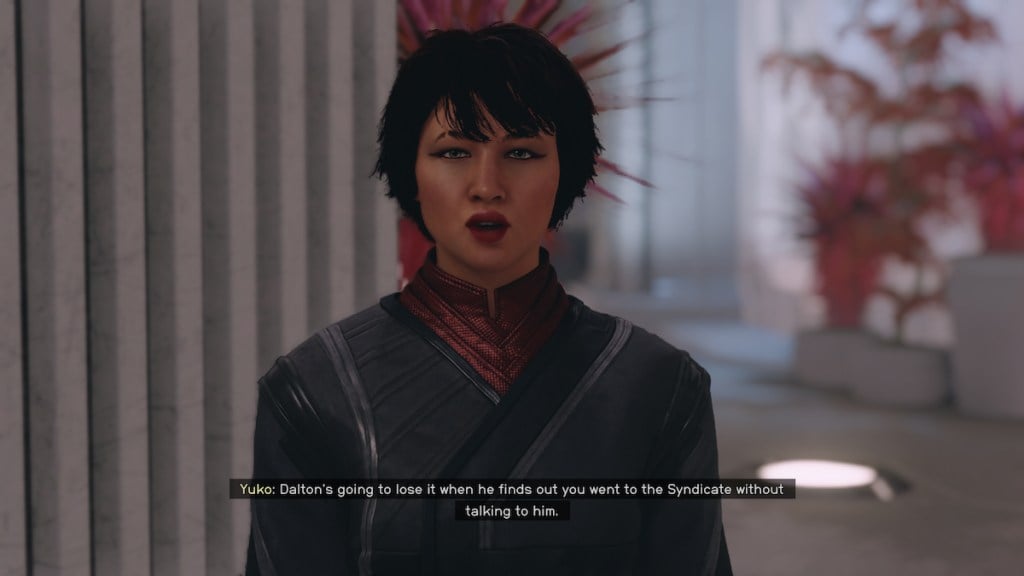
When you enter, head back up to the executive floor, and Yuko will greet you at the lift. Being the office gossip, she will ask what you learned and where Imogene is. You can tell her what you know or tell her to go away, which is what I did. There was no repercussion for doing either, but that may change in later quests.
Confronting Ulara (Optional)
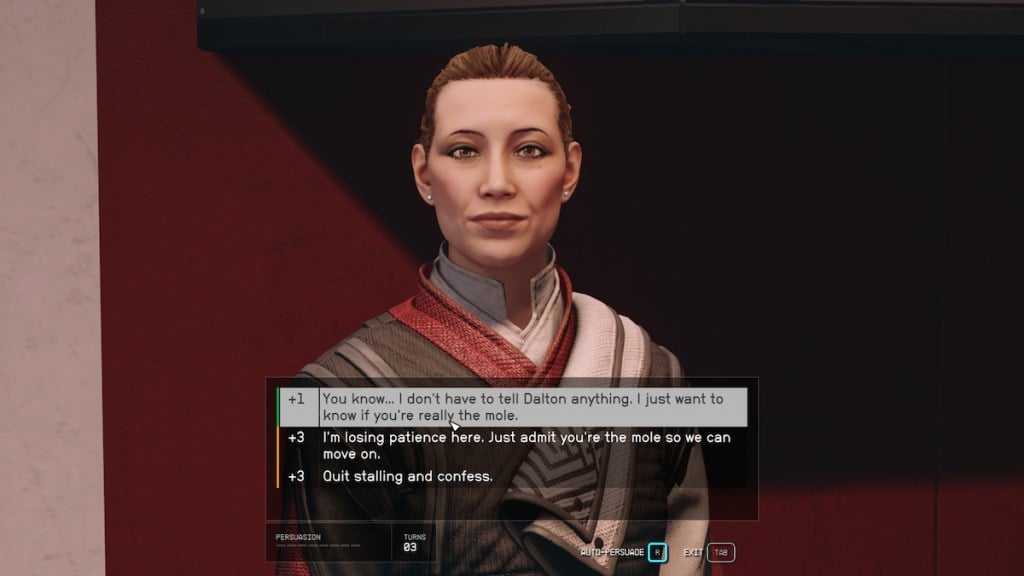
Before you talk with Dalton and finish the quest, you can confront Ularu in their office and question them on everything. If you manage to persuade them, which is a bit tricky as it’s an eight-peg persuasion check, they will reveal that they are the traitor and will disclose their motives. Ularu believes the current CEO, Masako, is weak and is not fit to lead the company, though Ularus’s methods are pretty cutthroat in comparison. She will then force you to decide: to join her and take down Masako, or stay with Masako, Imogene, and the company as it is.
Siding with Ularu
If you side with Ularu, you will set them up to become CEO in later quests and doom Imogene, who will not return Ryujin. They will tell you to continue as if nothing has changed.
Siding with Imogene
If you stay loyal to Imogene, Ularu will be disappointed in you, brush you off, and say you won’t be able to stop her. You can then leave and head to Dalton.
Choosing this option will eventually lead Imogene to return to Ryujin, which can affect some quests later, and ultimately is the best option.
Kill Ularu
If you are bored of all the sneaking and chatting and really want to put a bullet in something, you can kill Ularu and loot them for their unique clothes, but this would be the worst option, as security and Dalton will be mad with you, and this will likely affect later quests.
Talk to Dalton
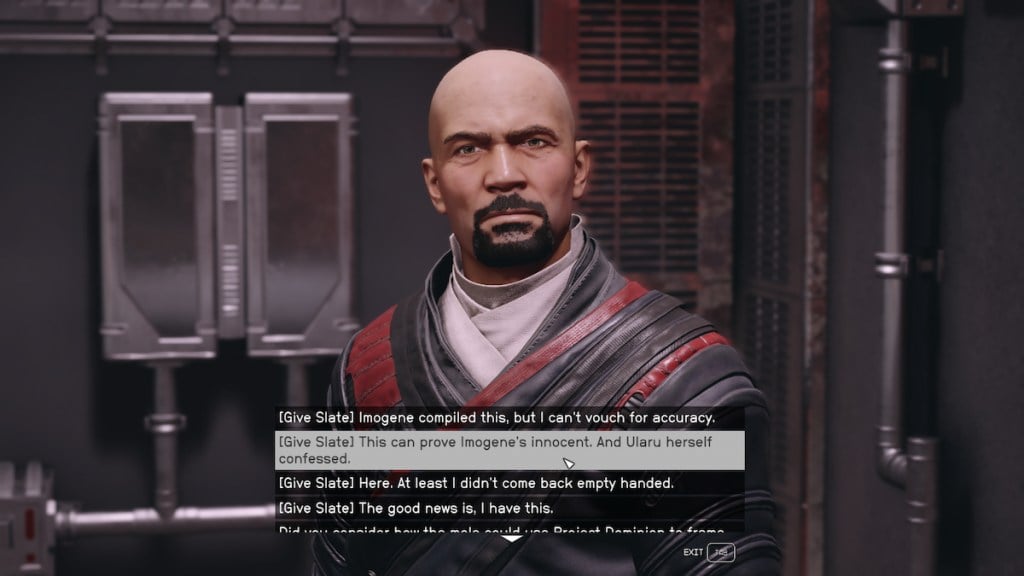
Whatever your decision, you will end the quest by talking to Dalton. If you are with Imogene, you will hand over the evidence, and they will begin looking into it, whereas if you are with Ularu, you will then have to lie to Dalton about what you have learned and keep Ularu out of the picture. The quest will end and upon completion you will earn 4,800 Credits, 250 EXP, and some med items.





Published: Sep 8, 2023 08:14 pm