Starfields Ryujn Industries faction involves a lot of quests that entail stealth, persuasion, and corporate espionage, and Background Checks is one of the more lengthy stealth missions you will undertake.
There is a lot of ground to cover as you sneak into Ryujin Tower, and it can be a tricky mission for some players who aren’t as stealthy or unsure of where to go in the Tower. There are a lot of tools that can make the task easier if you know where to look and how to approach it and trust us, it makes it a much less frustrating experience.
In this guide, we will detail how to complete the Background Checks faction quest in Starfield, including how to sneak through the tower and any extra information to help you move through the shadows and find the mole at Ryujin Industries.
Related: Starfield Complete Guide – Quest, Lore, Story & Trailers
Talk to Dalton and begin Security Directive Theta
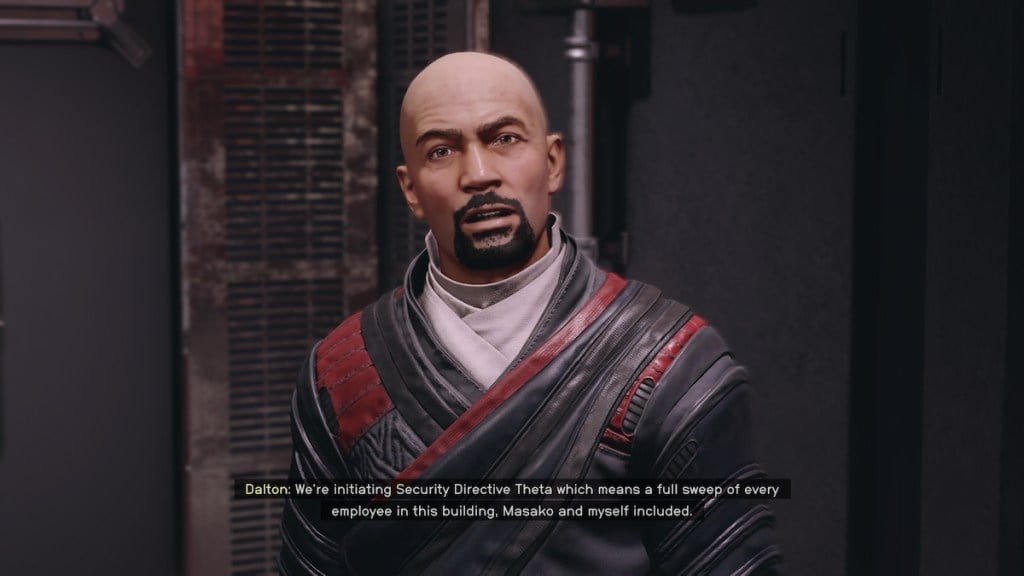
At the start of this quest in Neon, you’ll head downstairs from Masako’s office to security and talk with Dalton Fiennes, the head of security, who will inform you that Security Directive Theta will go into effect. This will send all non-essential staff home and clear the building under the impression that it’s for security maintenance, when in fact, it’s a full sweep of every employee to find the mole.
With all this, there is one special condition involving Ulara Chen. Given their experience and skills at evading detection and keeping out of the spotlight as they are the head of operations, this makes things more complicated as they cannot know about the directive in case they are the mole and have the skills to hide that fact. So, you need to do a little sneaking and hacking to get their information. This involves breaking into Ryujin Tower and hacking Ulara’s PC to get their information. Guards will treat you as hostile, and you will need to use stealth to get through the building. He will tell you where to find the third-party contact and inform you that he will unlock the vents for you and give you the Disruptor, which acts as a stun gun so you don’t kill employee guards during your mission.
Talking to Nyx in Madame Sauvage’s Place
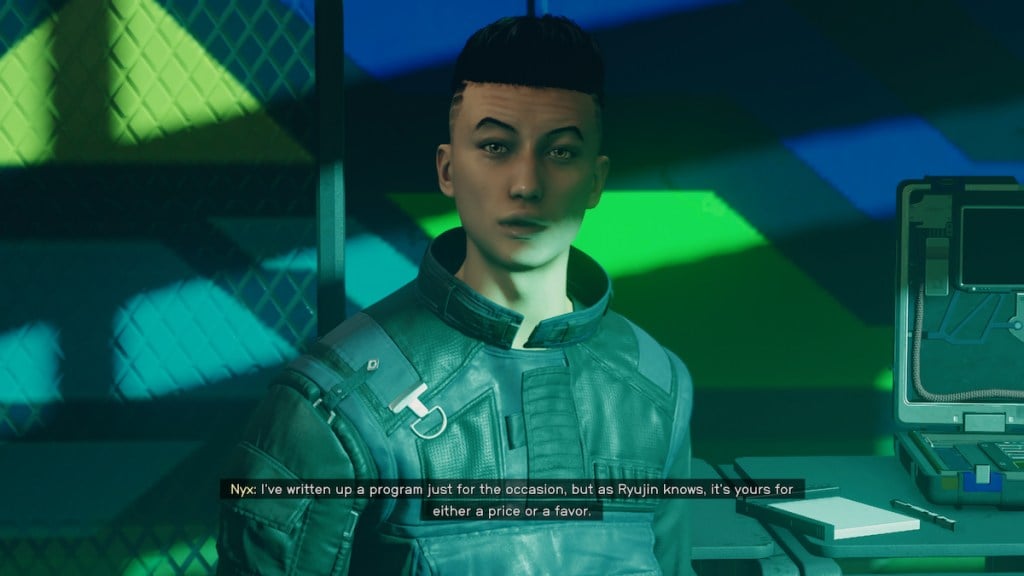
To hack Chen’s computer, you’ll need to use a third party to avoid anyone at Ryujin catching on to the directive. Enter Nyx, a hacker Dalton tells you to meet at Madame Sauvage’s Place in Ebbside.
Head to Madame Sauvage’s by following the quest marker, and when you enter, you will find them sitting off to the left. Approach them, talk with them, and they will tell you they have a program ready for you. However, you will either need to pay for it or do him a favor.
If you decide to pay, it will cost 2500 credits, or 1000 if you can persuade them. If you choose to do the favor, you will need to hack an additional computer in Ryujin for an employee called Camden Cho. From our experience, this offers no different rewards and is simply another way to get the program that doesn’t involve credits.
Once you have the program, leave Madame’s and the quest marker to the left and down towards a staircase. This will take you up to the roofs of Ebbside and near a button that, once pressed, will move a crane around and create a platform for you to traverse. Head across this, and you will come to a vent that will take you inside Ryujin Tower. Now, the real mission begins.
Sneaking Through Ryujin Tower
Since you will be using stealth here, we recommend you unequip your space suit to make you quieter, use Reconstim, or have the Stealth trait. This is a rather long stealth section with some tricky areas, so save frequently to avoid frustration.
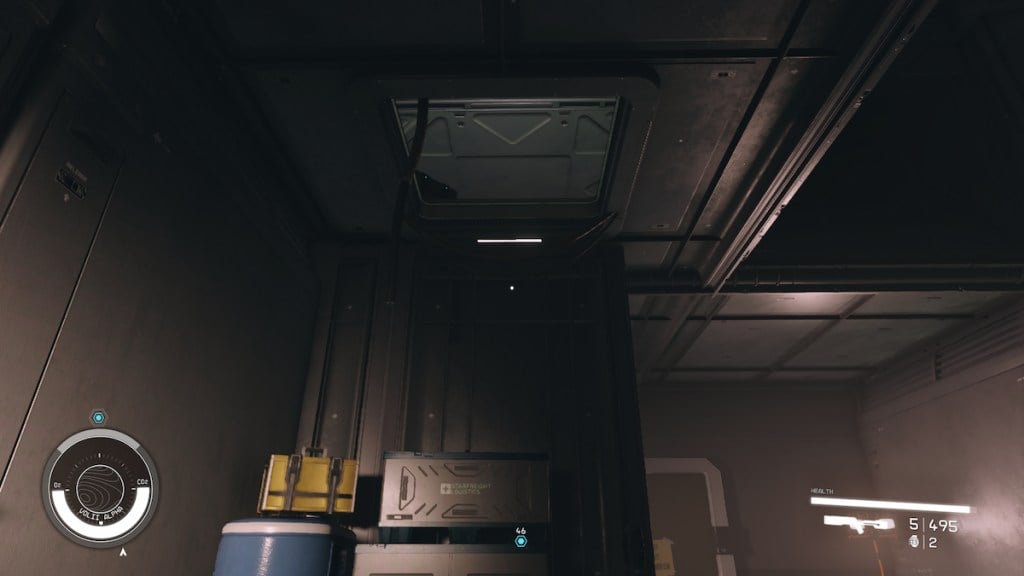
Once you enter the tower, you will be inside a vent. Follow this vent, and you will come to another vent opening on your right, which leads into a room. Enter the room; on the left side, you will see some boxes with an opening above them. Climb up these boxes into the vent, and at the grating in front of you, you will find a panel. Interact with this panel to kill the lights in the following area, which will help you sneak past the guards. Now, follow the vents and take the first left. You will come to an opening and drop down into a small store room.
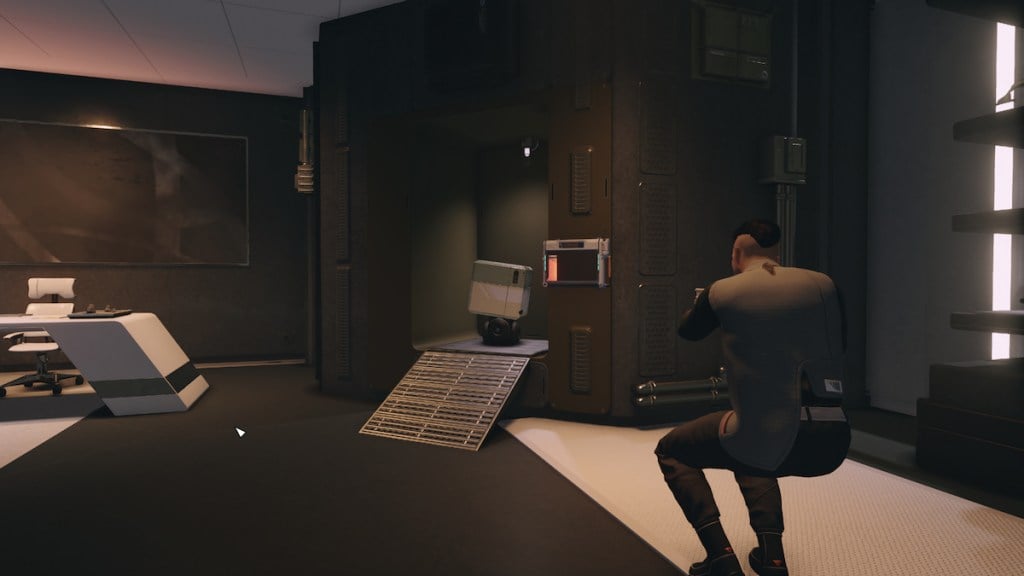
Open the door and exit to your left. You will see a guard in front of you looking away. Thankfully, with no spacesuit and the darkness, it’s easy to sneak past them. Sneak to the right around the pillar and start heading down the corridor until you reach a door on your left. Open it up and head inside to find an opening at the other end of the room, with two guards outside. To get past here, turn to your right, and you will see a small display drone with a panel to its side. If you interact with this, you can set the drone to demo mode, which sends it down towards the guards and distracts them.
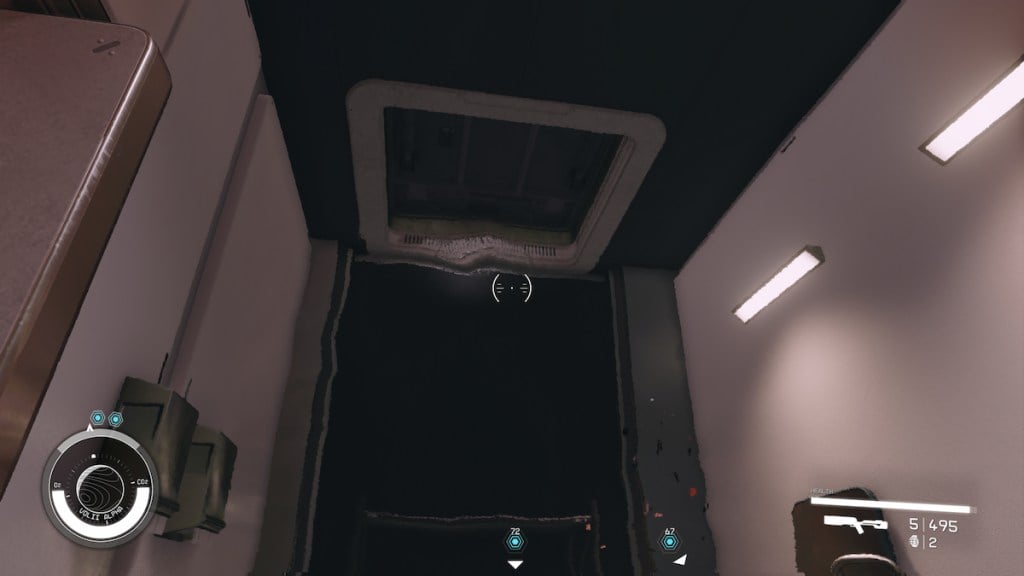
Now you can exit the room, and head to the right where you will see some stairs, head on up all the way to the top, and you will come to a hallway with a door to the right. Open it, and you will be in the bathroom. To the left on the ceiling, you will see another hatch. Open it up and climb up into the vents once again.
Start moving down the vent, and at the first left, turn, and you will find another panel that will kill the lights in this area. Use this, then head back and follow the vents through until you come to a left turn, with a hatch to open and jump down. Head down the corridor from here, avoiding the guard or drone patrolling the area. This may be a good time to use the Disruptor to stun the guard.
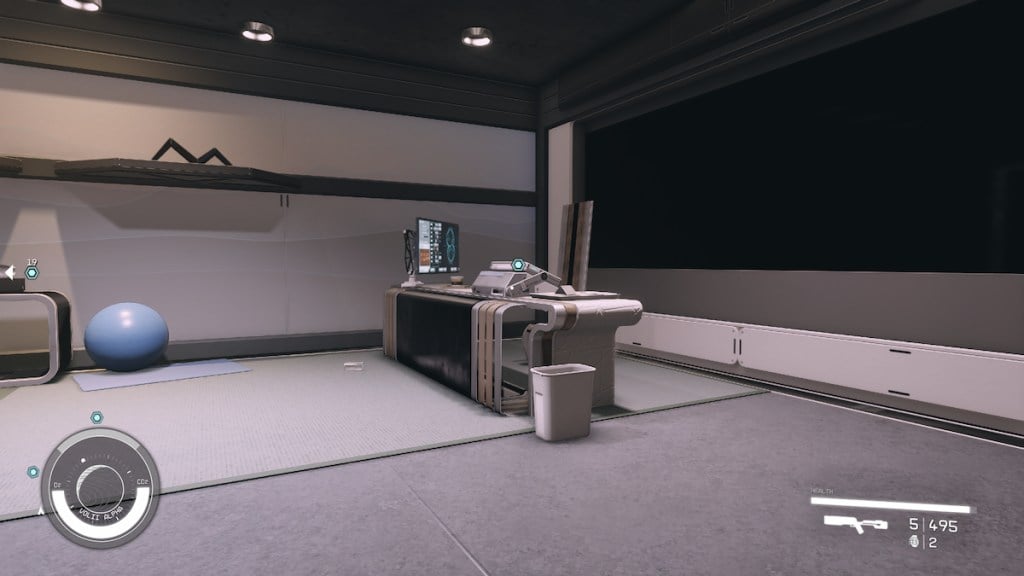
If you choose to do Nyx the favor, you will need to enter the door on the right in this hallway, which will lead into Camden Cho’s office. If you happen to get seen in this room like I was, you can persuade the guard to let you go, and they will leave you to it. However, this seems to be a one-time deal, and I only encountered this while in this office.
In this room, you will find a safe with an advanced lock that has some credits and a med pack, as well as a PC. Interact with the PC, grab the information, and then head out of this room to the right and towards another door that leads to a maintenance room with a vent. Open it up and follow it until you come to an opening that drops you into a store room with a door leading into R&D.
I’m not afraid to admit that I got stuck on this part for a while after not taking the best route and not taking off my spacesuit after a reload or two. So, this will be the best way to handle this area and not repeat my mistakes.
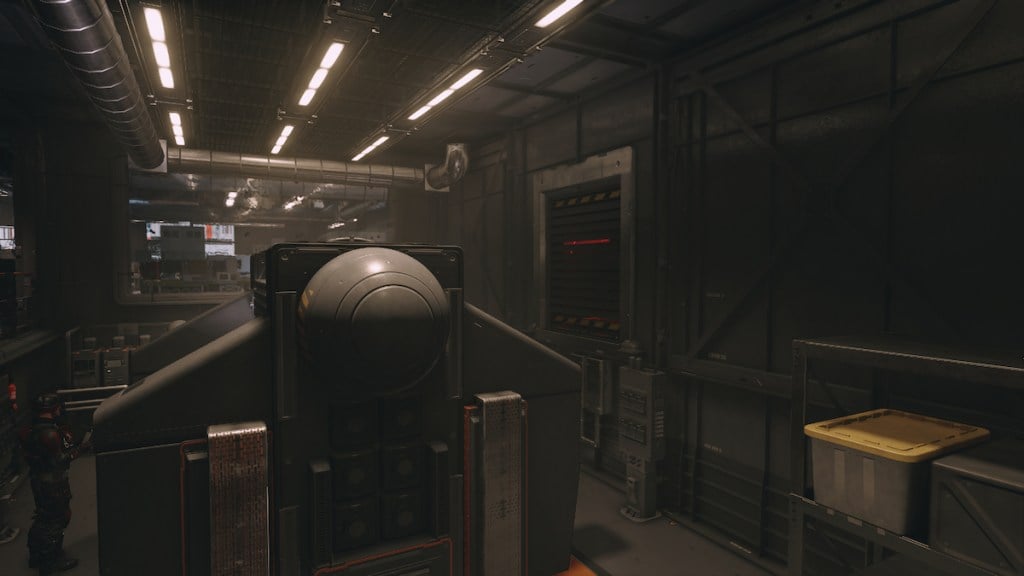
In this area, there are two guards and a drone, with one of the guards in a lower area just outside the door. Here, you don’t head down the walkway but instead go to the right down the stairs, sneaking past the guard and towards a large vent grate found on the wall. Open it and enter quickly, and head left and down the opening. As you make your way down this vent, you should see a panel on the left side with a novice lock. Hack this panel, and you can kill the lights in the next section. Once that’s done, continue on the way you are heading and you will come to another opening that will be above your head. Pop out, and then move forward to peak around the corner.
Here, you will see a doorway leading to the main R&D area, guarded by a robot marching back and forth. You need to wait for this robot to move away from the door and make sure the guards behind you in the previous room don’t see you. Here, you can go into third person to peek around the corner and see if they are looking.
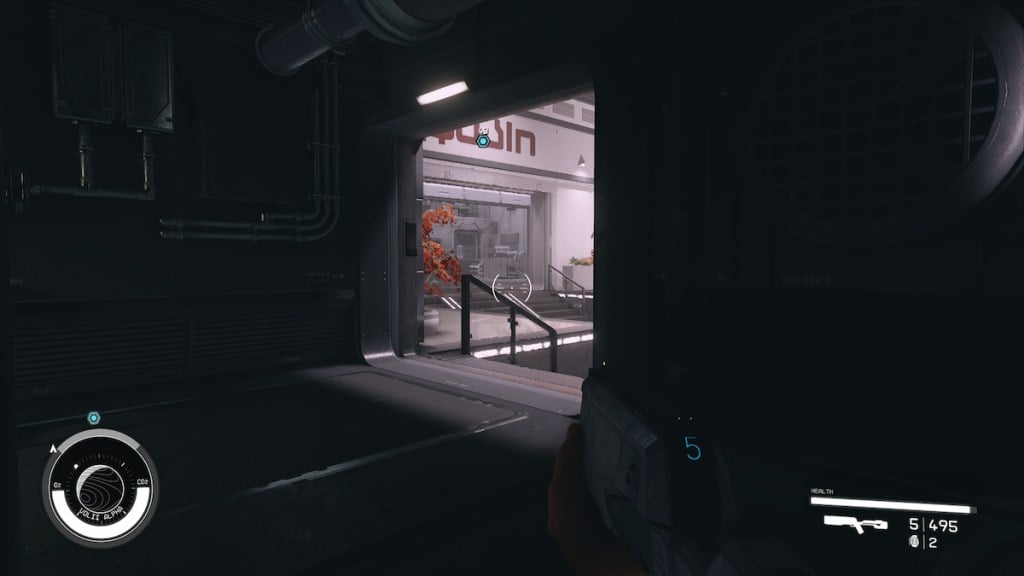
Once you see an opening, move across to the R&D area and into the room away from the doorway to avoid the robot seeing you. Now, you will have a guard patrolling this area. Wait for them to enter the room just in front of you when you enter, and they will be out of sight. Head up the stairs on the left, and be sure to either stun or avoid the guard on the left and the top of the stairs. Now, to the right of the stairs, you should see a high vent grate with a locker under it. You need to climb up the shelves next to it, onto the locker, and open the vent to enter. Pop inside, move along, and follow the vent up till you come to another grate to open.
You need to move across this area on the beam to the right. You’ll want to be careful that the guards below aren’t looking in your direction as you cross, which could set them off. There is some grating that can cover you along the way if you need to stop. Once you are over, open the other vent grate, go into the vent yet again, and follow it around. You will find another panel and the vent grate. If you can hack advanced locks with your Digipacks, you can hack this panel to kill the lights in this final section.
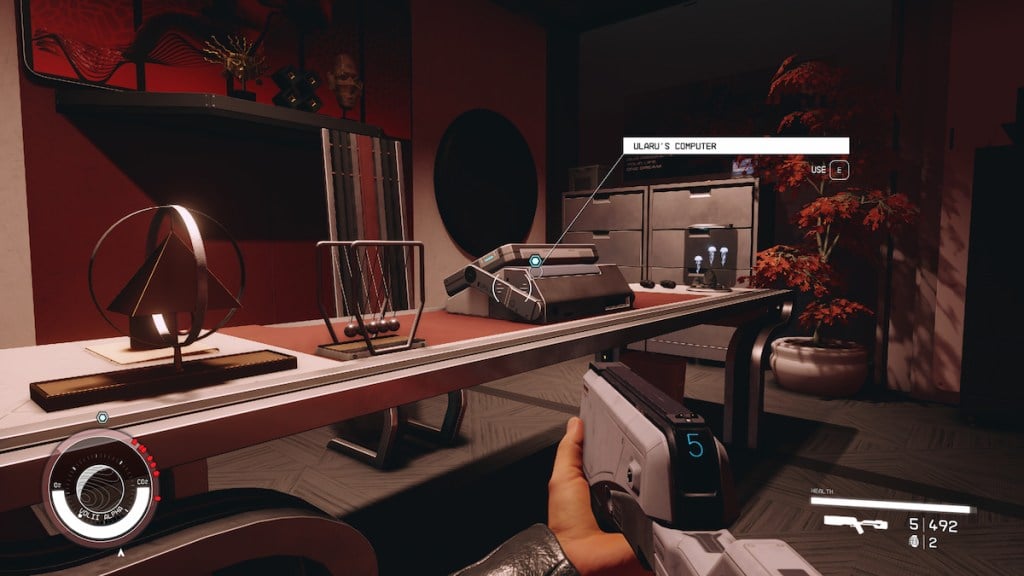
Once that’s done, jump down into this area, avoiding any guard behind you or around the area, though there seemed to be few when I was here. Head up the stairs in front of you and get past the last guard before going to the left and up into Ularu’s office. Here, you can hack the PC, get the information you need, and crack the advanced safe in the corner for some extra credits and a Synapse alpha item. Now it’s time to get out of here.
On the ceiling, there is a vent you can get to by jumping on top of the cabinets and up into the hatch. Follow it through, and you will come to a vent that takes you outside, where you will find a few boxes with items, in our case, an Anti-Personal Grendel and some ammo. Now, go down the scaffolding and elevators back to the rooftops and follow the marker to Nyx’s house in Ebbside. Once you are in his apartment, hand over the slates, and he will get to work decrypting them. Once that’s done, you head back to Ryujin Tower, with the theta directive now over, and you are free to enter as normal.
Finding the Mole
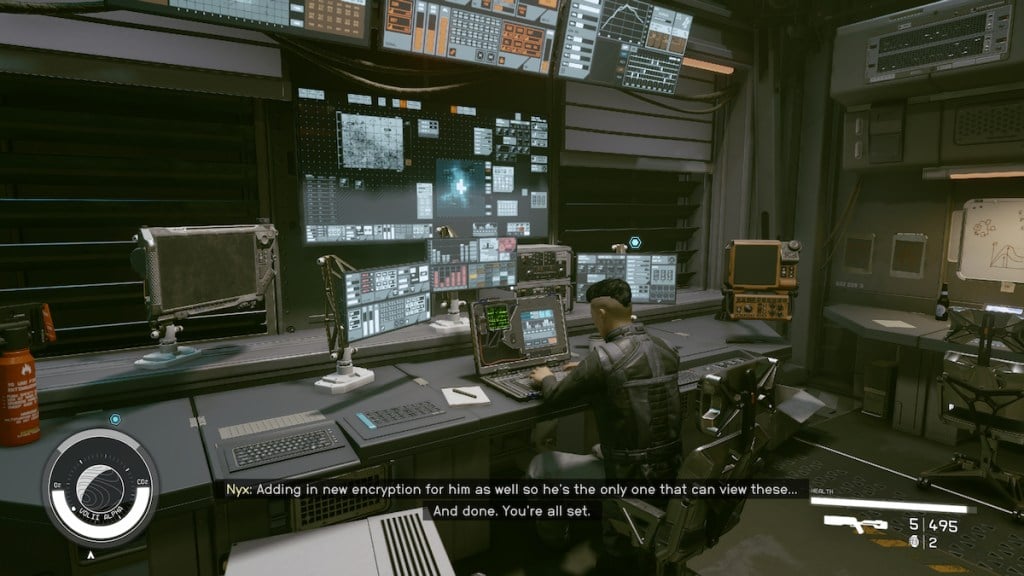
With the information in hand, head back to Ryujin and find Dalton in security, where he will look at the information you have found and discover that Imogene Salzo, the same person who hired you, is the culprit. From there, Dalton intends to question them and asks you to go and get them, leading into the next quest.
With that, the quest will finish, and you will earn 250 EXP, 10,000 Credits, and an aid item, in our case, a reconstim. Now, it’s on to the next mission.



Published: Sep 6, 2023 05:19 pm