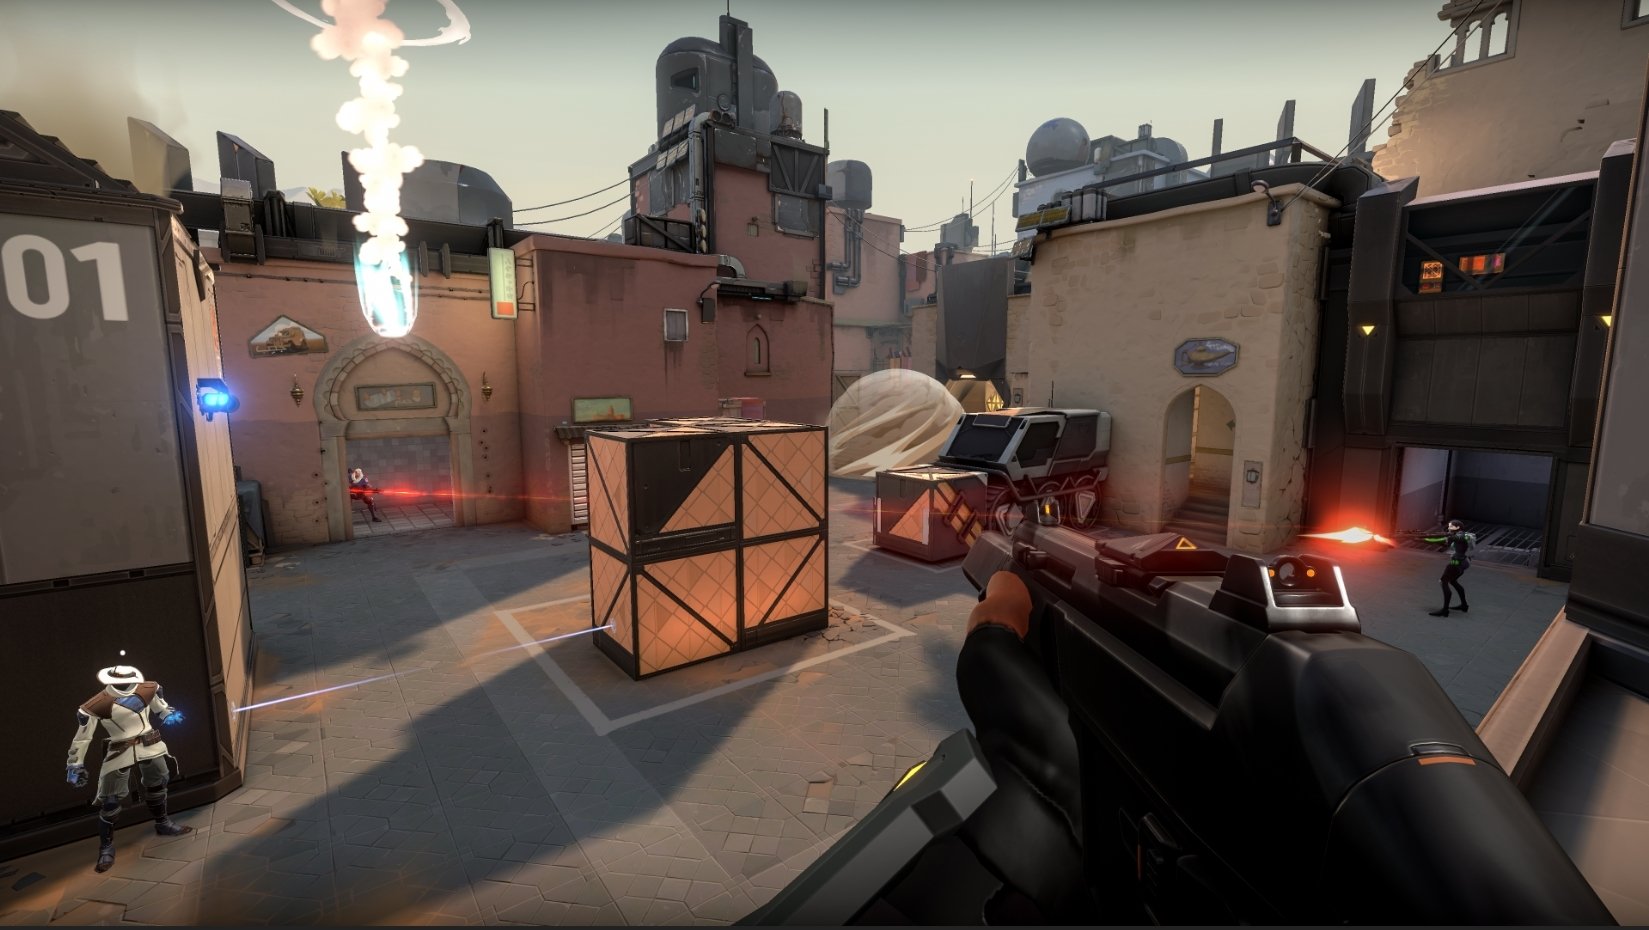
You don’t need a supercomputer to run Valorant on any type of graphical settings. The minimum requirements are scratching the bottom of the barrel, which is great for consumers.
However, in recent weeks, some FPS issues have popped up for players with even the latest hardware in their PC. Extreme frame drops and overall low FPS have plagued players which lowers the enjoyment level of Valorant.
If you fall into this category, try the tips you see below and you’re guaranteed to see higher frame rates.
Lower graphical settings to the minimum
Of course, the first step you’ll want to take if you’re experiencing low frames is to drop every setting down to the minimum. From the in-game settings, head over to the “Video” tab then the “Graphics Quality” section. Set every setting to “Low” or “Off.” Doing this will result in Valorant looking much different and more rigid but your frame rates will improve drastically.
Update GPU Drivers
Another common fix for low FPS is to update your graphics card drivers to the latest version. Sometimes the manufacturer of your GPU will require you to update to the latest driver if you want a solid gaming experience. This process isn’t very difficult to do for either AMD or Nvidia. Simply head to your GPU software and click on the “Drivers” tab. If you see an option to update or download, click on that, then go through the steps that are laid out for you.

Tinker with GPU settings
Perhaps the biggest resource when struggling with in-game FPS is your GPU control panel. Both AMD and Nvidia graphics cards have a control panel that should be installed on your PC. For AMD, it is simply be called “AMD Radeon Settings.” For Nvidia, you’re looking for “Nvidia Control Panel.”
If you’re an AMD user, click on the “Gaming” then “Global Settings” tabs once you’re in the program. The biggest change we want to make here is setting the Texture Filtering Quality to “Performance” rather than “Quality.” You can also mess around with the Anti-Aliasing and Anisotropic Filtering settings if you wish as well.
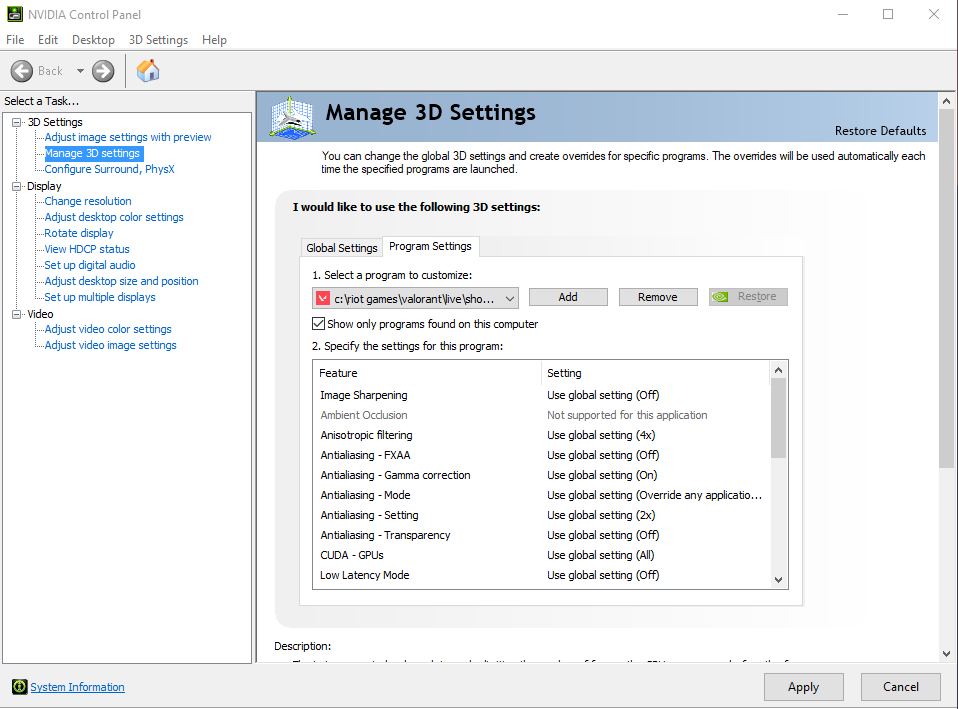
Nvidia users have a bit more control when it comes to adjusting settings. Head into the Control Panel and navigate to the “Manage 3D Settings” tab. From here, click “Program Settings” and select “Add.” Then click Valorant from the menu presented to you. Once Valorant is displayed in the text box, change these settings:
- Power Management Mode: Prefer Maximum Performance
- Texture Filtering: High Performance
- Triple Buffering: Off
- Vertical Sync: Off
- Virtual Reality pre-rendered frames: 1


Published: May 5, 2020 03:36 am