The collectibles in Star Wars Jedi: Survivor will take you all over the map, and you’ll need to cover multiple unique locations to find every unique item in the game. These collectibles are scattered across the regions, big and small, especially on the main planet, Koboh.
One of the locations you’ll eventually be able to visit is the Mountain Ascent, one of the final areas you’ll unlock as you work your way through the main story. This guide covers where to find all Mountain Ascent collectibles in Star Wars Jedi: Survivor.
Related: Star Wars Jedi: Survivor – How to Unlock All Locked Houses in Rambler’s Reach Outpost
Where to Find Every Mountain Ascent Collectible in Jedi: Survivor
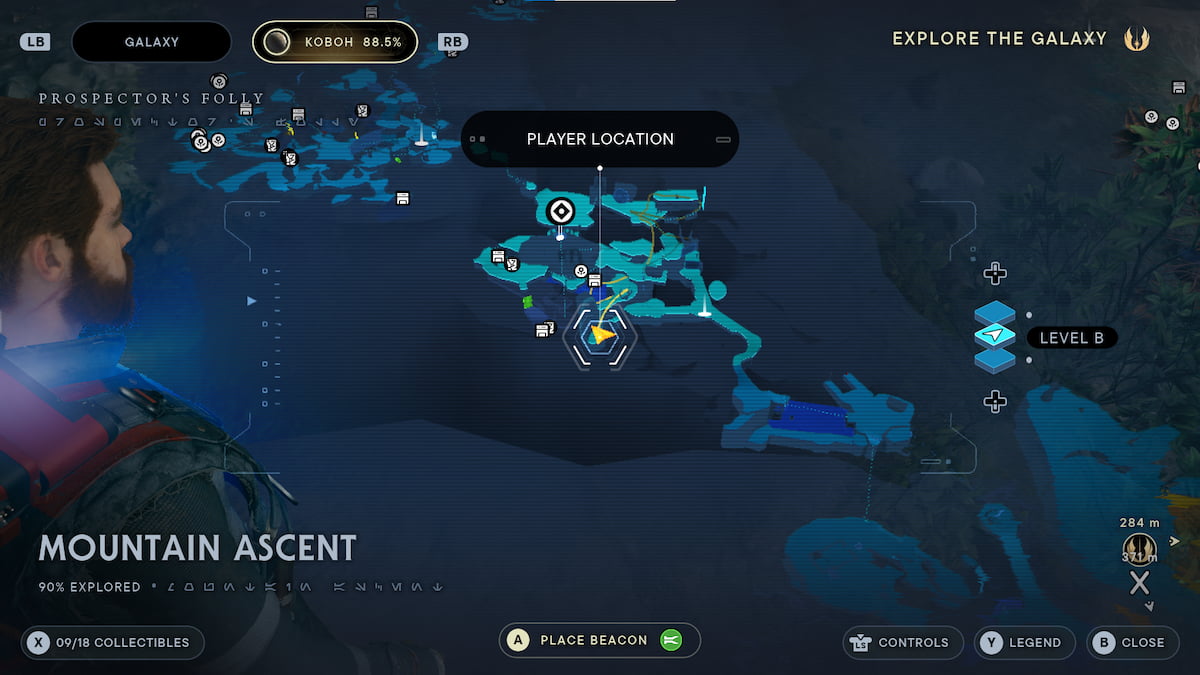
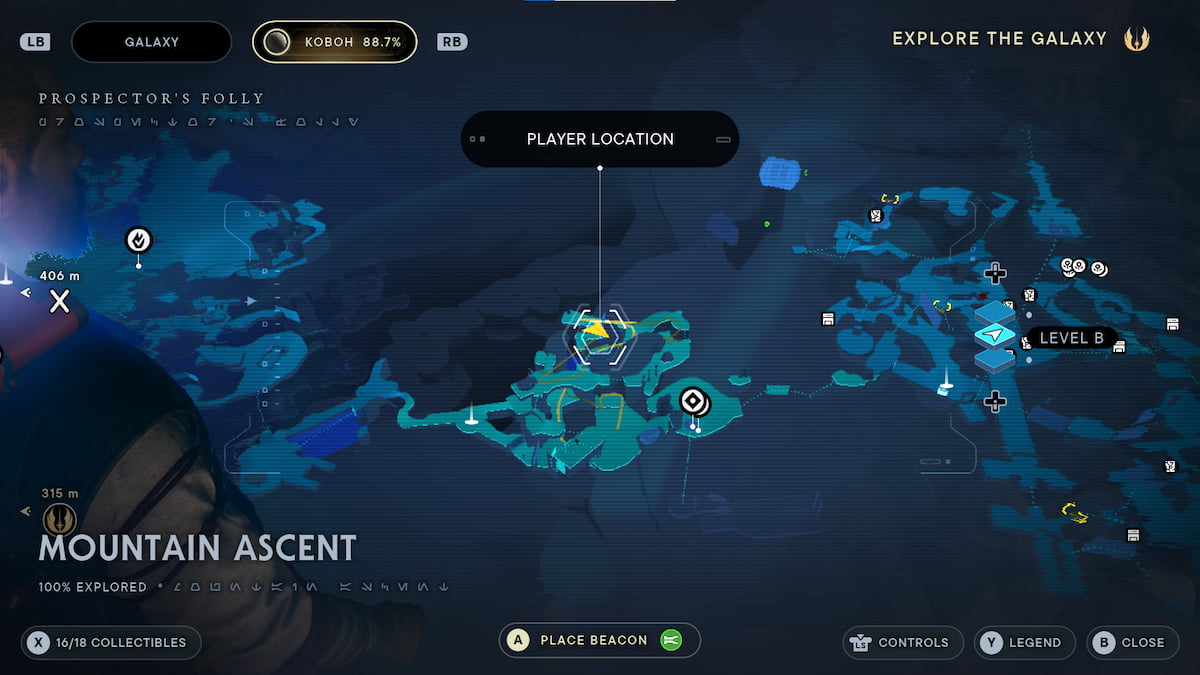
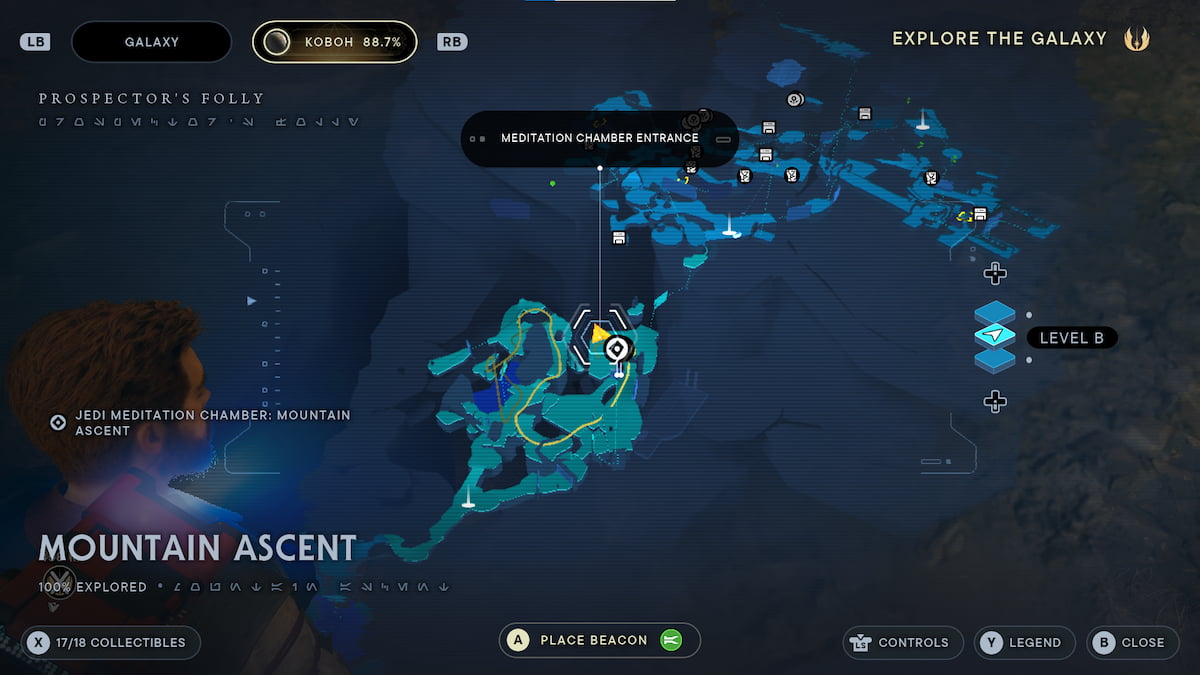
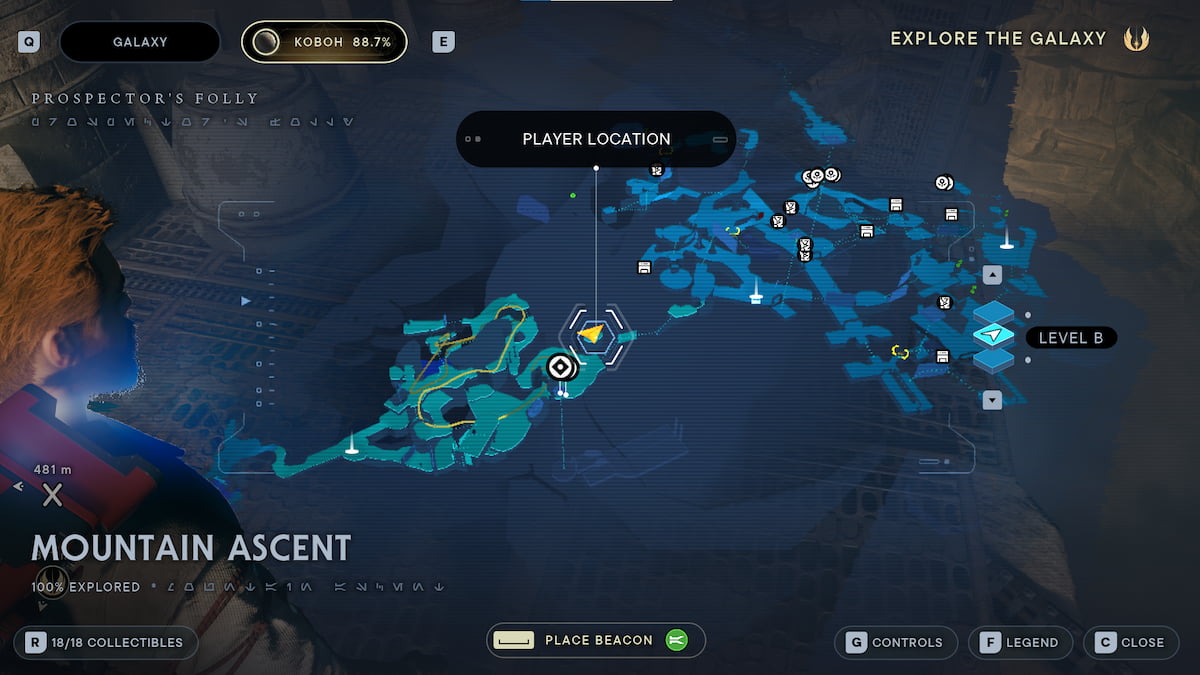
There are 18 Collectibles for you to track down in the Mountain Ascent in Jedi: Survivor. This is one of the medium-sized regions you can find on Koboh, much smaller than the Derelict Dam or the Southern Reach but larger than the Boiling Bluffs or the Sodden Grotto. Many of the Mountain Ascent locations are cut off until you unlock more abilities by completing the main story.
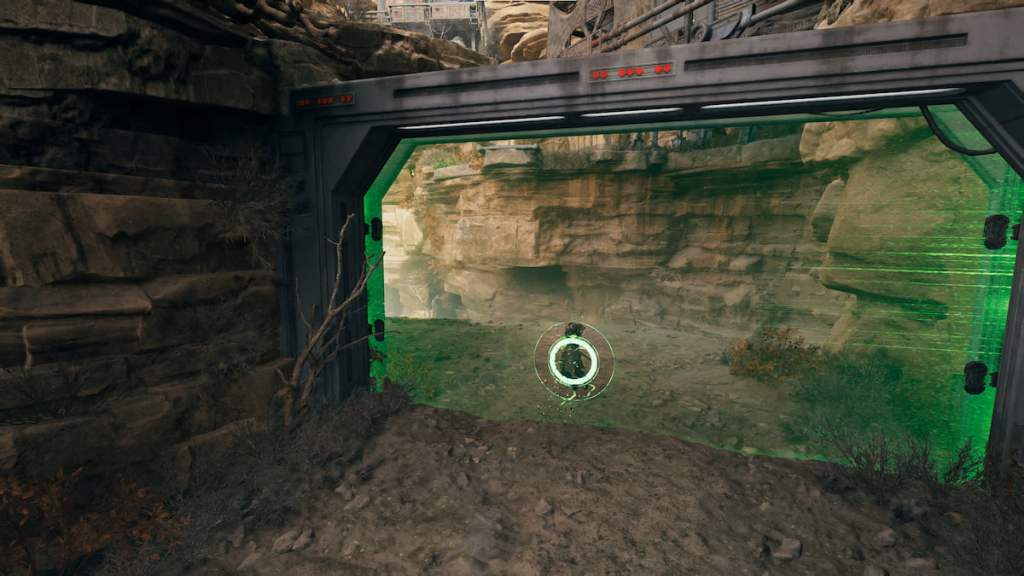
I had the chance to explore this area early in the campaign because it connects to the Foothill Falls region, but the large green shield blocked it. This area is mainly barred by story progression in Jedi: Survivor and I found it easier to check out everything here once the game took me here, naturally, with the campaign.
You find four categories of collectibles in the Mountain Ascent region for Jedi: Survivor. You will find: Chests, Databank Entires, Seed Pods, and Treasures.
All Mountain Ascent Chest Locations in Jedi: Survivor
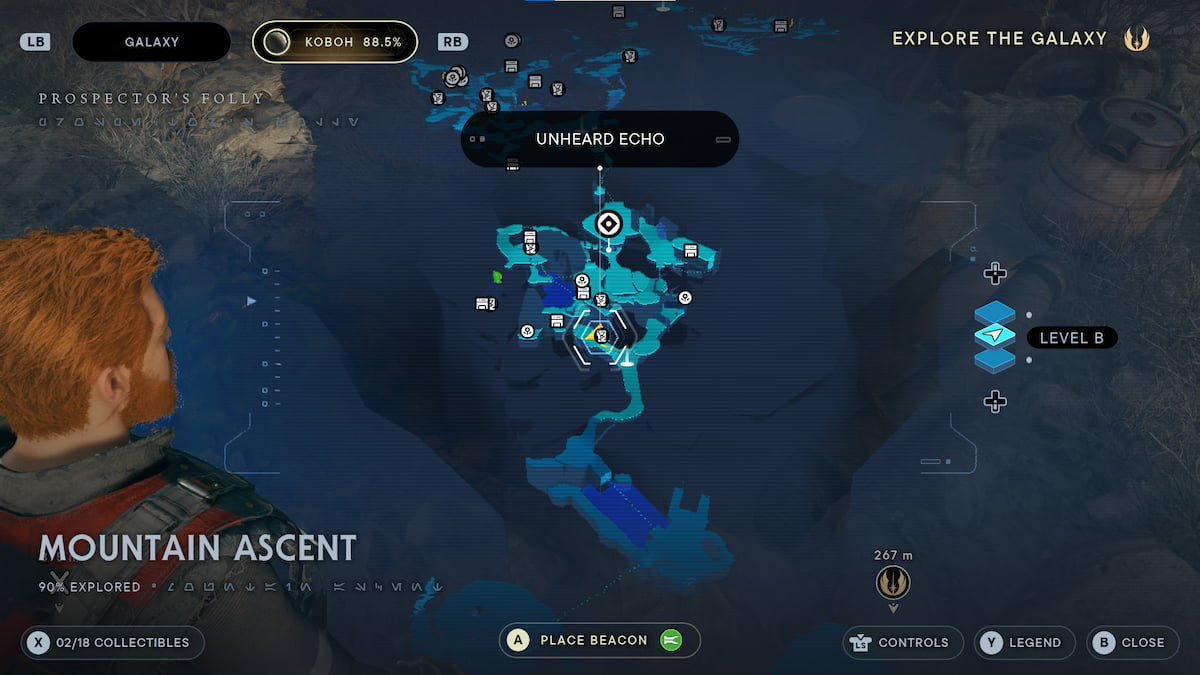
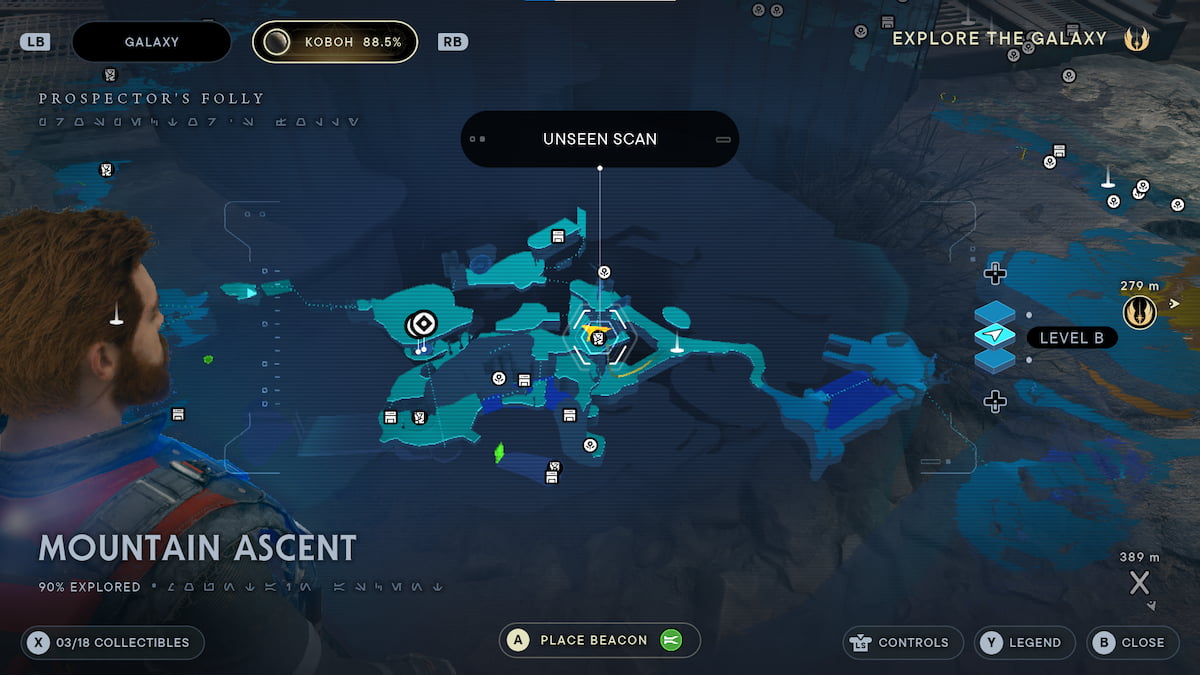
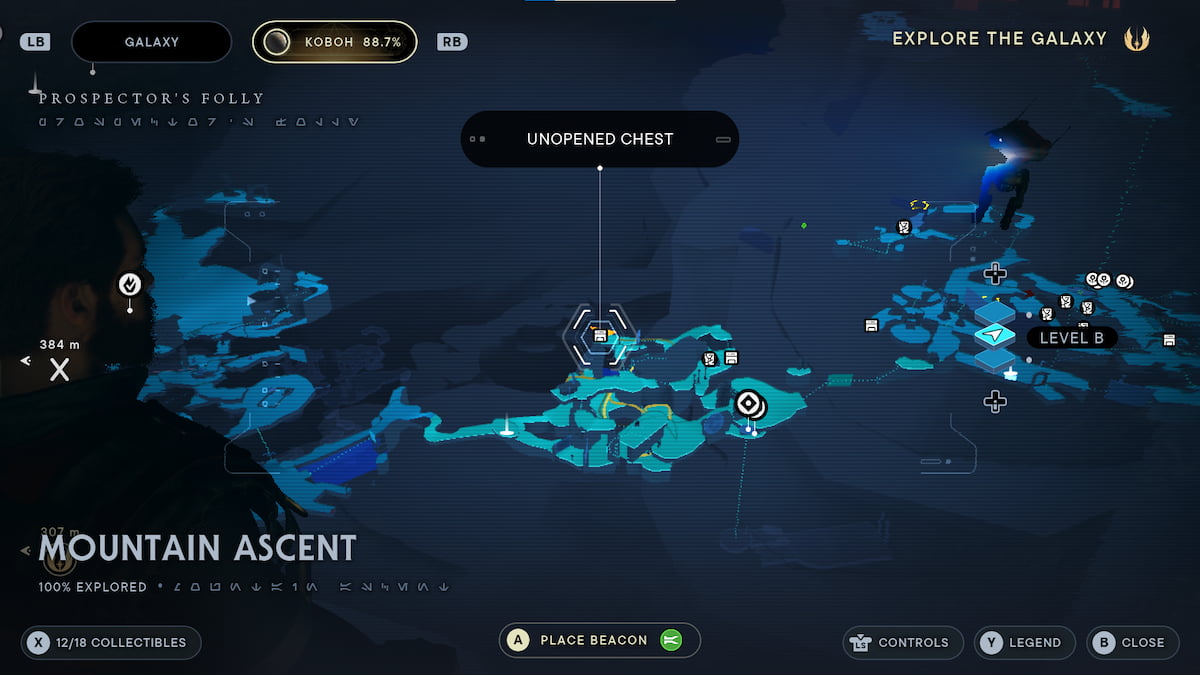
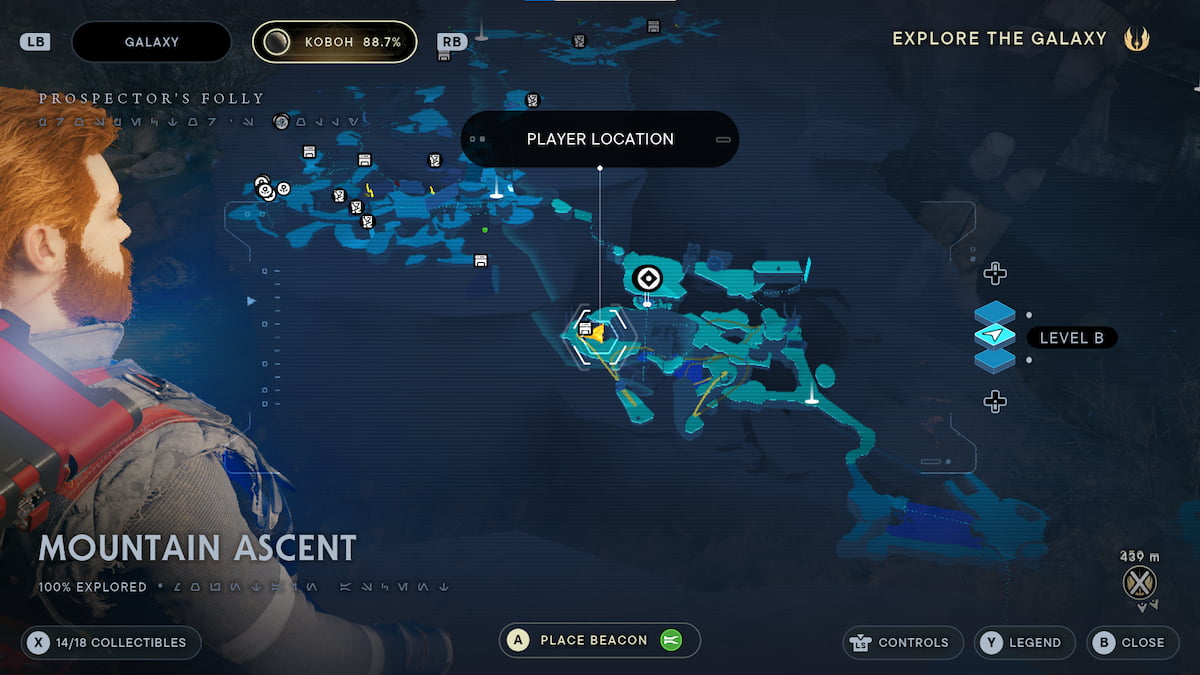
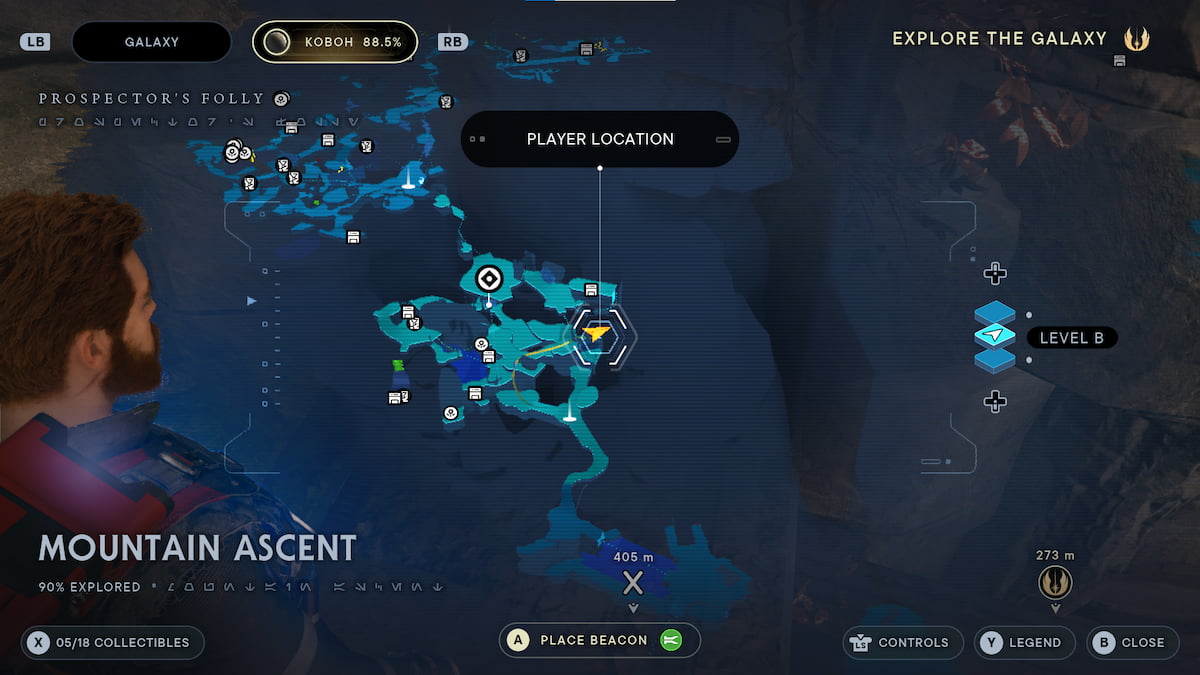
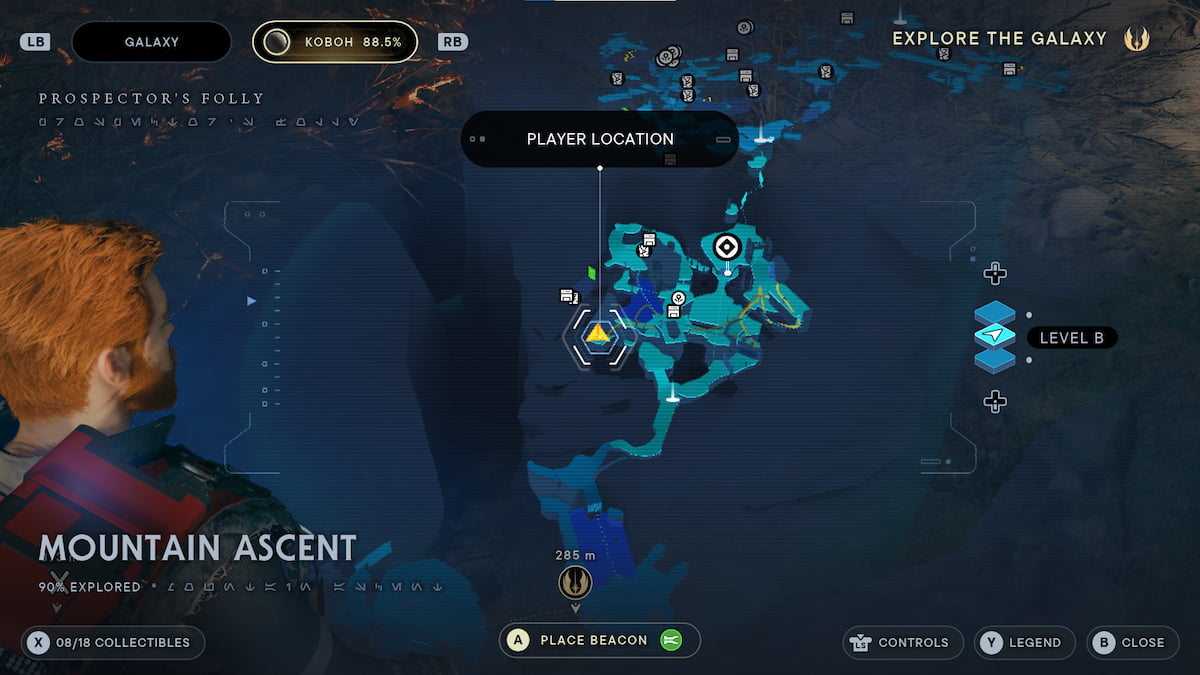
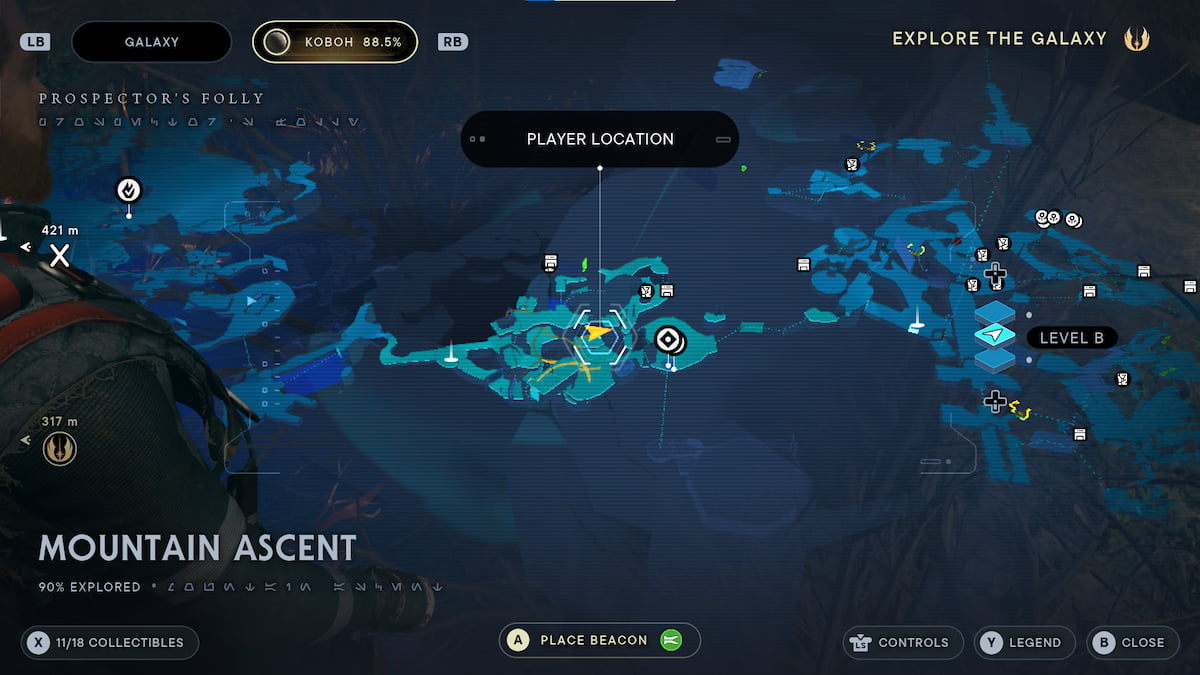
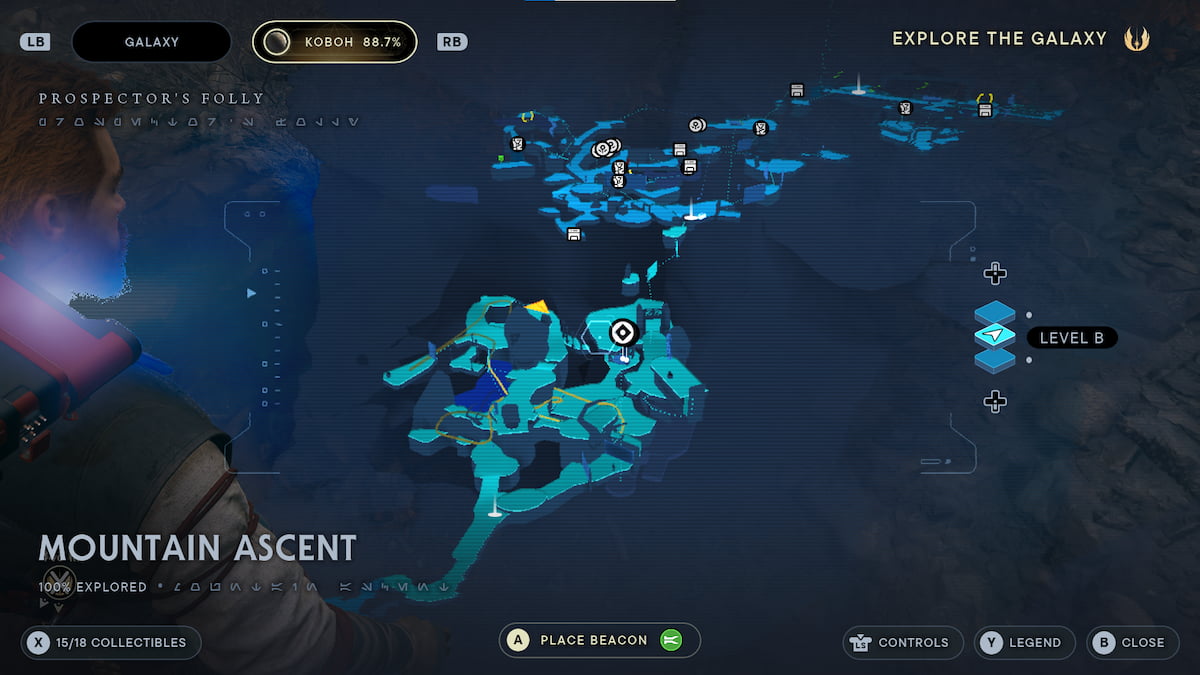
There are six Chests for you to track down in the Mountain Ascent in Jedi: Survivor.
| Chest Location | Chest Collection | Description | Reward |
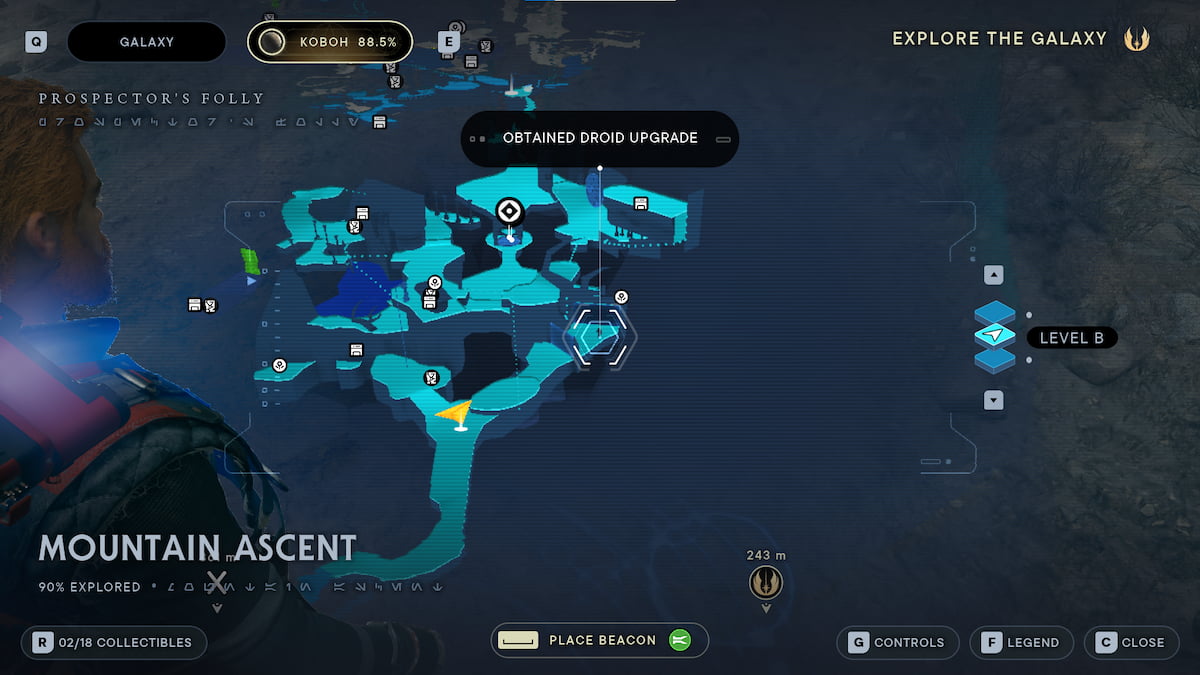 | Chest Location 1 | The first Chest you can find well before you unlock Merrin’s Charm, giving you access to go through Green Shield Doors. You can speak with the Stormtroopers guarding this gate, and trick them into lowering the shield and you can then slice the terminal. | BD-1 Ability: Slice Security Droids |
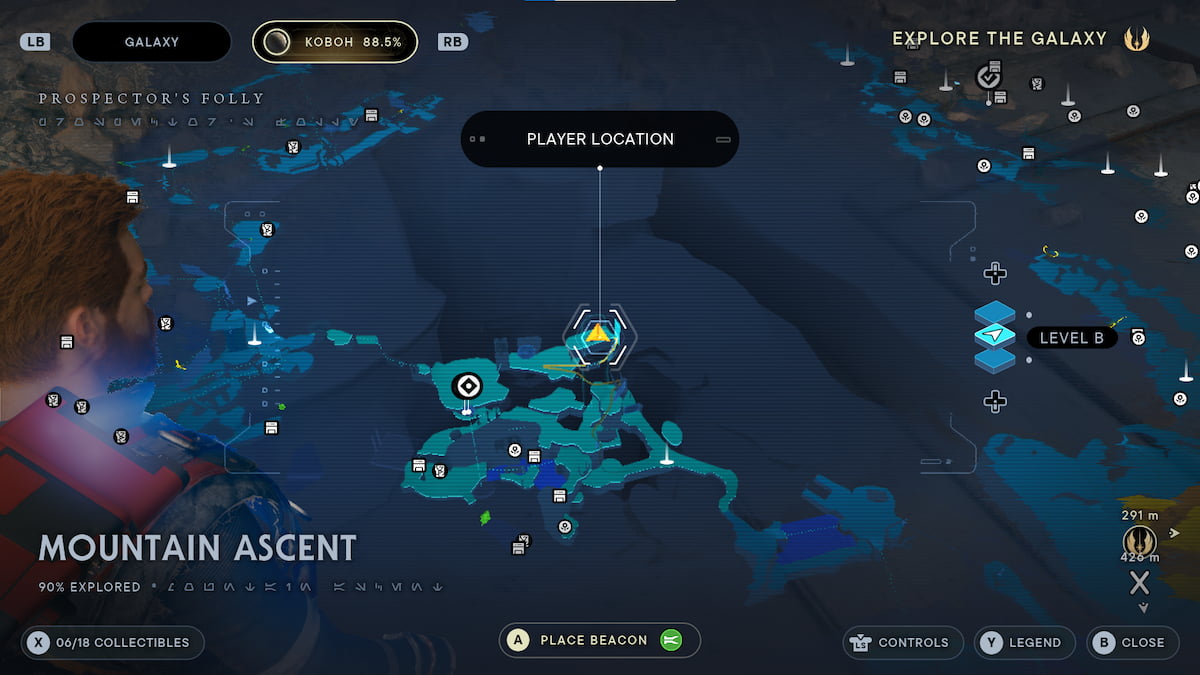 | Chest Location 2 | You can find this Chest above the Military Checkpoint in the Mountain Ascent. You’ll need to use Force Run to jump across the walls and reach the top ledge. There is a container you can open only if you can use the Force Lift and Force Slam abilities. | BD-1 Audio Sensors – Scrapyard |
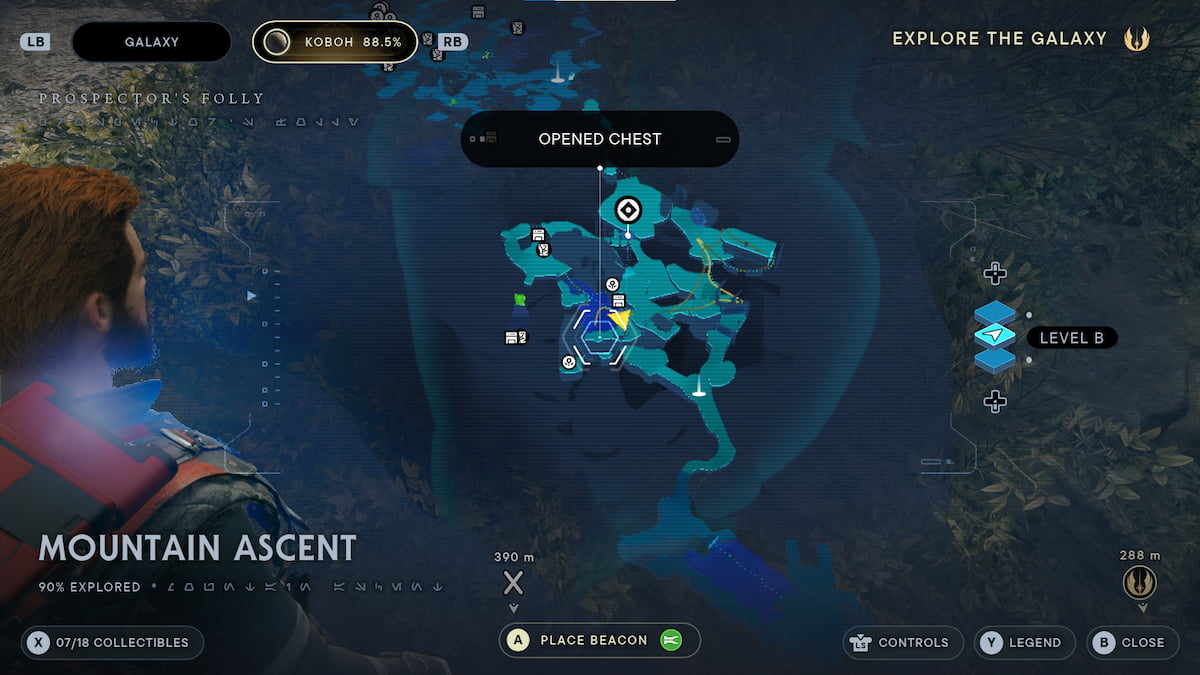 | Chest Location 3 | For this Chest, make your way through the Security Checkpoint, and take a left. You’ll find a pool of water that you can swim through, and at the bottom is where you can find this Chest. | Cal’s Light Mustache and Patch facial hair |
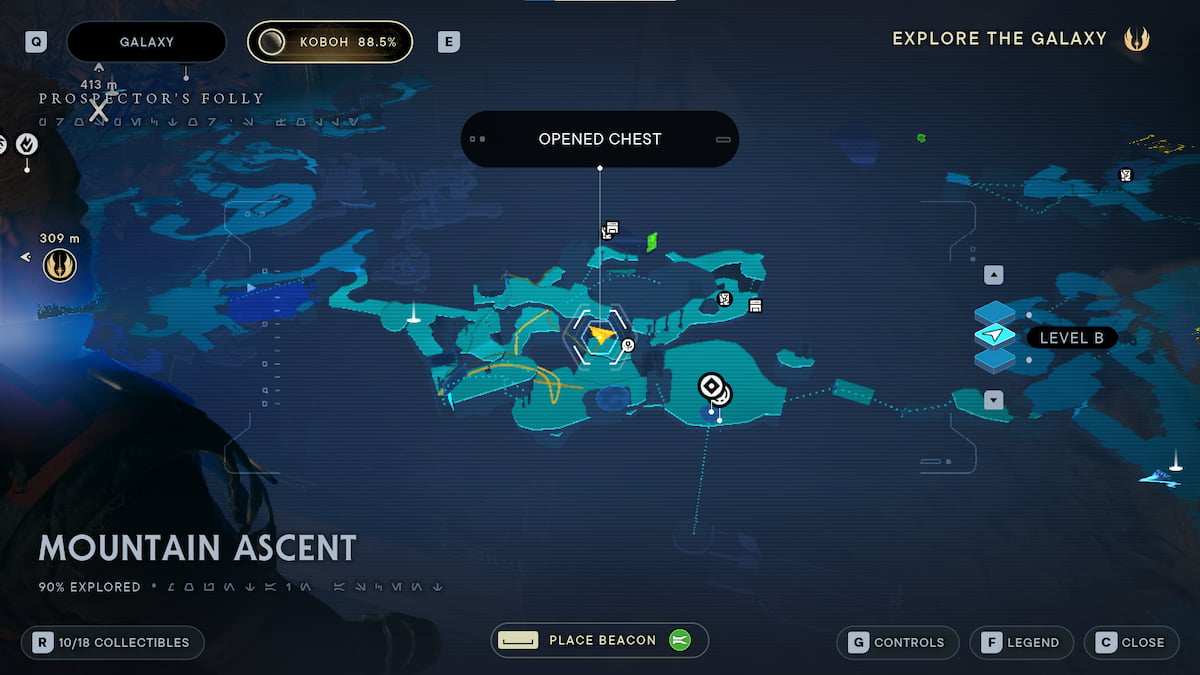 | Chest Location 4 | There will be a Chest in the large pool of water on the right pathway to the Security Checkpoint. This is a lower area where you’ll find Skoova Stev. | Bomber Pants Material Colors |
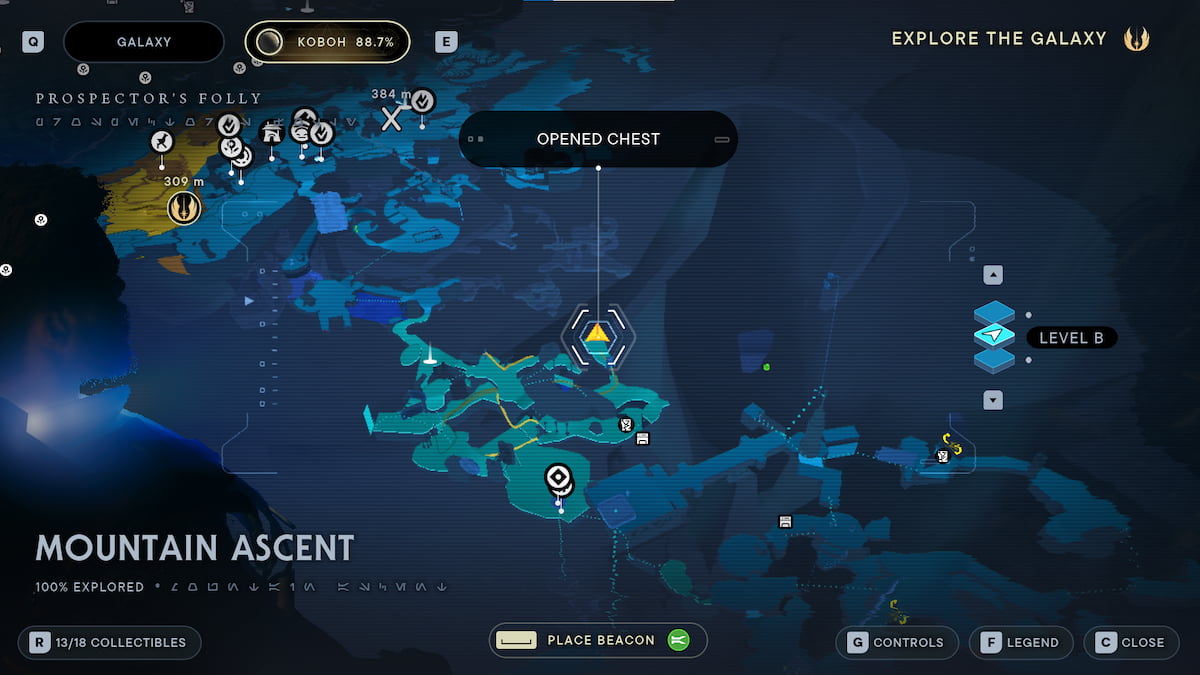 | Chest Location 5 | There is a Chest inside a Shiverpede cave. You can find this cave by going to the left after using a grappling hook to reach a running wall and then using the Force Lift ability to open a door. The Chest is in the back of the cave. | Cal’s Mustache and Patch facial hair |
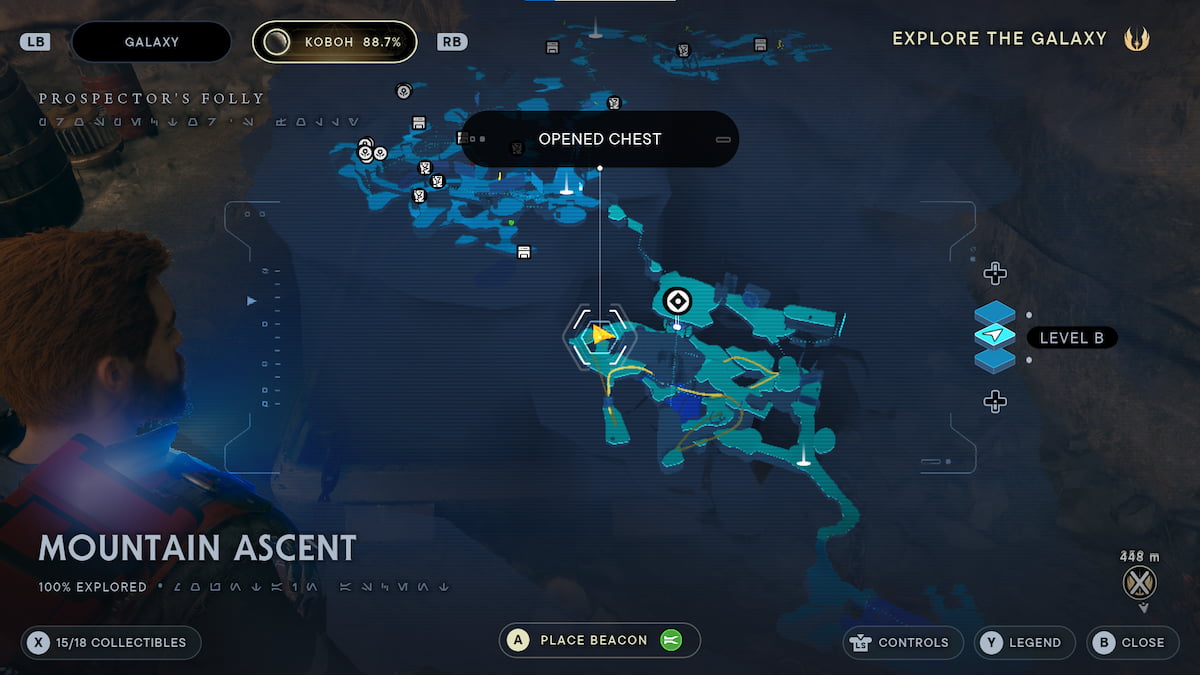 | Chest Location 6 | The final Chest is deeper in the Mountain Ascent region, close to the end of this area. You’ll find it below a cliff, next to a downed Tie-Fighter. You will need to use the Force Lift and Force Slam abilities to open the Chest. | Drifter Jacket Material Colors |
All Mountain Ascent Databank Locations in Jedi: Survivor
There are four Databank entries for you to find in the Mountain Ascent region of Jedi: Survivor.
All Mountain Ascent Seed Pod Locations in Jedi: Survivor
You can find four Seed Pods in the Mountain Ascent of Jedi: Survivor.
All Mountain Ascent Treasure Locations in Jedi: Survivor
The Mountain Ascent has four treasures you can find in Jedi: Survivor.
And that’s it! Check out our other Star Wars Jedi: Survivor guides below so you don’t miss any hidden secrets on your journey.
Jedi: Survivor Walkthrough | All Koboh Collectibles & Where to Find Them | All Abilities & How to Unlock Them | All Lightsaber Stances & How They Work | How Players Can Customize Lightsabers | How to Find T-1N8 | How to Help the Pit Droid with its Stuck Ship | All Chests & Rewards Players Can Find with T-1N8



Published: Jun 9, 2023 01:52 pm