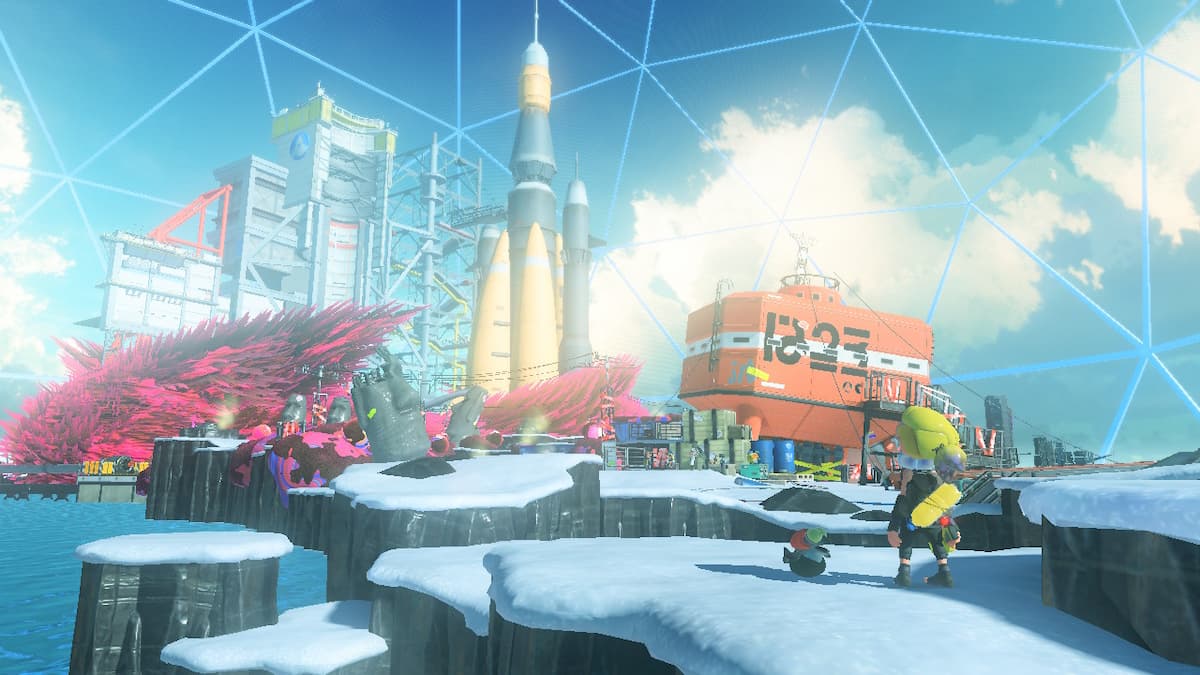
Splatoon 3, like both of its series predecessors, comes with a single player campaign that’s a good way to either learn the ropes or shake off some rust. While this is the most expansive of the campaigns, it’s still more a series of self-contained one-off levels than a traditional shooter story mode. As such, a lot of the missions require you to use your abilities strategically or think in seemingly unconventional ways. Switching Things Up definitely fits into this category, as it’s more of a puzzle than a test of your combat prowess.
Related: The best Specials in Splatoon 3 – All special weapons, ranked
How to find Switching Things Up

You can find Switching Things Up in the second site in Alterna: Cozy and Safe Factory. It shouldn’t take too long to unlock the hatch after you enter the area, assuming you’re heading straight for it and have a few Power Eggs leftover from your time in Future Utopia Island. The only trick is tracking it down, which you can do by heading to the area shown above, which is underneath the large structure in the middle of this zone.
Switching Things Up walkthrough – All switch locations
Although there are a few enemies that pop up throughout Switching Things Up, the main puzzle here is (as the name implies) finding and activating all the switches in the level, some of which are hidden pretty well.

The first switch in the level is the most straightforward. Just give it some ink and its block will fly off, opening up a platform for you to cross into the large structure ahead.

The second switch is hidden, but not too well. It’s just behind this enemy on the platform. Take it out and flip the switch to proceed.

After you round the corner past the previous enemy, you’ll come upon your first dangerous combat encounter in a long alley with a bit of cover. Once you take out your targets, you can find a switch on the back side of the farthest platform in the room.

You can find the next switch by jumping down the hole left by the previous switch. It’s just to your right after you land, on the ceiling.

After this, head down the platform and ink the wall at the other end, allowing you to climb it. At the top, you’ll see a stack of crates directly in front of you. Destroy them to find the switch hiding behind.

From here, just turn right and look up. You’ll see the next switch on the ceiling here.

Don’t look back down after this. As you head down the hallway, you’ll be ambushed by a couple of enemies that appear on the ceiling. After taking them out, just keep moving forward to hit the next switch.

Hitting the previous switch will trigger another ambush, this time just to your right. Don’t leave just yet, though, as there’s a sneaky switch just behind you, hiding on the bottom side of the block shown above.

You can find the final switch around the corner where you were just ambushed. First, you’ll need to defeat an enemy with a gatling gun. To do this, just take cover until it’s done firing and use a trail of ink to quickly close your distance and hit it at close range. From here, just go straight ahead to hit the final switch and swim up the tower to the exit.
- Ink your turf and defeat foes with the splat-tastic Nintendo Switch Pro Controller – Splatoon 3 Edition
This article includes affiliate links, which may provide small compensation to Gamepur.


Published: Sep 12, 2022 12:15 pm