In Pikmin 4, the boss battles pose formidable challenges, living up to their name. These powerful foes are considerably tougher than regular enemies encountered throughout the game. Despite the difficulty, the satisfaction of triumphing over these challenging foes and reaping the rewards makes the effort worthwhile.
Recommended Videos
Here is everything you need to know about Bosses in Pikmin 4 and how to defeat them.
Related: Pikmin 4 Beginners Guide: Tips & Tricks For Rookie Rescuers
Boss Battle Tips and Tricks for Pikmin 4
We’ve seen our fair share of bosses in Pikmin 4, so here are some general boss battle tips to prevent these big baddies from wiping all your Pikmin:
- Increase your chances of success by strategically selecting different types of Pikmin according to the specific demands of each battle.
- Boss Battles can quickly wipe your and Oatchi’s health, so keep Emergency Kits and Scrum Bones at hand before facing boss battles.
- Defeating these mighty adversaries and returning their remains to the base camp will reward players with generous amounts of Sparklium, ranging from 12 to 30 units.
How to Find and Defeat All Pikmin 4 Bosses
Here are the bosses you’ll come up against in Pikmin 4 and where to find them, along with a few tips on how to defeat them.
| Appearance | Boss Name | Location | Weight | How to Defeat |
|---|---|---|---|---|
 | Empress Bulblax | Kingdom of Beasts Cavern for a King | 20 | Empress Bulbax will unroll and deal damage by rolling to the sides. Stay either in front or behind her to avoid damage. |
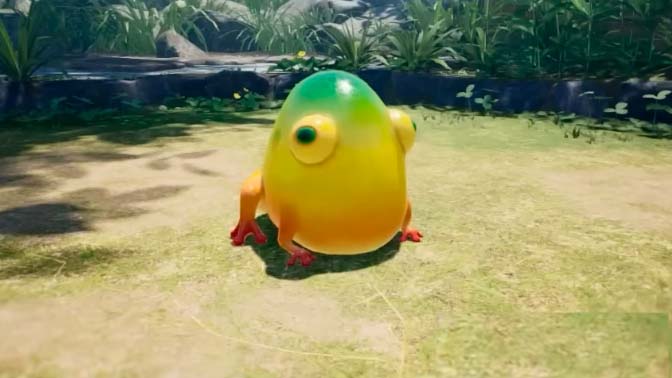
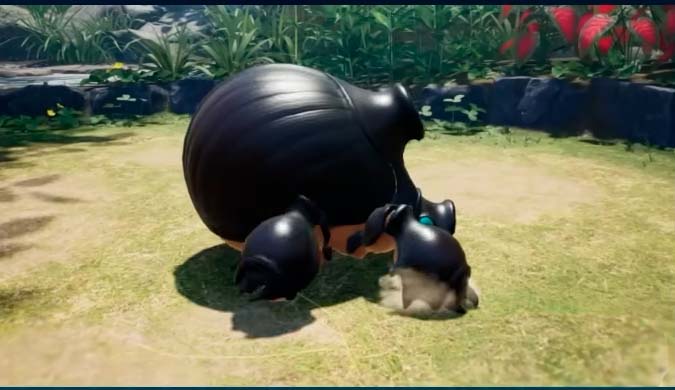
 | Puffy Blowhog | Drafty Gallery | 5 | Puffy Blowhog has a powerful wind gust attack that can blow you and your Pikmin back. Deal damage until it’s stunned, or freeze it to create an opening. |
 | Foolix | Secluded Courtyard | 5 | Target the Foolix’s tail to remove its protection. Unleash as much damage as possible to reduce its health bar before it goes back up. When it recovers, retreat Pikmin. Rinse and repeat. |
 | Emperor Bulblax | Kingdom of Beasts Cavern for a King | 15 | Focus on one Emperor Bulbax at a time. It performs a deadly shout attack, so stick to its sides but target its face to deal damage. |
 | Masterhop | Seafloor Resort | 15 | Masterhop will leap and stomp the ground, dealing damage to Pikmin. Deal damage, but retrieve them as soon as he leaps to avoid losing them. |
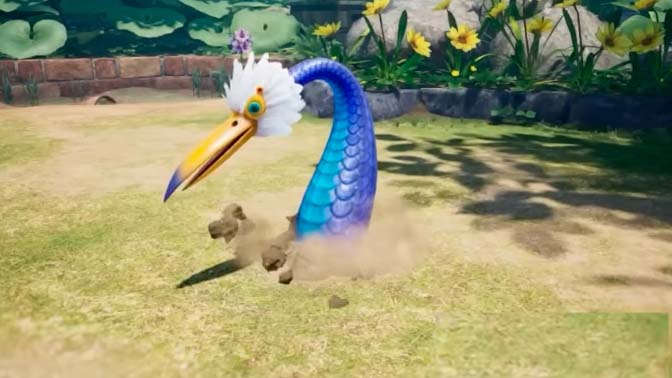 | Burrowing Snagret | Blossoming Arcadia | 15 | Wait for Burrowing Snagret to attack. It’s time to deal damage when its beak is buried in the dirt. If possible, use Ice Pikmin to freeze it and maximize this opening. |
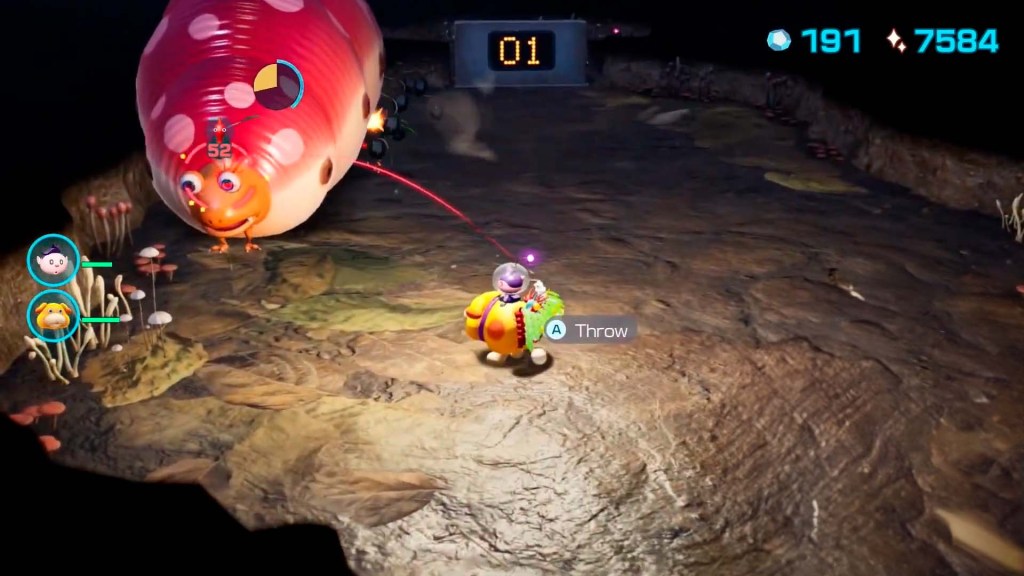
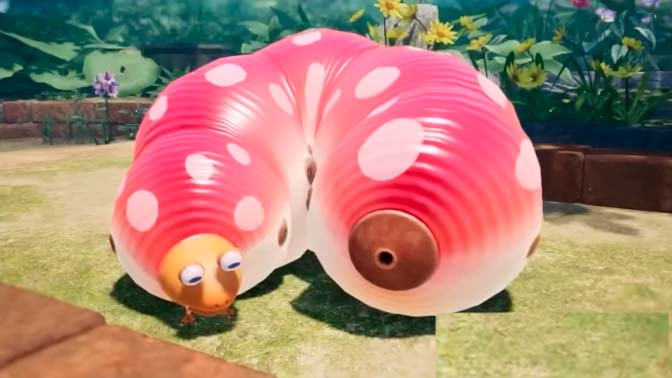
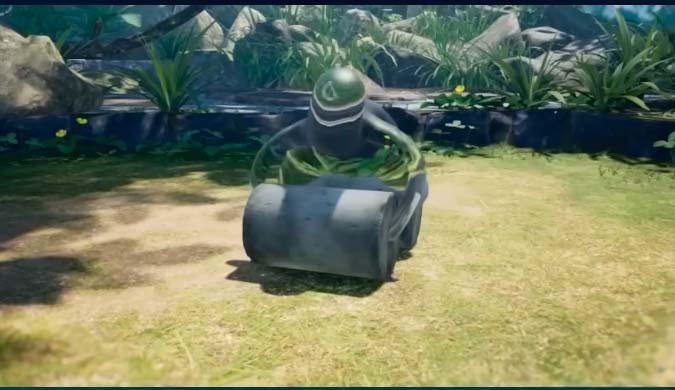
 | Crusted Rumpup | Serene Shores | 20 | Target the Crusted Rumpup’s back to deal the most damage. Avoid leaving Pikmin in front of it, or they will be swallowed. |
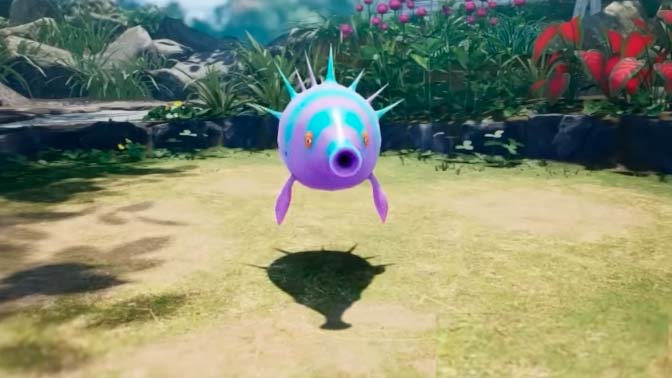
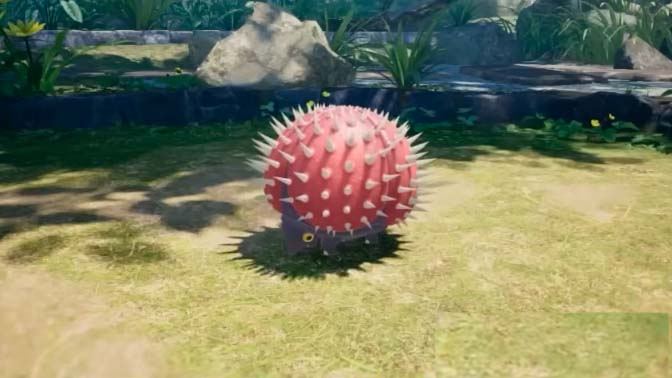 | Porquillion | Sun-speckled Terrace Plunder Palace Cradle of the Beast | 12 | Wait for the Porquillion to throw its spikes, then deal relentless damage. |
 | Sovereign Bulblax | Cavern for a King | 30 | Target its head for maximum damage, but beware of its tongue and stomp attack. |
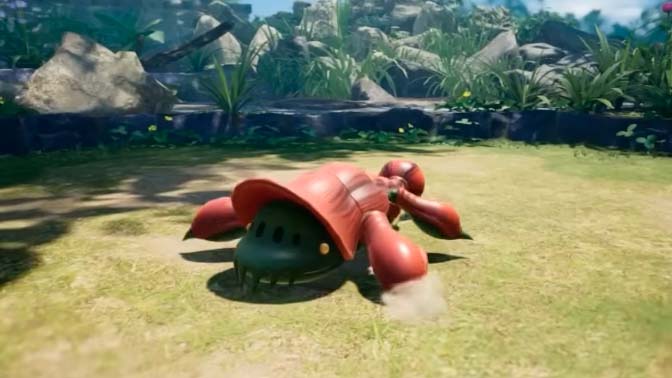
 | Horned Canon Beetle | Hero’s Hideaway Cavern for a King | 30 | Avoid its front to prevent your Pikmin from getting vacuumed. Wait for it to flutter its wings and expose its shell Pikmin toward its soft spot. |
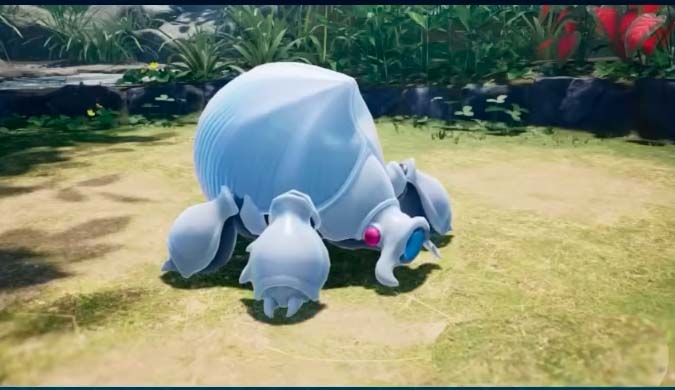 | Arctic Cannon Beetle | Subzero Sauna Cavern for a King | 30 | Same as above. |
 | Man-At-Legs | Cavern for a King | 12 | Keep moving to avoid its missiles. When the gun’s out of sight, it’s time to attack. |
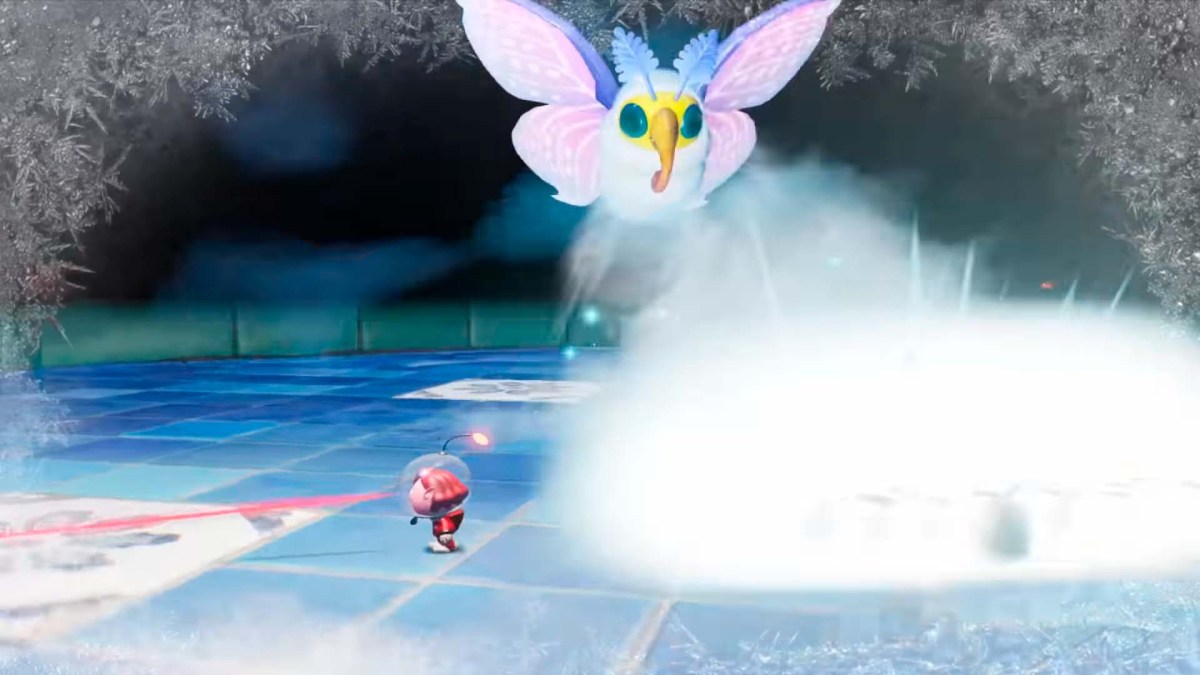
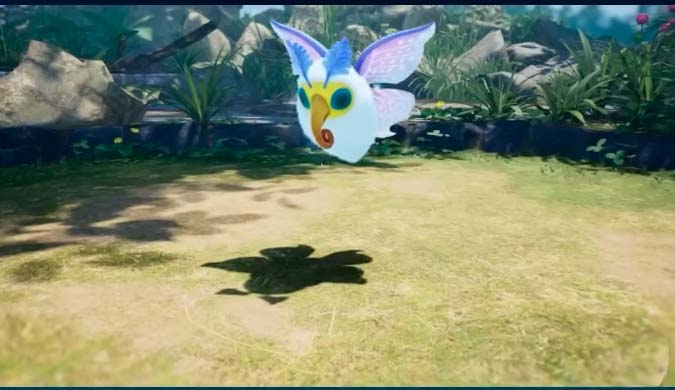 | Snowflake Fluttertail | Frozen Inferno | 15 | Break the cocoon to deal damage. |
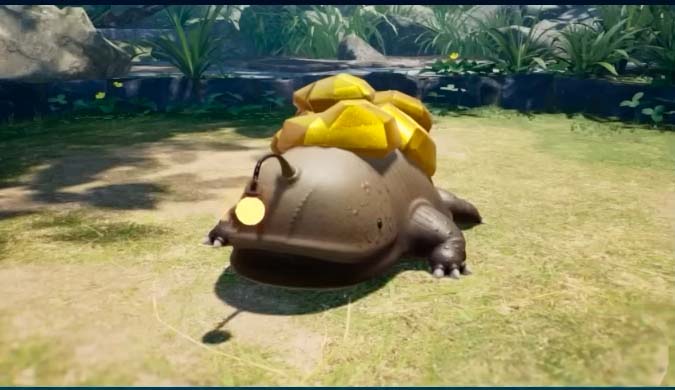 | Gildemander | Cavern for a King | 20 | Break the gold ingots on its back to reveal its weak spot. |
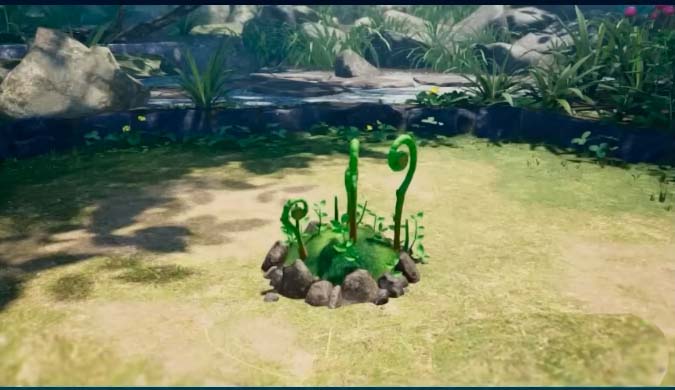
 | Puffstool | Primordial Thicket | 12 | Keep dealing damage to flip the Puffstool over. Once upside down, use Ice Pikmin to freeze it in place and deal damage. |
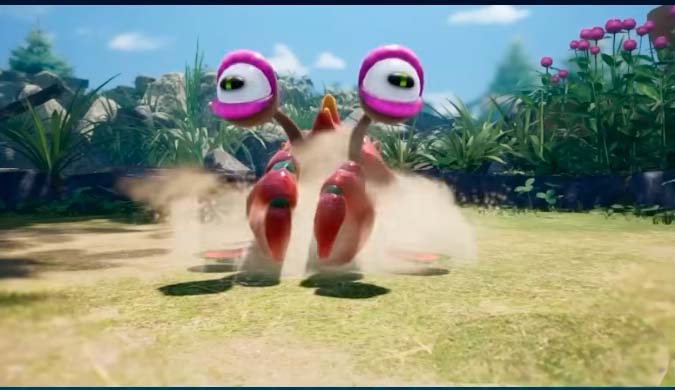 | Bug-eyed Crawmad | Serene Shores | 15 | Target its buggy eyes to stun it and deal damage. |
 | Waterwraith | Engulfed Castle | n/a | Deal relentless damage while avoiding its slam attack. |
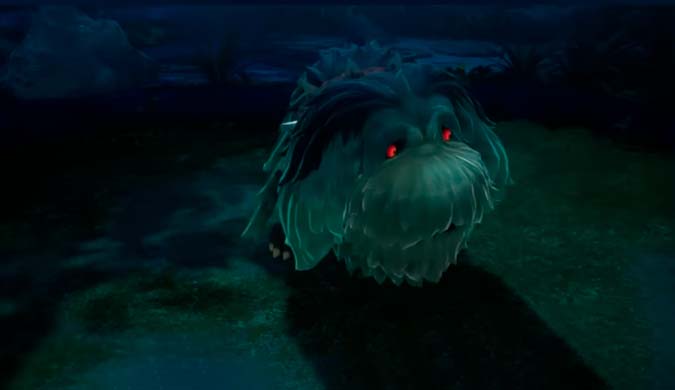 | Ancient Sirehound | Cavern for a King | n/a | Phase 1: Avoid the slam charge and deal damage when its belly is exposed. Phase 2: Avoid being bit by snowballs and take advantage of all openings. Phase 3: Take advantage of its electric attack immobility to deal damage. Phase 4: Dodge fireballs, stomps, and stand on the Sirehound’s back. Phase 5: Progress through the fog patches while avoiding the beams to flip the SIrehound one last time. |
Gamepur is supported by our audience. When you purchase through links on our site, we may earn a small affiliate commission. Learn more about our Affiliate Policy


Published: Jul 26, 2023 02:44 pm