One of the best features in PUBG, aside from the battle royale gameplay itself, is the replay mode. This is where you can revisit footage of your past victories and create videos, take screenshots, or just see the battle from a different angle. However, it’s not easy to use straight away, so we’ve put together this guide to help you get to grips and learn how to use the controls in replay mode.
What is Replay?
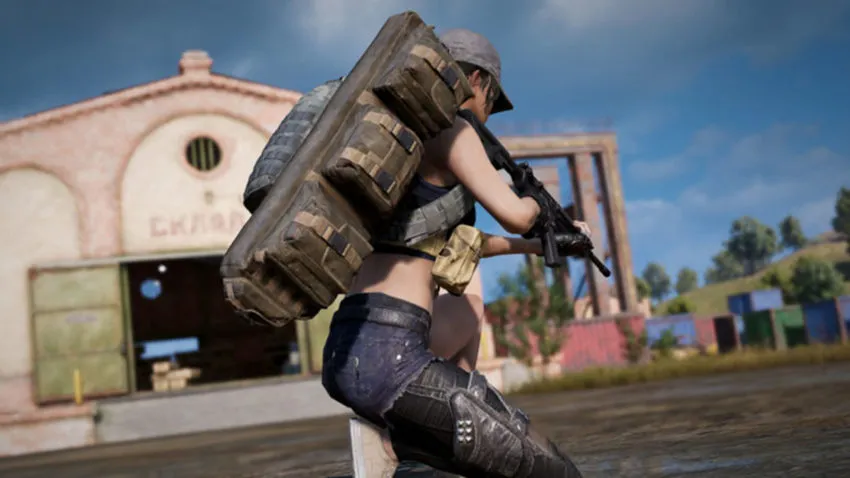
Every game played in PUBG is recorded. While you can tweak the settings to change just how much of each game is recorded, the default settings will record everything and store it in Replay, ready for you to use. The idea is that it lets you see your Chicken Dinners from start to finish so that you can study what you did, how close you came to losing, and remember how sweet victory tastes, particularly when you find a garage on Vikendi.
How to open Replay
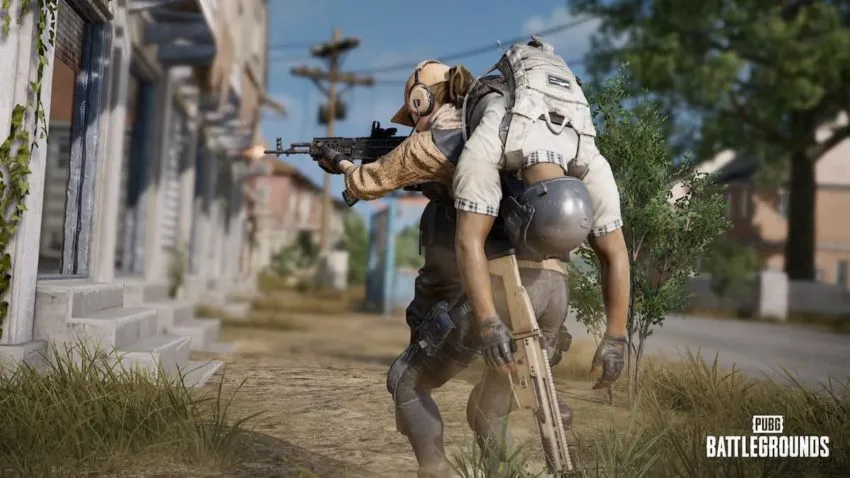
To access your in-game replays, navigate to the Main Menu > Career > Replays and select your game of choice. The replay will begin from the moment the aircraft starts flying over the map and will, by default, follow your in-game character’s perspective. Below is a list of the top PUBG replay system controls.
PUBG Replay controls
- Zoom in/out the camera — Scroll your mouse wheel up to zoom the camera in and down to zoom out. This is perfect for creating shots where you want to change the angle or follow a bullet creatively.
- Free camera move up/down — Press “E” to move the free camera up and “Q” to move it down to get the perfect line of sight.
- P: Pause — Stop the footage from playing while you think about what you want to do next.
- J: Toggle timeline on/off — A timeline will appear at the bottom of the screen, which can be selected with the left click button anywhere along the bar to hop to any point of time within the game. You can also pause, stop, and change the speed of the recording from here, among other things.
- X: X-ray vision — Use this to turn on X-ray vision and see the characters’ bones on screen as they crumple.
- TAB: Toggle player list on/off — A player list will pop up on the left-hand side of the screen, displaying the entire player list of the server. Clicking on any of the players’ names will jump to their perspective.
- B: Back to your character — Immediately jump to your character’s perspective.
- M: open map — Once opened, icons of all alive players are visible. Selecting any player with left click will jump to their perspective.
- F/space: Toggle free camera — Move your camera with ‘WASD,’ left-click on the screen and drag the mouse to turn accordingly.
- C: Follow camera — Toggle this on to have the camera follow your character.
- V: Spectator camera — Toggle this camera to become a spectator to the violence on-screen and move freely around.
- Y: Third person spectate — Toggle to third-person perspective, and left click to return to first-person perspective
- Increase/decrease play speed — Press the up arrow to increase the play speed and down to decrease it so that you’re happy with how fast the footage is playing.



Published: May 30, 2022 08:00 am