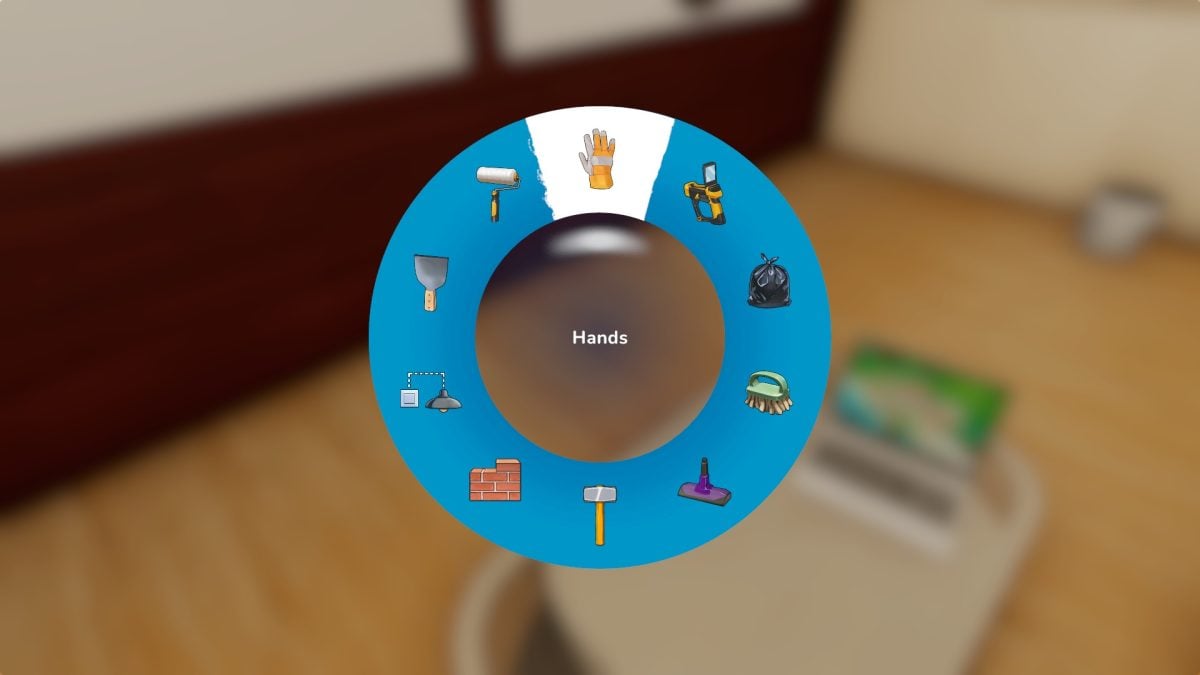
House Flipper 2 puts players in the role of an aspiring renovator, but they don’t start with a full arsenal of tools. Instead, they’ll have to prove their worth with a trash bag and mop, slowly unlocking each new skill with challenging quests.
When starting up story mode in House Flipper 2, players will only have access to the trash bag, sale gun, and cleaning supplies. It’s a fair bit more than PowerWash Simulator’s tool set, and a lot to juggle. However, even the house the main character lives in needs a fresh coat of paint, and to get that roller they’ll have to get to work.
Related: House Flipper 2 Review – Lost In An Addictive Customization Sea
How to Unlock The Vacuum in House Flipper 2
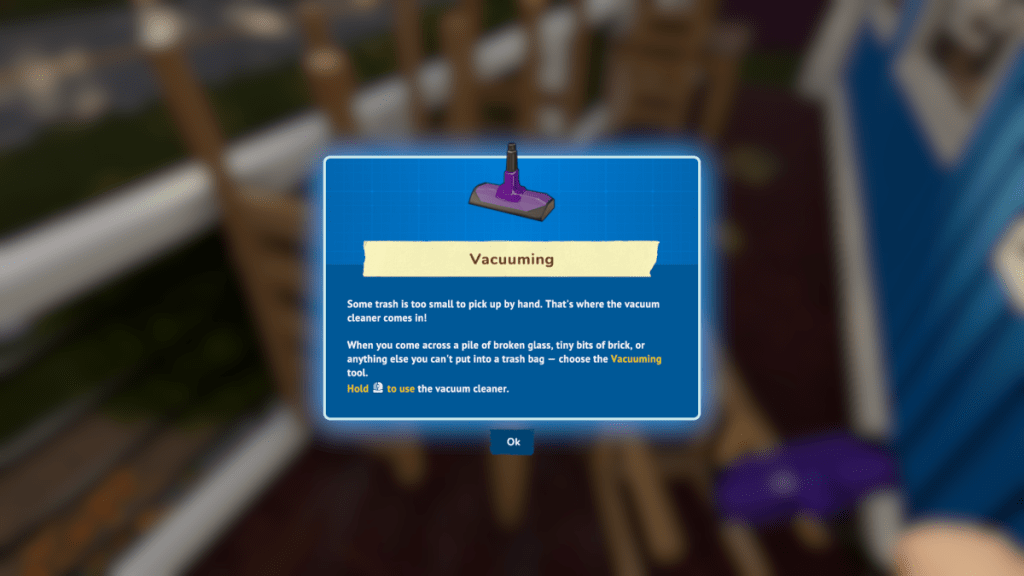
To unlock the Vacuum in House Flipper 2, players must complete the “Out with the old!” quest. This quest introduced the mechanic and will add the tool to the selection wheel for other jobs and flips in the game.
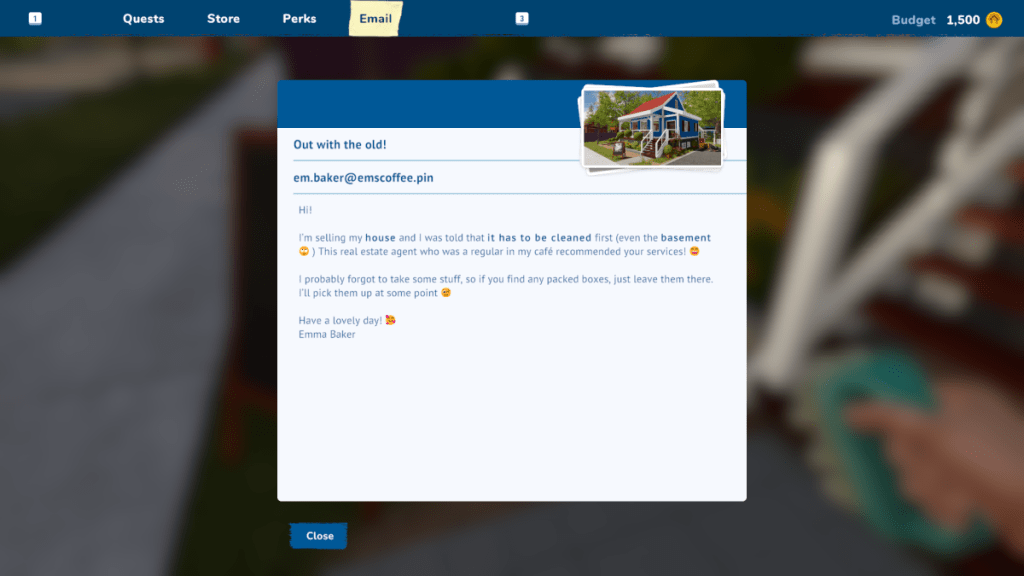
This quest becomes available as an email after completing the first few quests and focuses on a cleaning job so that the owner can sell the property. Vacuuming is a bit janky, as it doesn’t feel like the vacuum is on the carpet like the scrub brush does on walls and floors, but it gets the job done – and that is the most important part.
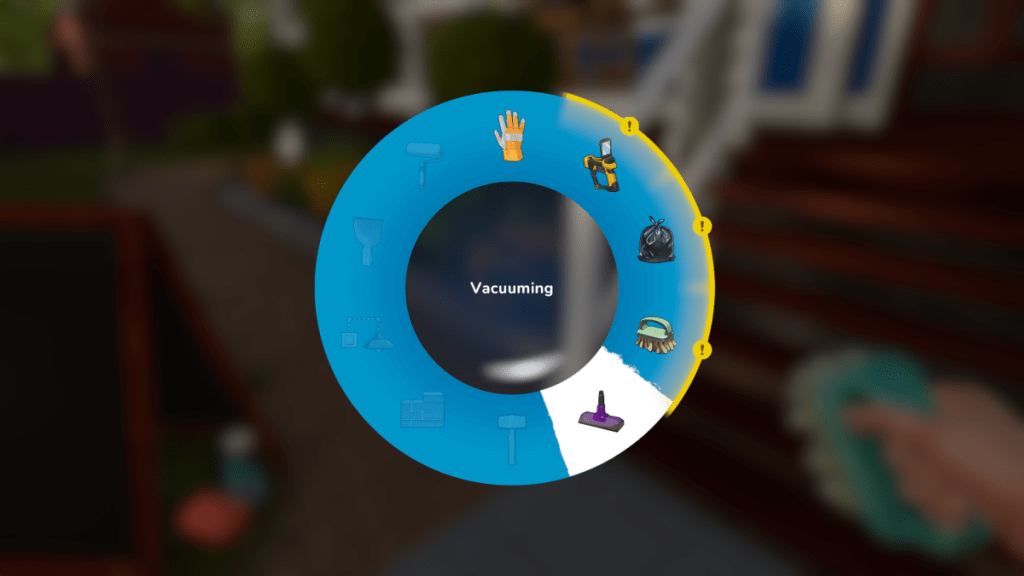
Once the job is done, the vacuum can be used at any time, allowing players to finally clean up the grit and glass on the floor of their own home.
How to Unlock The Paint Roller & Wiring In House Flipper 2
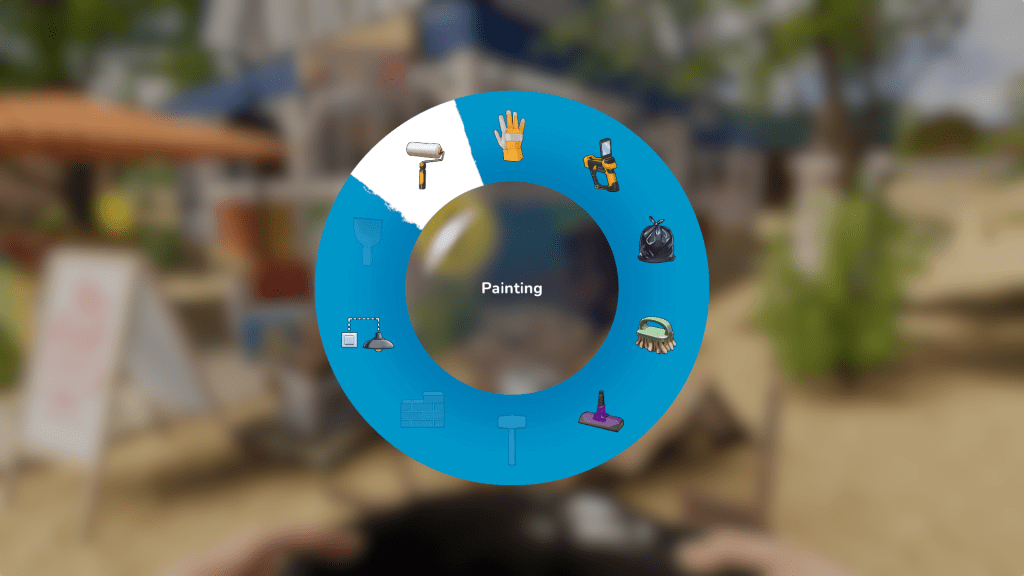
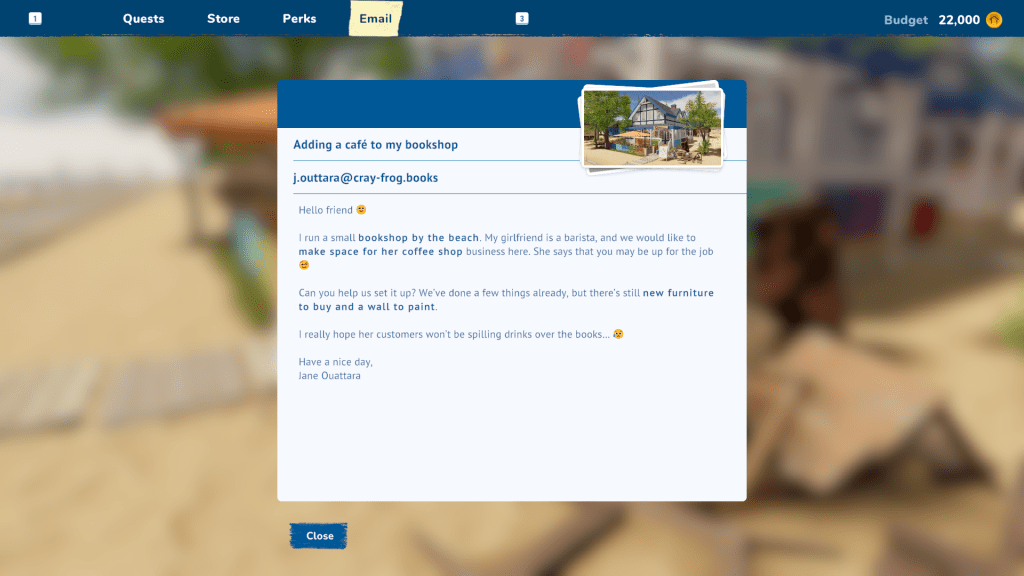
To unlock painting and wiring in House Flipper 2, the player must complete the “Adding a café to my bookshop” quest. This location will teach players the basic mechanics of painting and how to wire lights so they turn on when connected to switches.
The painting mechanic in House Flipper 2 isn’t as straightforward as throwing the roller on a wall. Instead, players will need to highlight the area they want to apply paint to. In tutorials, this area will be highlighted when the roller is selected. Then, the roller must be dunked in a paint bucket containing the desired color and rolled square by square along the selected surface.
Tip: As you unlock Perk Points in House Flipper 2, your paint will go further, and the area you can interact with becomes less restricted. So be sure to allot those points as they are unlocked!
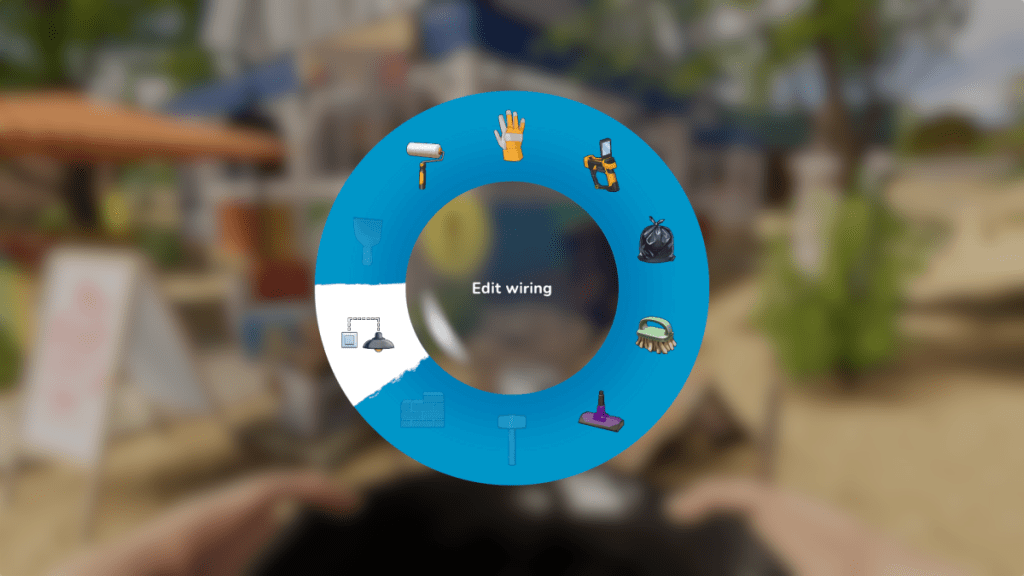
The wiring tool is easier to use. Players can click on a light source when the tool is selected and then connect the wire to a desired switch. While this isn’t how electrical work functions in real life, this point-and-click method makes it easy to arrange mood lighting however players like.
How To Unlock Wallpaper & Flooring in House Flipper 2 – Surface Finishing
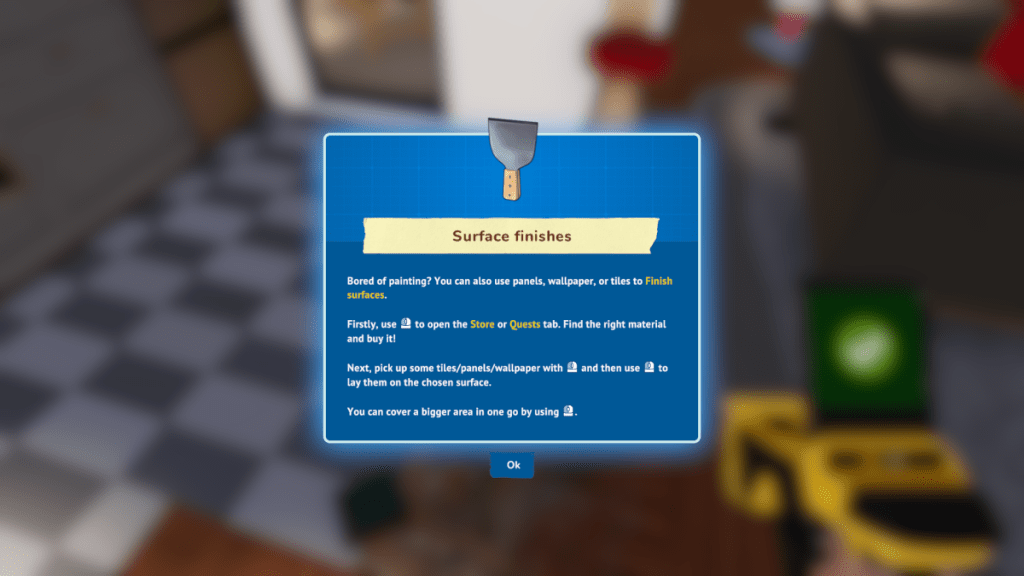
To unlock wallpaper and flooring in House Flipper 2, players need to access the Surface Finishing tool. Tragically, the quest name for this one was missed, and we will have to update this as soon as we get the quest name. It is the quest that unlocks directly after obtaining the paint roller.
The Surface Finisher allows players to lay down wood and tiling flooring purchased from the store, as well as apply wallpaper to available surfaces. These types of cosmetics can be laid in 3×3 squares or single squares. The size can be changed by scrolling with the roller button on the mouse.
Note: At this time, there is no undo button, so if you lay the wrong type of surface down, players must grab repair it be buying and laying the correct option over the misplaced one.
How To Unlock Demolition & Wall Building in House Flipper 2
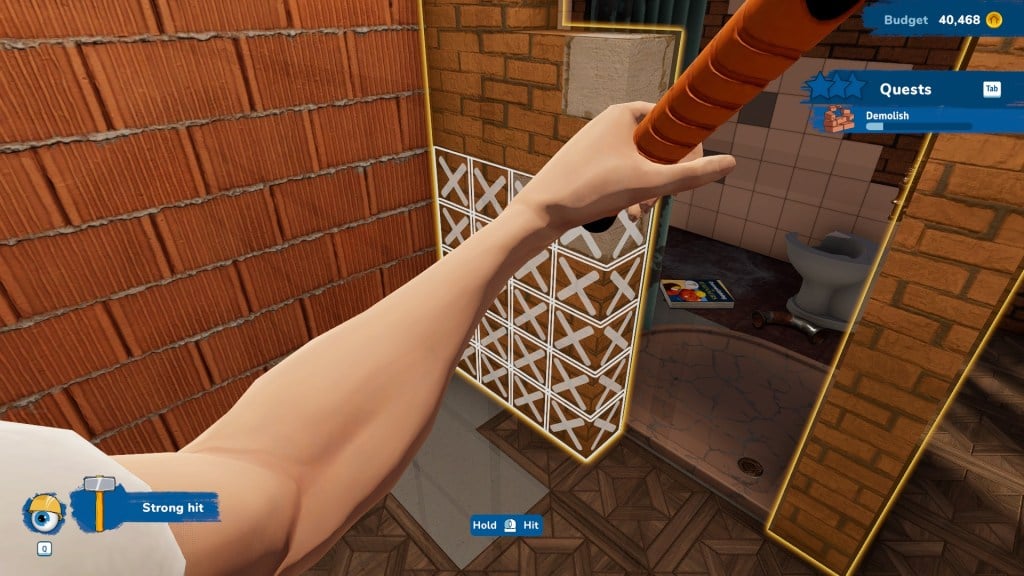
To unlock the Demolition and Wall Building tools in House Flipper 2, players must complete the “A floor plan to change” quest. This is the last set of tools players will need to unlock, and they are much more complicated to use. A wrong smack could bring down a wall you weren’t aiming for, and it can make a lot of unwanted work.
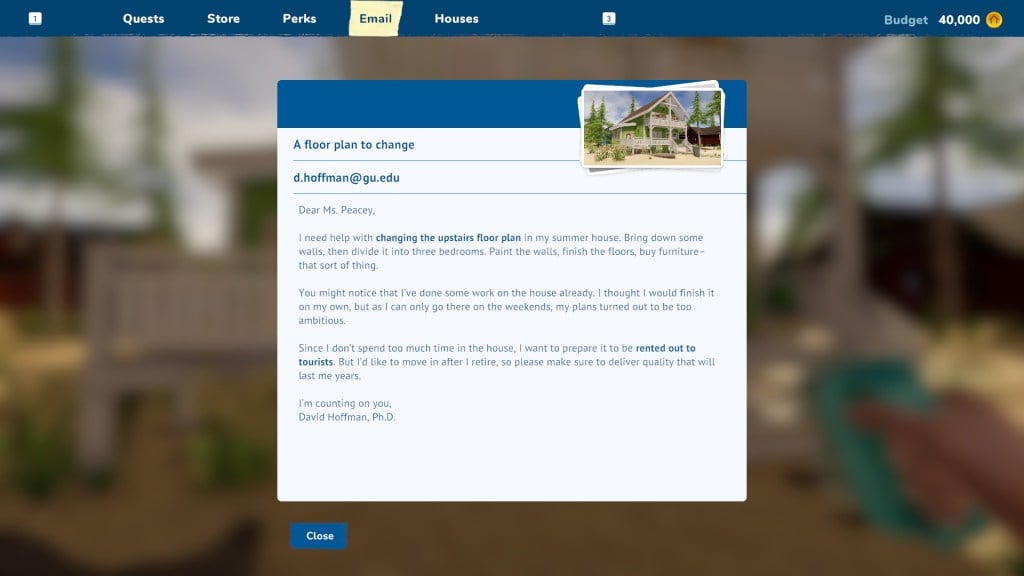
In this quest, players must remodel the upper part of the requester’s home. This involves removing unwanted walls and building new ones. To take the walls down, select the hammer, aim for the desired wall, and hold the left mouse button down to charge the swing. This will show the player an affected area grid that will be removed.
To build walls, select the bricklaying tool and select the desired area the bricks will be placed. Like painting, this selected area is the only place where the bricks will lay down. After this, the player will bounce between spreading cement and stacking a layer of bricks, this is done by clicking on a cemented space to auto-lay the bricks and clicking and swinging the mouse over a layer of bricks to add cement.
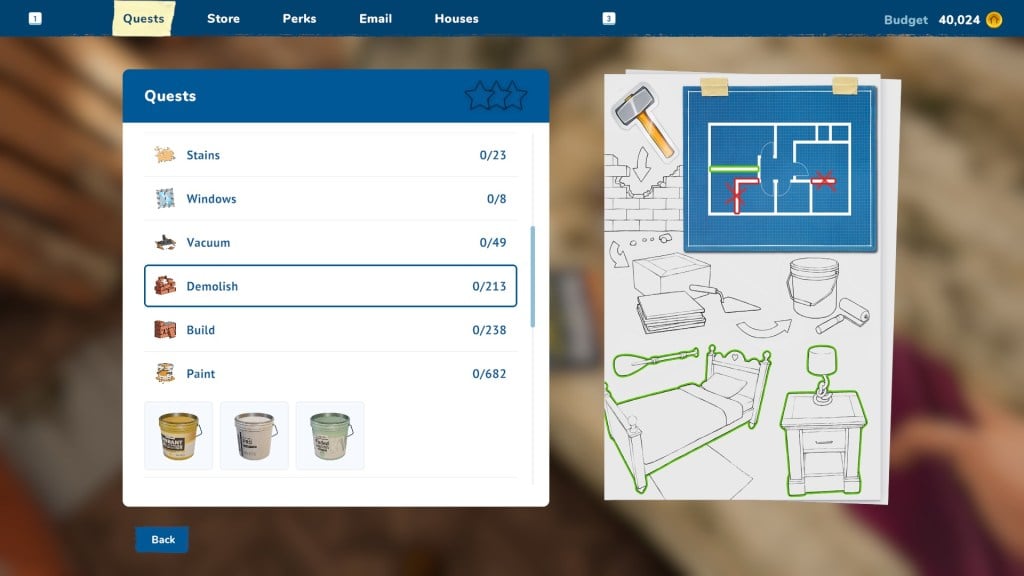
In-home quests requiring demolition and remodeling, the requirements are outlined in the quest map, with a blueprint provided detailing which walls need to be taken down or repaired.






Published: Dec 14, 2023 10:31 am