For someone on the outside looking in, streaming on Twitch may appear to be a little complicated and daunting. Luckily, it is not necessarily that difficult to understand. Once you get the hang of it, you can pretty quickly set up your streams to share your gameplay over the platform. Everyone has to start somewhere, though, so here is a checklist to keep in mind for when you want to start streaming from your PC.
Related: The best OBS Settings for Twitch Streaming
How to stream to Twitch from your PC
Make sure your PC can handle streaming

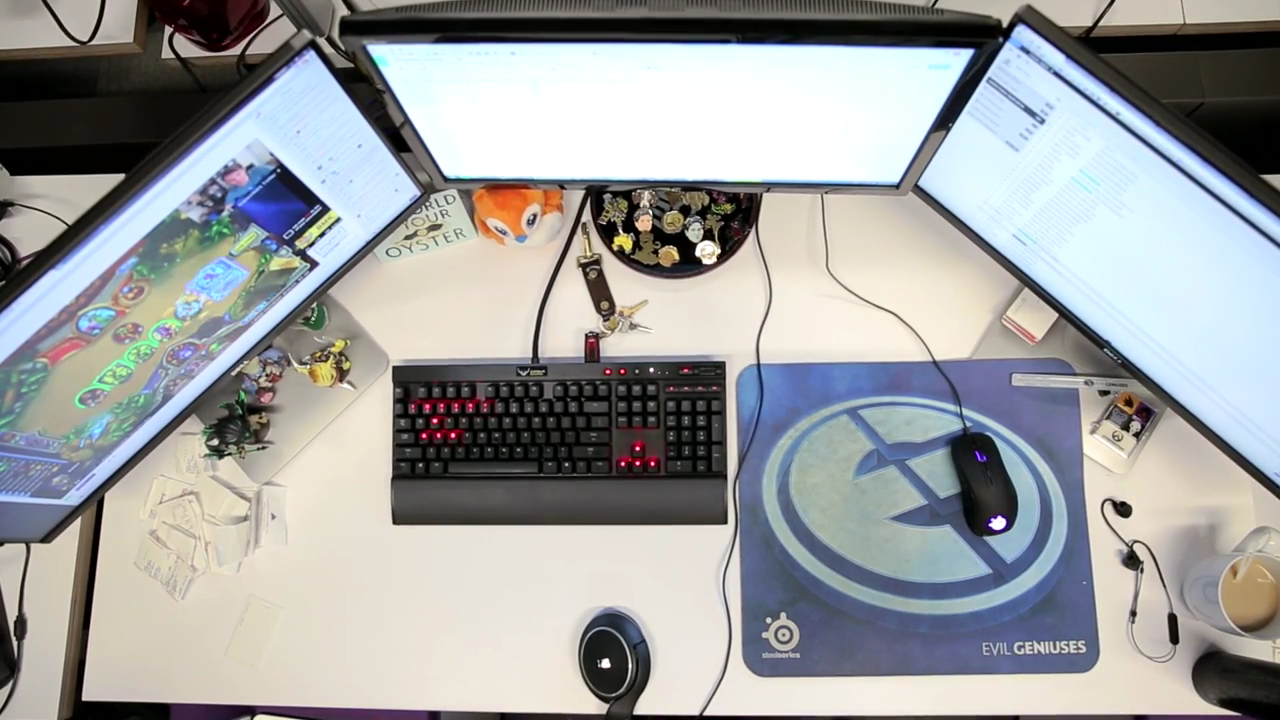
First off, before downloading Open Broadcaster Software or any other live streaming programs, you’re going to need a rig that can handle streaming. Streaming on a low-end computer is incredibly difficult because rendering a game, recording it, and uploading it over the internet all at the same time are demanding processes for a weak CPU, RAM, and GPU. So if your computer struggles with 3D games like Overwatch 2, Counter-Strike: Global Offensive, or Dota 2, then you’ll want to buy a better computer before you kickstart your Twitch career.
Below, you will find the hardware specs that Twitch requires for their own streaming software, with gameplay also taken into account.
Twitch Studio Minimum Requirements:
- OS: Windows 8.1 64-bit
- GPU: DirectX 11 compatible
- RAM: 4+ GB (2GB free)
- CPU: 4 core Intel or AMD
Twitch Studio Recommended Specifications:
- OS: Windows 10 64-bit
- GPU: NVIDIA GTX 10 series or newer, AMD RX400 series or newer
- RAM: 8GB+
- CPU: 8 thread Intel or AMD
Over time, these specs might become outdated, so be sure to check the Twitch Studio FAQs to see the latest recommended and minimum specs for your PC. Also, keep in mind that those specs are only for getting your gameplay onto the platform. If you are looking to run some pretty intensive games like the latest Call of Duty or Cyberpunk 2077, you will likely need something heavier equipped for that or alternatively run some less intensive games like Minecraft or Roblox.
Pick up some decent equipment

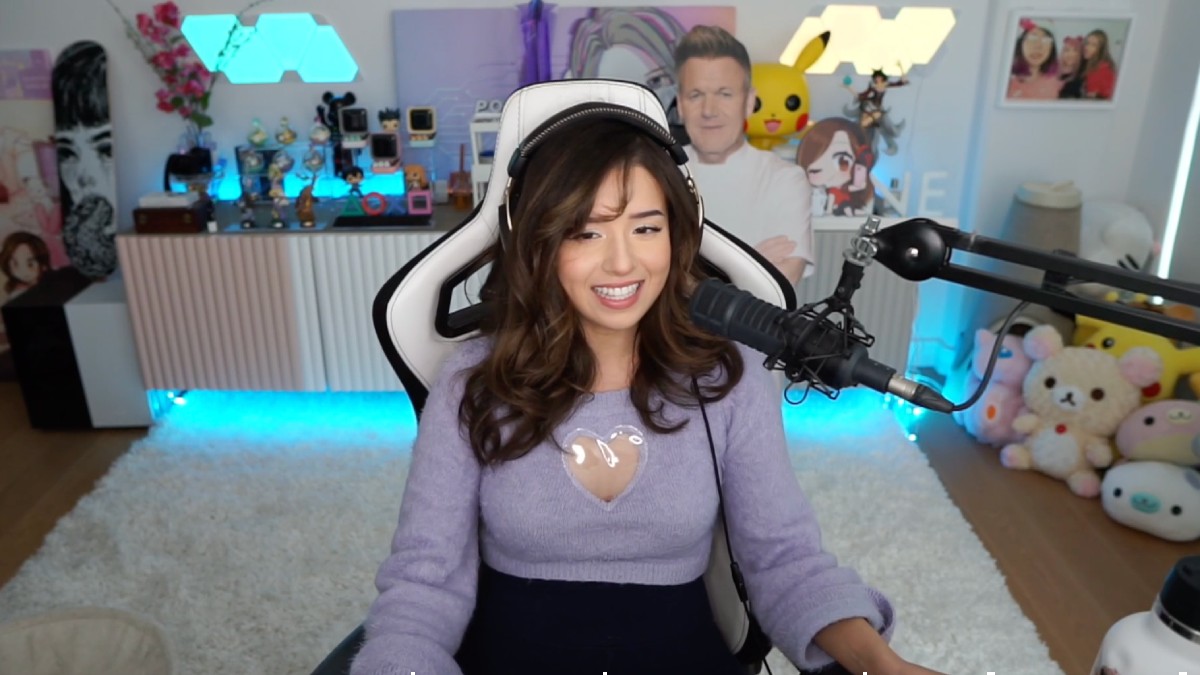
At the bare minimum, every streamer should own at least a headset or earbuds so you can properly hear the game. A microphone is completely up to your preference, but talking to your audience is a great way to build relationships and have them come back in the future. That being said, there is a group of viewers out there that prefer non-talking streams.
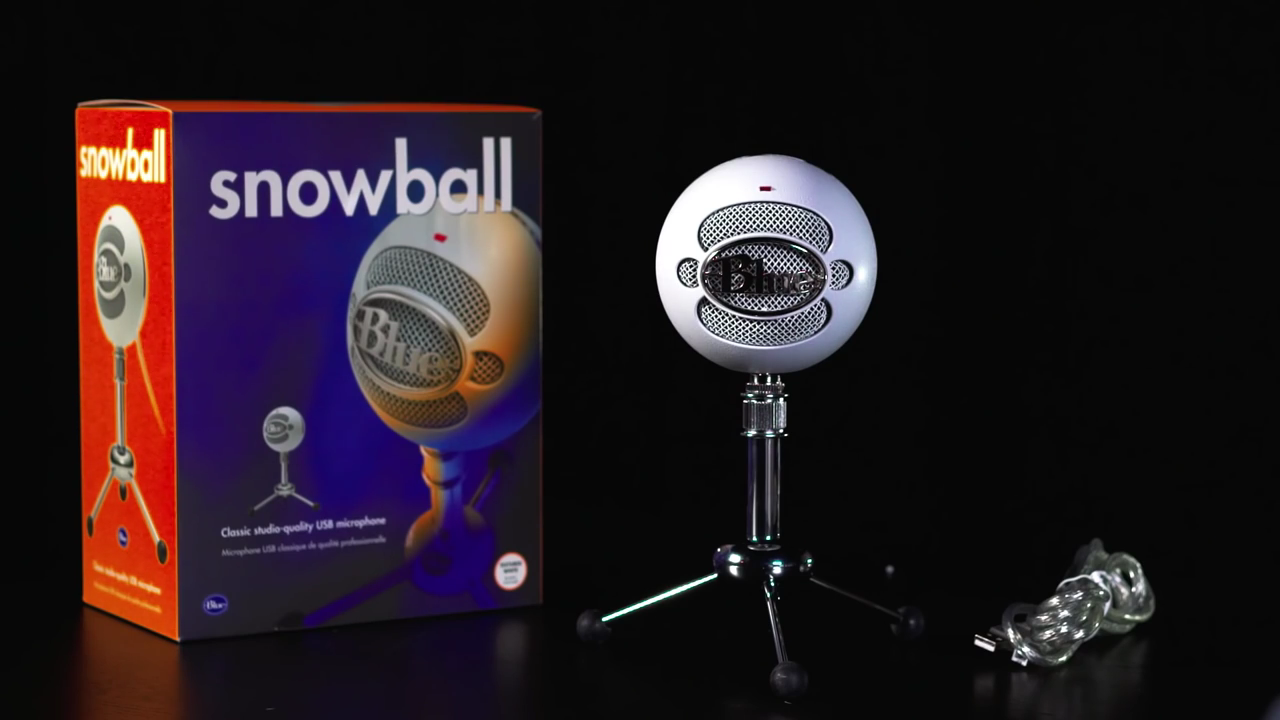
For a beginner’s microphone, the Blue Snowball provides excellent sound quality at an affordable price, plus it connects to your computer via its USB slot, making it quite versatile for any gaming PC’s case. On the other hand, if you’re looking for a headset with a built-in microphone, the HyperX Cloud II Gaming Headset is a popular choice among Twitch streamers new and old alike. Our recommendation on the more high-end side is the Elgato Wave:3 microphone.
You may also want to get a webcam to show your face and expressions on stream. Many viewers on Twitch enjoy this personal touch, and it helps to build a connection with the audience like a microphone can. Again, not an absolute necessity, but it could help in the long run. You can opt for something like a Logitech C920 when you first start, as it is a very respectable webcam.
If your stream starts to take off, you can upgrade your equipment as you like, opting for new microphones, headsets, cameras, or even purchase lighting like the Elgato Key Light or an Elgato Stream Deck to increase your production values. It is normally a bad idea to start investing in all this before you have an audience, however. To start with, just focus on the PC, headset, and microphone/webcam.
Figure out which games you want to stream—and your style

We kind of went into this above, but what you stream matters. Not only for the performance of your stream, but the general engagement and audience you build. For example, if you are playing the latest trending game, you are going to have a lot of competition to deal with. That being said, that is also your best chance to get viewers. If you stream a game that has only a few other streamers on Twitch, you have a more likely chance of someone in that bubble to view your stream, but it’s going to be a vastly smaller number than before.
Our personal recommendation is to stream for fun when you begin. You are likely not going to get many viewers at all when you begin streaming regardless of what game you stream. Worrying about that constantly will only drive you to despise the process. Instead, find a game that you enjoy playing, but is not completely dead on Twitch. Battle royale games are almost always a good choice, or a multiplayer game that has a good following like Minecraft or Dead By Daylight. Whatever it is, unless you are one of the game’s top performers, you are unlikely to build an audience for a while, so focus on bringing personality to your stream to keep people around. Be welcoming and funny. A place that people will want to follow and come back to when they see you are on.
Setting up your streaming program

Now that you have the hardware, games, and equipment to start streaming, there are a couple of broadcasting programs out there worth checking out to get your Twitch stream underway. To use any of these products you will need your Twitch Stream Key. To find this, open up your Twitch settings by clicking on your profile picture in the top right corner. Click on Settings, then click on the Channels and Videos tab. At the very top, you will see “Primary Stream Key”, click on the Copy button to be able to quickly paste it into your broadcast software. This is a unique number and should not be shared with anyone. If you feel someone has gotten your Stream Key, return here and reset it.
Our most recommended streaming software programs are OBS, StreamLabs OBS, or Twitch Studio Beta. The Twitch Studio Beta will definitely be the easiest of places to set up your stream, since it is made by Twitch, but will limit you to that one platform and is oversimplified to help the beginner streamer. OBS can be a little complicated for beginners, but once you figure out what is going on, you will have a more robust stream that allows you to do much more.
Whichever you decide to go with, we recommend playing around with the software first to get yourself familiar with it. Learn the basics of setting up your gameplay, sound, and microphone all in the source section so it comes out properly and not too loud. Also be sure to look at your stream settings to make sure your content does not come out to be choppy or quiet. When everything begins to look good, do a test stream and pull up the video on another device to see how things are running.
Take care of yourself out there

Now that you are all ready to begin streaming, keep in mind your physical and mental health. Playing a game and working to entertain an audience is not as easy as it looks. It can be a draining experience that leaves you tired, grumpy, and sick if you let it. Always keep a bottle of water nearby and drink from it regularly. Also, be sure to get plenty of rest when you need it and take breaks if you begin feeling unwell. Especially at the beginning, there is no reason to push yourself to the limits just to put your gameplay on the internet. Be kind to yourself and your audience and slowly you can become an established streamer on Twitch.


Published: Oct 24, 2022 04:05 pm