The Sims 4 is a game that has been constantly expanded by the developers and further built upon by the vast modding community. Yet it seems that the development team has found The Sims 4 more important to add vampires and werewolves than the pre-teen development stage to our Sims, once again proving that it’s indeed scarier to be a pre-teen than a bloodthirsty ghoul.
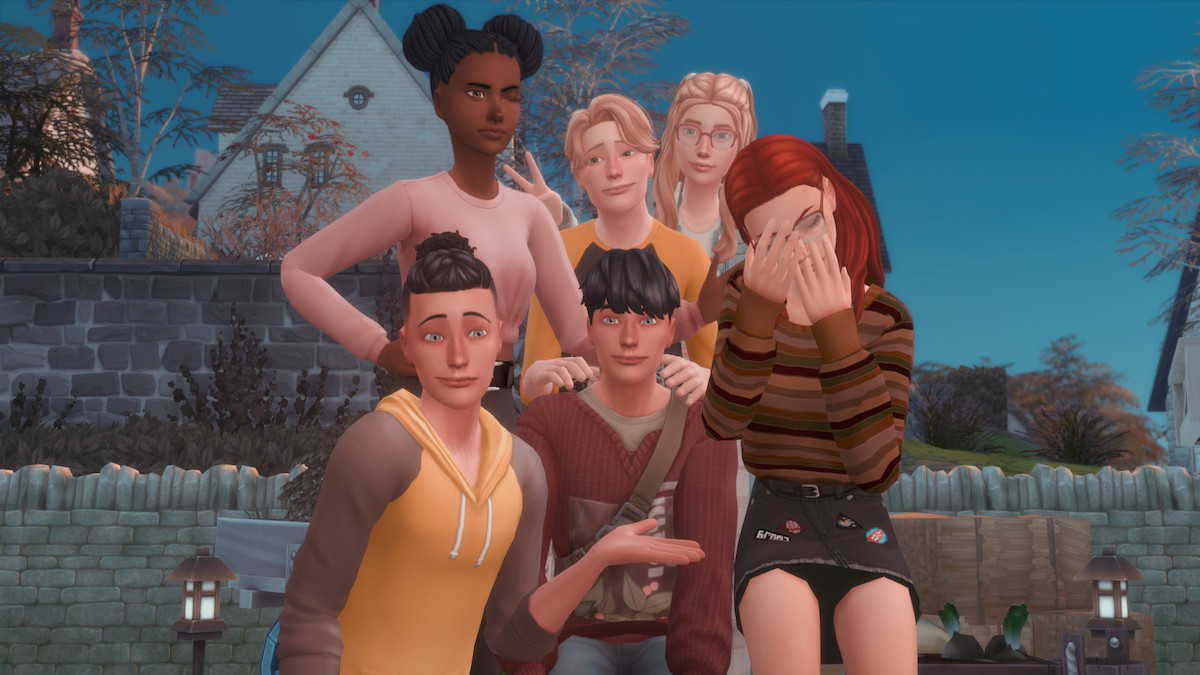
However, the prolific modder “ItsKatato” has found a way to take care of this issue by developing a Pre-Teen mod and even further sub-mods that enhance the experience. This mod alters the look of the sims to somewhere between kids and teens, gives them the ‘pre-teen’ trait, adds the middle school mechanic, and even an overall hygiene system, among other things. On their page, the modder has even given a roadmap on the future plans for the mod.
Related: How to install the UI Cheats Extension for The Sims 4
Where to download the Pre-Teen mod
To start, you will first need to download the mod from the creator’s page. This mod also has a few dependencies and prerequisites. It requires the ‘Parenthood’ pack and optionally the ‘Snowy Escape’ pack. As for other mods, it requires the ‘Lumpinou’s Mood Pack’ mod. Once all of that has been taken care of, make sure to download the Pre-Teen mod itself.
How to download the Pre-Teen mod
After you have downloaded the ZIP file containing the mod, take the following steps to install the mod:
- Find and unzip the downloaded file.
- Navigate to your Mods folder found in your Sims 4 install folder.
- Create a new folder and name it ‘Pre-Teen mod’.
- Copy the files from the unzipped folder to the newly created folder.
- Start the game and go to the Options menu.
- Select the ‘Game Options’ tab, and then the ‘Other’ tab.
- Make sure that ‘Enable custom content and mods’ is checked.
- You’re done and ready to enjoy the game with your new mod.


Published: Jul 5, 2022 04:20 am