Xenoblade Chronicles 3 is, unsurprisingly, a massive game full of hidden areas to explore, powerful foes to defeat, and side quests to complete. As such, there’s a lot that can be easily missed on a casual, first-time playthrough. For instance, anyone who’s super eager to immediately set forth for the final dungeon once it becomes available will have overlooked an entirely new feature that doesn’t become available until the endgame: weapon upgrading.
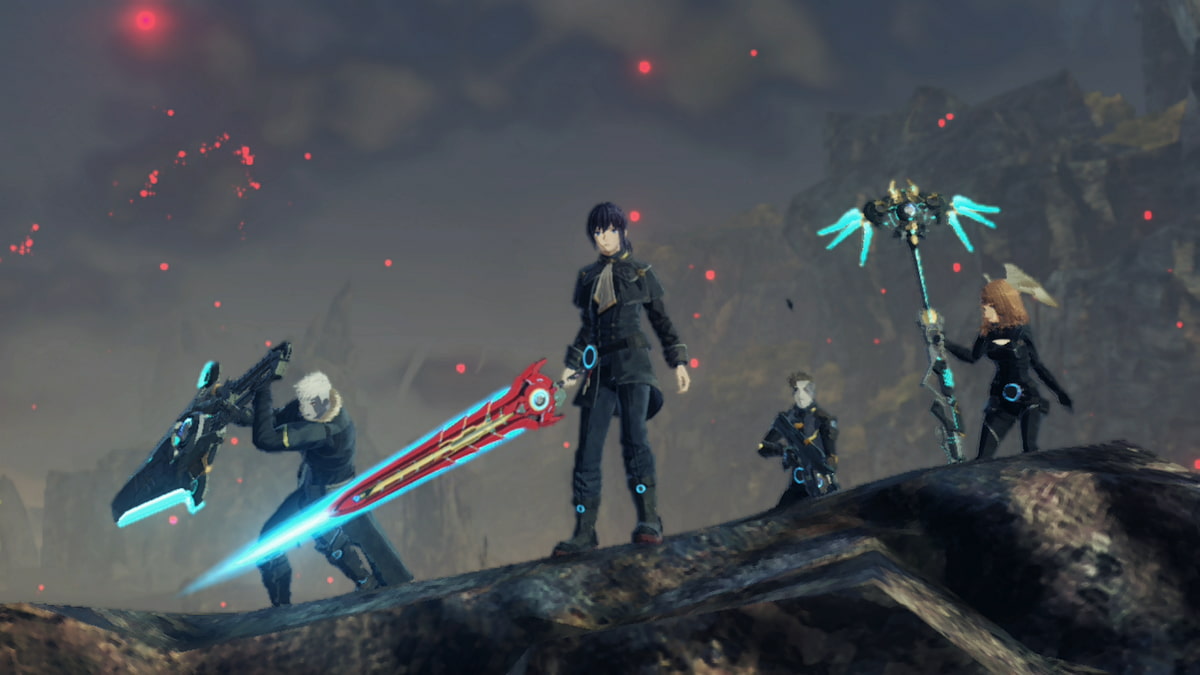
Each of the main six party members — Noah, Mio, Lanz, Sena, Eunie, and Taion — can have the weapon they wield for their original class — Swordfighter, Zephyr, Heavy Guard, Ogre, Medic Gunner, and Tactician respectively — be upgraded, providing a boost in strength for that class and a snazzy new weapon design.
Unlocking the option to upgrade these weapons isn’t necessarily difficult, but it requires a lot of work and can be overwhelming to those who have yet to already scour every inch of Aionios. Here’s a comprehensive breakdown of what you need to do to upgrade weapons. As a heads-up, there will be some minor spoilers.
Related: How to complete Ino’s Ascension Quest in Xenoblade Chronicles 3
Complete the Uniting the Seven Nopon side quest
First things first, this quest will only become available once you’ve reached the final chapter and completed the main story quest called The Ultimate Vessel. Once that’s done, you’ll need to speak with Samon, the Nopon mechanic you’ve had dealings with several times by this point. In case you’ve forgotten, he can be found at the Sentridge Harbor Control at the Great Sword’s Base.
He will tell you that, to upgrade your weapons, you first need to find seven other Nopon who all wield Ultimate Hammers. Samon himself is one of them and, for the purposes of the quest, you need to locate five others.
If you’ve spent a lot of time already exploring as much of the world as possible and attempted every side quest you’ve come across, you may have already met all the Nopon you need. Every one of them is registered on the Affinity Chart and, if you have an especially good memory, you’ll remember which ones carry a hammer on their backs.
In case you don’t remember, here is a list of their names and locations. All you need to do is speak with them to send them to Samon, but you will have also needed to complete specific side quests beforehand.
- Panepane — You’ll likely have met this Nopon fairly early in your adventure. After completing the Collapsed Traderpon quest, you can find him at the Hillside Ferronis Hulk in Millick Meadows.
- Burrburr — You’ll need to have found the hidden Sage’s Domicile landmark in Dannagh Desert to enlist this Nopon’s aid. This is the same Nopon who runs the Nopon X-Change, so we can help you find him. You’ll then need to complete a quest called The Thrill of the Hunt.
- Gingin — You really need to go out of your way to find Gingin since he’s located in Low Maktha Wildwood, a place you’ve likely avoided due to it being full of high-level monsters. He can be found in a little treehouse and, after completing his The Wildwood Life quest, he’ll lend his aid.
- Tempapa — For Tempapa to appear, you’ll need to have begun the Culinary Repertoire Ascension Quest for Riku and Manana, which you can trigger at the Inlet Camp rest spot at Erythia Sea. Complete the quest to upgrade your Nopon party members and then speak to Tempapa at his house on Daedal Isle.
- Fixifixi — This Nopon requires the most work to find as he’s hidden behind a couple of prerequisite quests. By completing Inhumanity (Segiri’s Hero Quest) and In Search of a Home, you’ll be able to access the Li Garte Prison Camp again, where Fixifixi can be found in one of the cells. He’ll ignore you unless you have Valdi in the party, at which point he’ll head over to meet with Samon.
You can locate the five in any order, then you’ll need to discuss the Seven Nopon topic at a rest spot. There, Riku will reveal he is the last of the seven Nopon and you can retrieve his Ultimate Hammer at Colony 9.
Collect Origin shards

With all seven Nopon, you can visit Samon at his workshop in the City, and together they can upgrade your weapons. However, each weapon will need a certain number of Origin shards. You’ve no doubt already picked up at least a few on your journey; they are those strange, glowing collectibles that the game described as Odd shards and didn’t seem to have any purpose. Any Odd shards you’ve collected will have been renamed Origin shards once you began the quest and can be given to Samon and the other Nopon for weapon upgrading.
The next question is where can you obtain more Origin shards? Aside from finding them in specific locations (including the final dungeon), your best method of farming them is by killing Unique Monsters. It’s recommended that you track down and kill each Unique Monster once since you’re not only guaranteed some Origin shards for the first time you beat them, but you can obtain moves and skills for the Soulhacker class.
Once you’ve managed to upgrade a weapon, the class it’s associated with will receive a buff in its stats (albeit only for the character that began with the class — so upgrading Noah’s weapon will only apply the buff to Noah’s Swordfighter class) and the weapon will receive a new design that will appear in future cutscenes and even New Game Plus.


Published: Oct 27, 2022 09:20 am