In the Desperate Measures campaign mission of Call of Duty: Black Ops Cold War, you play a KGB agent who has turned and is trying to assist Adler in infiltrating the organization’s headquarters. You’ll be called to a meeting, and Gorbachev and other leaders share that they’re looking for a mole and have brought experts in to flush them out.
While your primary goal is to obtain a bunker keycard for Adler and Bell, it’s also worth it for your playable character of Belikov to protect himself. There’s even an opportunity for you to frame Charkov. Here’s what you need to know about how to frame Charkov during the Desperate Measures mission in Call of Duty: Black Ops Cold War.
Related: Call of Duty: Black Ops Cold War redeem codes
All Framing Charkov Steps in Desperate Measures for Call Of Duty: Black Ops Cold War
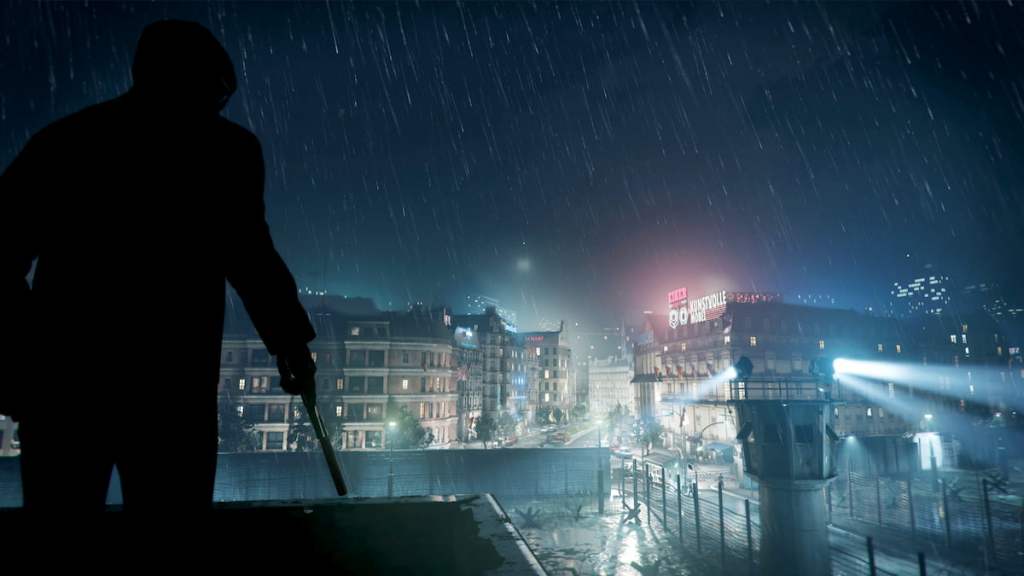
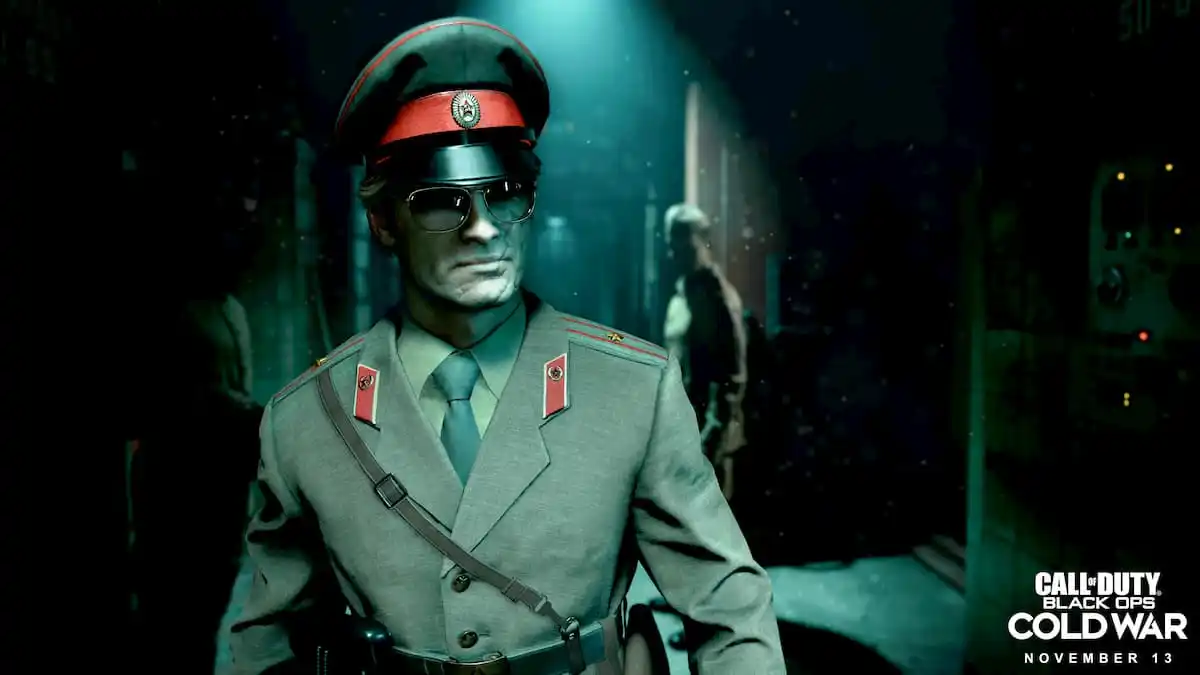
To start this mission, open up your KGB headquarters map after you’ve deactivated the security cameras and look for the “Frame Charkov” opportunity on the map. It should be at the center of the building, at the checkpoint. Kravchenko, an antagonist from the first two Black Ops games and one of two individuals attempting to flush the mole out, is standing at the checkpoint. Speak to him, and then another opportunity will arise for Belikov to make his way to the server room where he can fabricate evidence to make it look like Charkov is the traitor.

To make your way to the server room, proceed to the right side of the building and then go down the stairs. There will be a locked door you can pick, and once you’re inside, you’ll be in a restricted area. A guard is patrolling the front hallway to the server room. You can duck inside the office to your left, unlatch the vent, and go through it. Go down the vent shaft on the right side until you reach the server room. There will be several guards in this room.
Stick to the left as much as you can and weave through the office desks to reach the back room. Once you’re on the computer, no guards will bother you, even if they pass by the front of the office.
While at the computer, follow the onscreen prompts until the computer asks you what connections you need to make. A sticky note with several codes is on the bottom left of the computer. Your primary focus will be on the under-maintenance ones, which are highlighted in orange on the screen. You need to confirm three code fragments to make the connection.
Related: How to get Gaz Operator in Modern Warfare 2 and Warzone 2 on PC Invasion
These codes are 876, 599, and then 345. The connection will be established — you can frame Charkov, and a printout of that fabricated evidence will printout on the other side of the room.
This becomes tricky because one of the guards will be alerted to the printer. They don’t ruin the operation or cause problems, but they’re standing in front of the printer, blocking your path. You need to wait for them to walk away and then grab the information.
Once you exit the room, return to Kravchenko with the evidence to protect Belikov from being discovered as the actual mole. Charkov will be arrested shortly after you present the evidence.

Published: Jul 7, 2023 03:32 pm