How to complete Warpath in Assassin’s Creed Valhalla: Dawn of Ragnarok
Force Sinmara to take note of your deeds.

Screenshot by Gamepur
Warpath is the next step in the main questline in Assassin’s Creed Valhalla: Dawn of Ragnarok following Forging Bonds. With Brokkr on his side, Havi now needs to make an impression on Sinmara to convince her that he’s a threat worth dealing with instead of ignoring. This guide explains how to complete the quest, so you don’t miss anything vital.
Step 1: Destroy the empty Muspel bodies

This quest gives you three locations to visit and cause mayhem in. We recommend heading to the closest one first. This is southeast of the Shelter you begin the quest in and is a location that you can raid if you haven’t already. See above for a map reference for this location.

The goal at this location is to smash all of the empty Muspel bodies. These look like statues, which gives you some insight into how these foes are made. If you’re raiding the location, stealth isn’t an option. However, we recommend raiding or going in without sneaking anyway because it’s a lot more enjoyable if you can smash statues and kill enemies simultaneously. The empty Muspel bodies are placed all around this place, but once you reach the final quarter of the number that needs to be destroyed, the game will give you on-screen indicators to follow for them.
Step 2: Burn the supplies

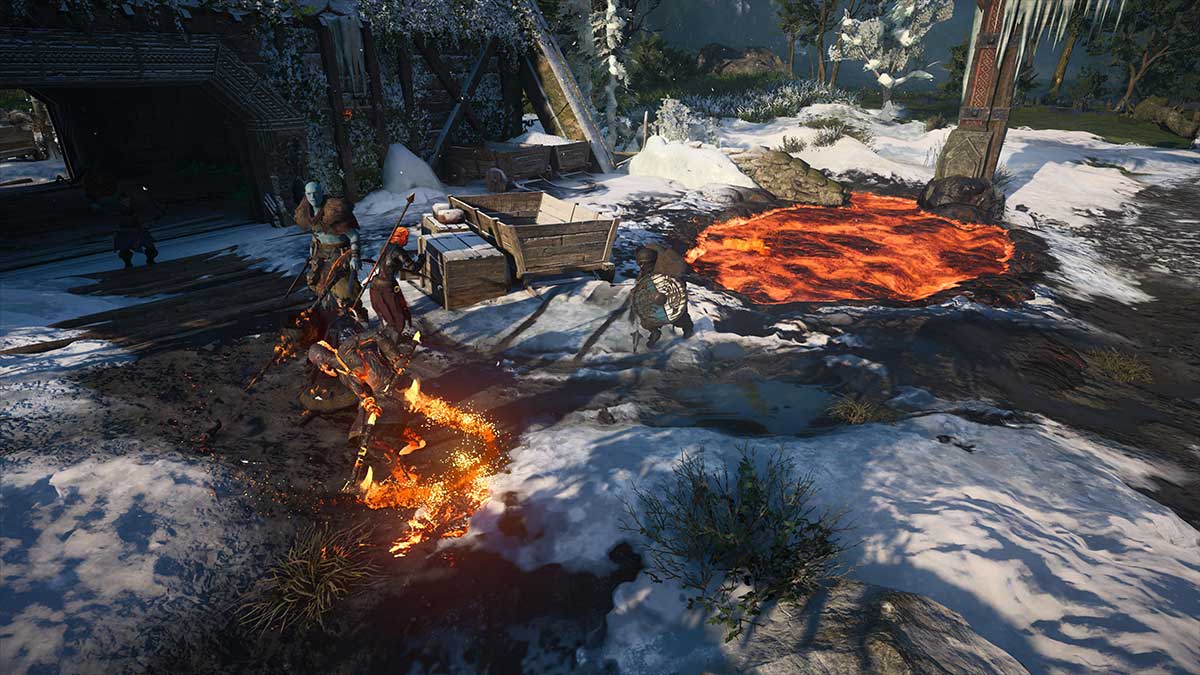
The second location we recommend attacking is at the bottom of the map. See above for a map reference. Here, Havi needs to burn all the supplies he can see so that Sinmara’s army is hindered, left without food or ammo.

Burning supplies is simple. You can use your torch to set them alight or throw it if you want to remain undetected. Some supply carts have explosives on them that you can shoot with an arrow, but we found that most require fire to be destroyed. Once you’ve burned everything you can, this area will be complete.
Step 3: Release the Iron Boars

The final location you need to visit is far to the east. See above for a map reference for it. This is a factory of sorts where Sinmara’s forces create Iron Boars, massive mounts that can be ridden into battle and cause havoc with any army. So you need to cause some trouble and ensure that no more of these beasts can be built.

The Iron Boars are being kept in reasonably flimsy cages in two areas to the side of the main path through this location. To release them, destroy the doors on those cages. A few more lie deeper into the area, but the real goal is the schematics. These are on the first floor of the main building in this location. You’ll need to climb up the left-hand side to enter the room and throw a torch at them.

Sinmara will show up as you approach the building where the schematics are held. It’s not a tough fight, but the nearby alarm can make it more difficult. Shoot this to ensure that no reinforcements show up to crowd you and allow Sinmara to gain the upper hand. Once you’ve completed all the objectives, the quest will be finished.