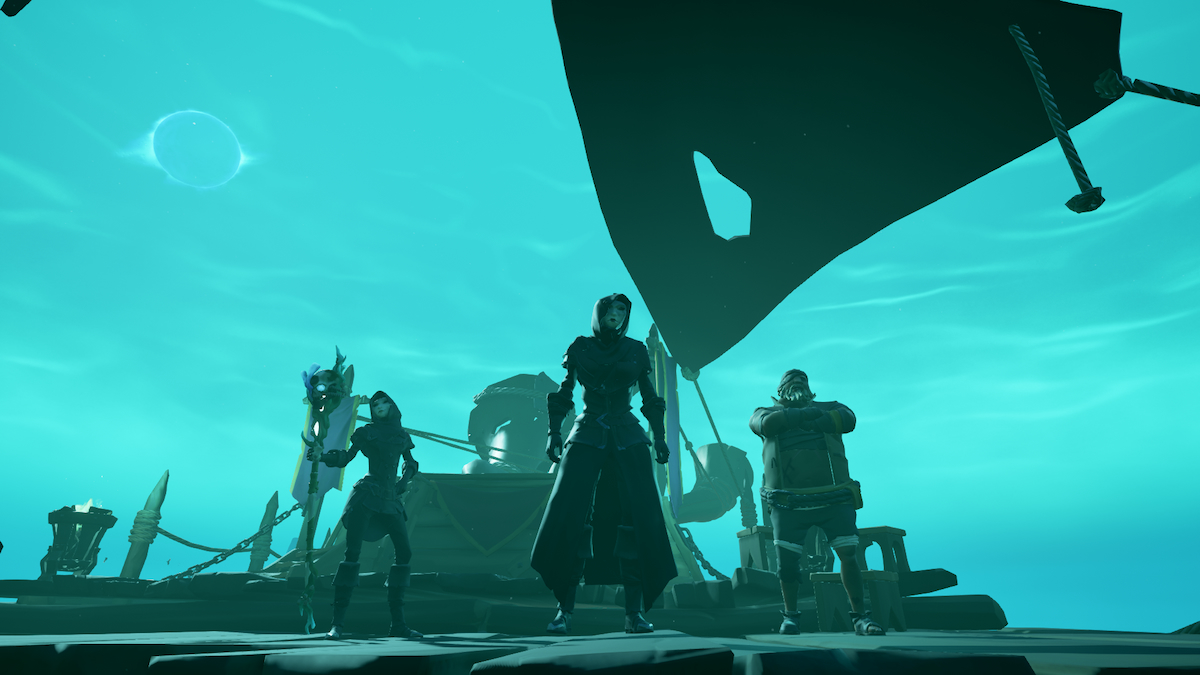
Manipulating the lighthouses around the Twisted Sea Dog’s Tavern is one of two core mechanics in the A Hunter’s Cry Adventure in Sea of Thieves, with the other being the lighting of braziers. Finishing the Adventure takes more than aligning the lighthouses, you’ll need to cooperate with a full crew or the random pirates who load into the instance with you. Here’s the breakdown of how to solve the lighthouse puzzle in A Hunter’s Cry.
Related: How to complete all A Hunter’s Cry deeds in Sea of Thieves
Step 1: Light all Lighthouses and light all available braziers

When you first load into the Twisted Sea Dog’s Tavern zone, the main area of A Hunter’s Cry, your first goal should be to light all the lighthouses. At the base of each lighthouse are a pair of unlit braziers. There will be a lit one nearby. Take your Latern, gather the Flame of Souls, and light the braziers. This will unseal the entrance to the lighthouse, so clear any phantom enemies and head up.
There’s a woodpile at the top of the lighthouse that, once lit, sends out a powerful beam of green light. Across from the East and North towers will be more braziers that can only be lit by the lighthouse beam: these are the beacons. Lighting them reveals portions of the dock around the Tavern island and additional platforms higher up. Once you can’t light any more beacons, move to the next step.
Step 2: Light all beacons on the Tavern island

Return now to the main dock at the base of the Tavern and make your way toward the building. Along the way will be five additional braziers to light. You must light all of them, or you won’t be able to open a door near the Tavern building. With all five active, the seal around a capstan near the building will break, allowing you to use it to open it and progress up a tunnel. At the end of a tunnel is a final brazier. Light it, then proceed to step 3.
Step 3: Summon additional platforms

Someone will need to now be at the east lighthouses to open the path for the team by summoning ghostly platforms using the green beams. First, use the south lighthouse to create a bridge across the gap in the mountain. For the bridge to generate, you’ll need to keep the beam on the gap for about ten seconds.
The rest of the team will now be able to cross the gap and progress up the side of the mountain. Eventually, the mountain crew will reach another unlit brazier near a lone cannon. Once lit, one more will appear for the east lighthouse player to activate. It will appear on the right-side cliff face. As the mountain team progresses, another will appear on the left side of the cliffs for the lighthouse player to activate. Doing so completes the path to the summit.


Published: Aug 18, 2022 07:34 pm