A second Hafgufa is awaiting you to rescue it in God of War Ragnarok. Unfortunately, it is hidden away in the second area of the sands in Alfheim, and you will need to progress through the main story to upgrade your chisel to reach this area. After upgrading your chisel, the Forbidden Sands will unlock, and you can rescue the Hafgufa. Here’s what you need to know about how to complete Song of the Sands in God of War Ragnarok.
All Song of the Sands steps in God of War Ragnarok
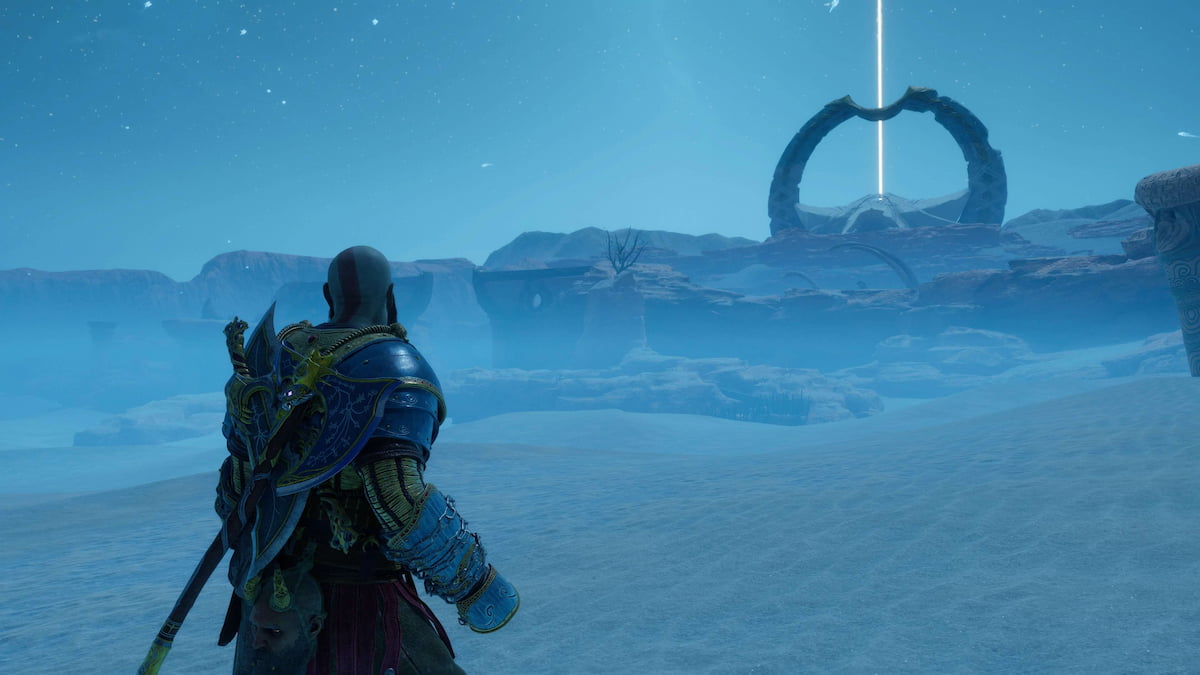
After unlocking the Forbidden Sands, the first step you need to take is tracking down the entrance to the Hafgufa cave. You can find it close to the desert’s center, at the storm’s epicenter.
Related: How to complete the Secret of the Sands quest in God of War Ragnarok

Proceed through the caves, and you will locate a unique type of hive matter to the left of you. It will be red, unlike the hive matter you’ve encountered before. To force it to open, use a Sonic Arrow on it, and then use another to clean the Soundstone in your way, allowing you to progress forward.

You will need to destroy another thick section of hive matter as you continue. You must use the Twilight Stone on the floor and your Leviathan Axe to carve through it. There will be a handful of Wretches in the next room.

Nearby, you’ll encounter a handful of Grims and eventually Light Elves as you carve a path to the Hafgufa. After defeating the Night Elves, you’ll discover more thick hive matter. However, you don’t want to worry about that part now. Instead, continue traversing down to find another section of thick hive matter and a small spot of hive matter sensitive to sound. Use a Sonic Arrow on it, revealing Twilight Stone behind it, which you can use for your Leviathan Axe. This will clear your path forward.

In the next area, there will be multiple Grims and a handful of Light Elves to greet you. Dispatch them, and then proceed the way the Light Elves came from. In the next area, jump down to the left and clear the hive matter. This will be the traditional one you’re used to, and you won’t have to use any Twilight Stone to remove it. In the next room is the bindings, containing the Hafgufa.

Unlike the first one, there are three sets of bindings you need to cut. You will need to do them in a specific order. You can reach the first one to the left of you. Destroy the Hive matter protecting the grapple point, and then jump across the way. There will be a Twilight Stone you can reach to cut through those bindings.

The second one will be back at the entrance. Jump back over, and cut through it, merely throwing your Leviathan Axe through them.

Now, return to the left side again, and the final bindings will be available for you to cut through, releasing the Hafgufa.

Return to the entrance where you came in, and a small pathway will lead you back to the surface. You’ll need to complete a handful of puzzles to reach the top involving Twilight Stone. There is a series of Twilight Stones you need to hit to the left of you to proceed up.

There is another set of Twilight Stones further up, requiring you to turn a large crystal of it to face the other before destroying the Hive Matter to unlock the grapple point.

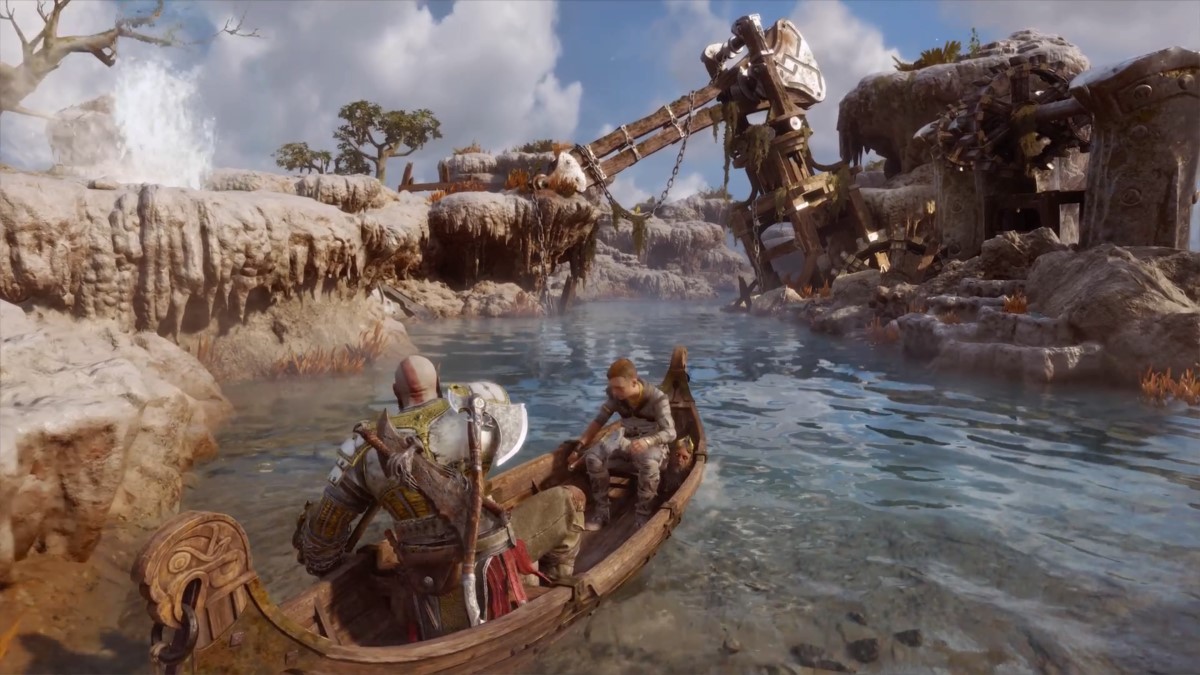
Following this path will lead you back to the original starting point, guarded by a Light Elf. Finally, the side quest objective tracker will lead you to the final moment to release the last Hafgufa, reuniting the pair.

Published: Nov 10, 2022 09:13 pm