How to apply custom weapon blueprints in Call of Duty: Black Ops Cold War Zombies
Change the wall-buys and the mystery box weapons you get.
Screenshot by Gamepur
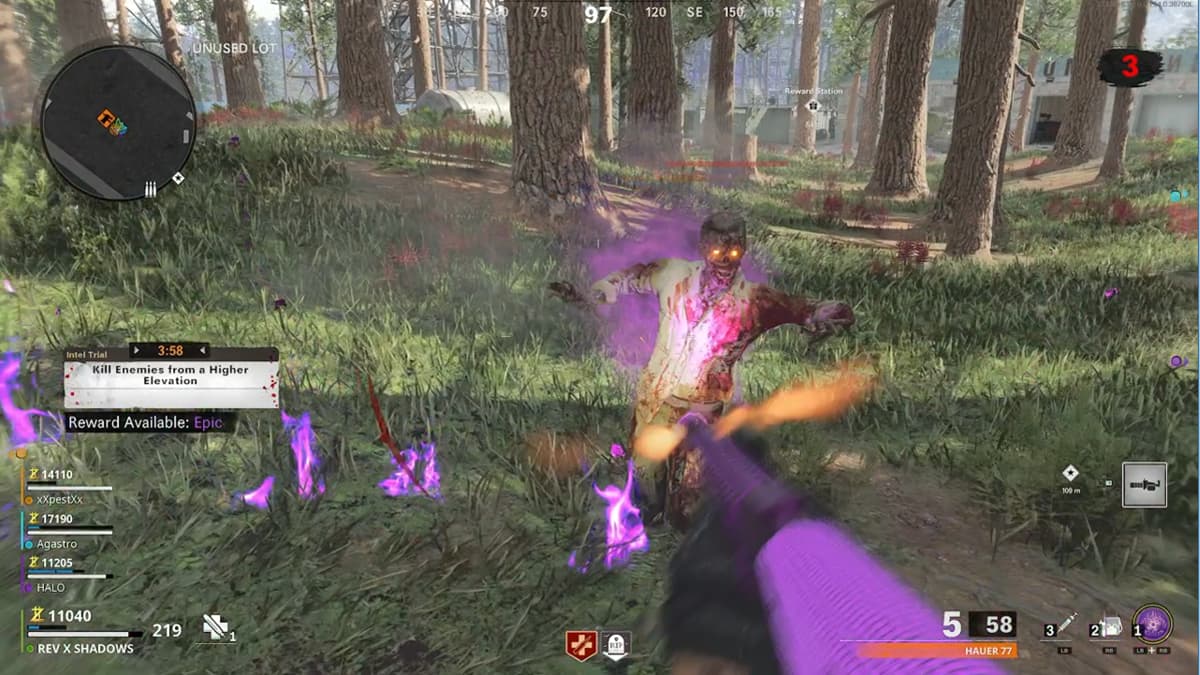
When you are playing Zombies in Call of Duty: Black Ops Cold War, you want to have the very best weapon possible at all times. As time goes on, zombies and other enemies increasingly become more robust and harder to kill, so the specifications of your gun are always important. Treyarch recognized this and has a way for you to control what attachments are on your weapon at all times. Here is how to use custom weapon blueprints in Call of Duty: Black Ops Cold War Zombies.
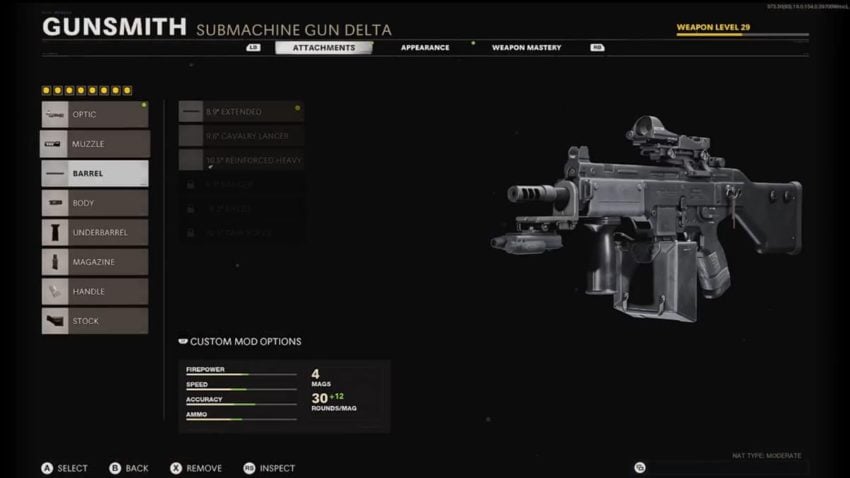
Before you start up a game of Zombies, go to your Create-A-Class and select Gunsmith next to the weapon you want to make a custom weapon blueprint on. Go ahead and choose the attachments and accessories you want to have equipped.
When done, select Custom Mod Options by pressing L2 on PlayStation or LT on Xbox, and you will see a screen like below.
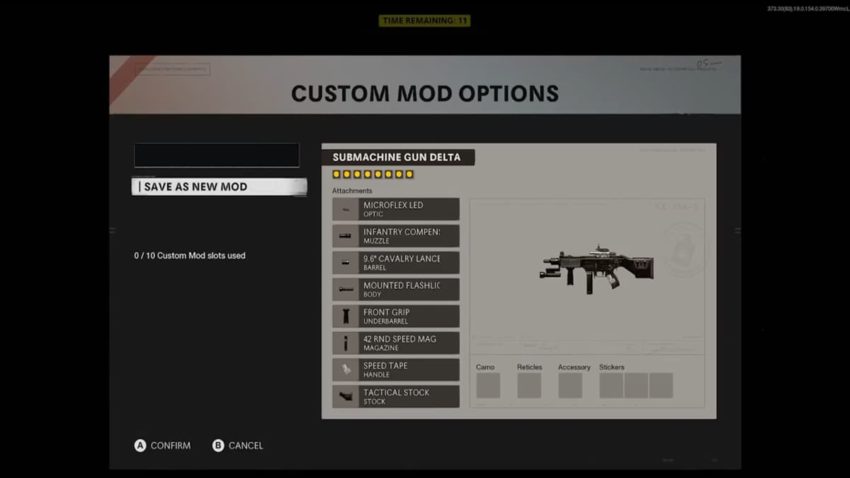
Name the mod and select Save As New Mod. Do this to any classes with varying weapons that have attachments you prefer using, then start a game.
When you are in the game, you may pick up a weapon you do not have on you, but a specific class you did not equip does. When you have a free moment, bring up the pause menu and select Apply Blueprint. If the option is faded, that means you do not have a blueprint for the weapon in your hand.
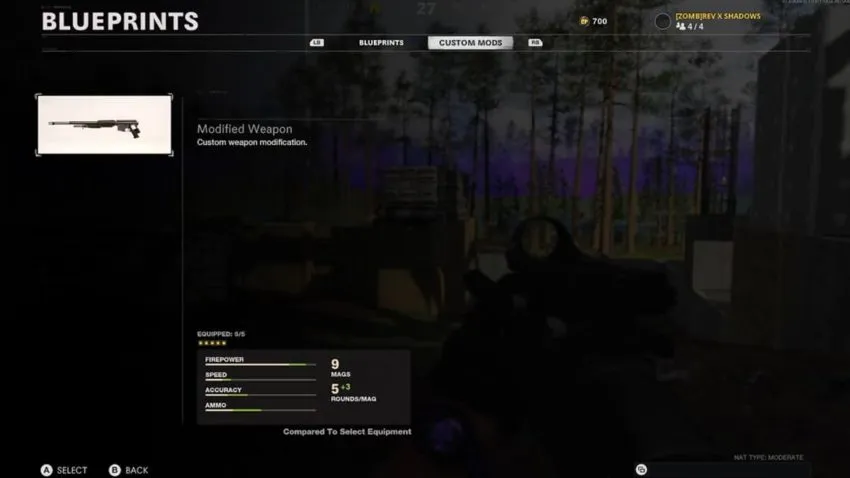
If you can select Apply Blueprint, you will first see any pre-made blueprints you have obtained either in the Battle Pass or bought on the Store. Tab over to Custom Mods, and you can see any blueprint you created by the method instructed above. You can scroll over them to see what kind of stats they have and select it to change to that outfit.
There is no limit to how many times you can do this in a game, so if you continuously find weapons and want to change to a different skin and attachment set-up, continue to do it.