Final Fantasy 16 takes players on a massive adventure across a fantastical land filled with huge Eikons that fight one another to determine who will rule. However, there’s much more to the game than just the main quest line. There are side quests that enhance the overall experience, giving players more chances to learn about the world, grind for experience, and unlock new crafting materials. This guide outlines every single side quest players can tackle in Final Fantasy 16, including the ones that are missable and locked out by the story after certain events.
***This guide is in progress and will be added to as we find new relevant information***
Related: Final Fantasy 16 Complete Game Guide – Stats, Quests, Characters & Eikons
Contents
Every Side Quest in Final Fantasy 16
The table below details every side quest players can take on in Final Fantasy 16, where to find them, and a brief description of what they’ll need to do to complete it.
| Side Quest Name | Where to Start it | How to Complete | Reward |
|---|---|---|---|
Make Do and Mend Fetch wood for the carpenter | 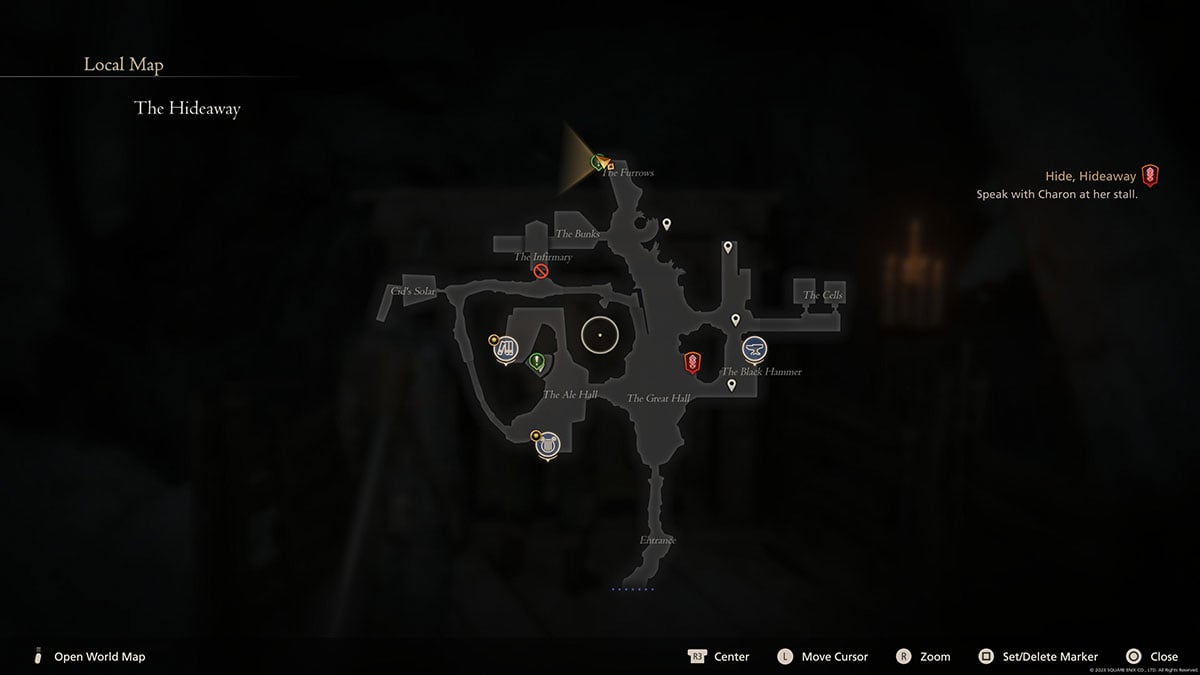 The Furrows in The Hideaway. The quest unlocks the first time Clive is in this area. | Collect wood from the carpenter at the White Adze and deliver it back to the Head Carpenter. | 1 Meteorite, 1 Gil Bug, and 5 XP. |
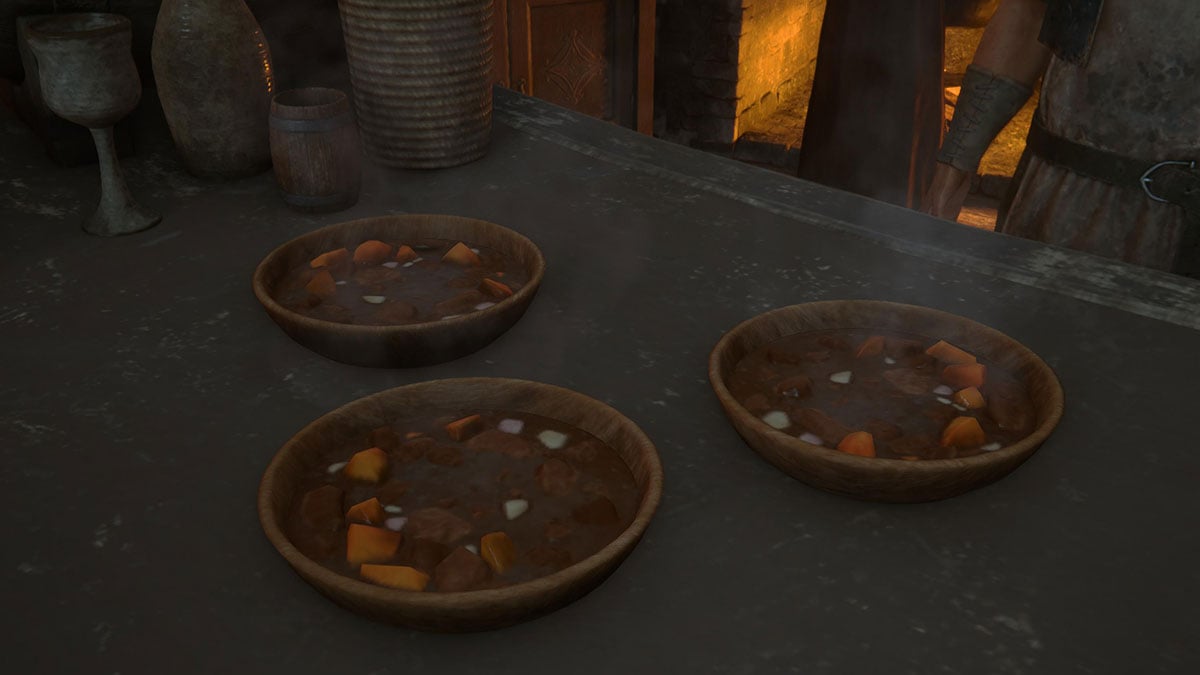
| Food for Thought Help keep the Fat Chocobo running | 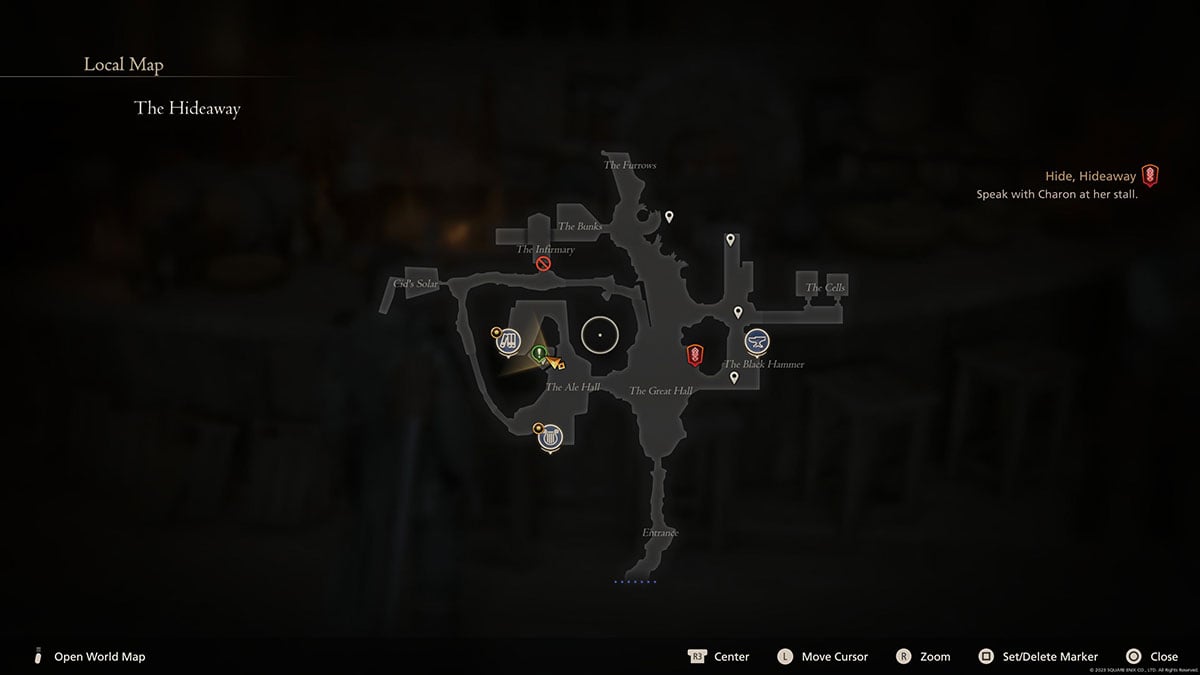 The Ale Hall in The Hideaway. The quest will be unlocked the first time Clive is in this area. | Deliver the three meals to the patrons of the Fat Chocobo. | 1 Wyrrite and the contents of a lockbox. For us, the lockbox contained a Badge of Mettle necklace. |
| The Thousand Tomes Speak to Tomes |  At the top of the stairs in the Ale Hall in The Hideaway. This is an ongoing side quest players can start the first time they’re in The Hideaway. | Players should speak to Tomes, the NPC that loves to hear Clive’s stories, every time they return to The Hideaway. Each new story Clive tells will increase the level of The Thousand Tomes. | Level 2 Reward: The Valisthean Calendar & Egis Entries. Level 3 Rewards: The Continental Accord & the Founder Entries. |
| A Place for Everyone Give Kenneth a Hand. |  The Fat Chocobo where Clive picked up the Food for Thought quest above. | Deliver three meals to three new NPCs in The Hideaway. Each one is marked with a green icon. | 20 XP and a Gil Bug. |
| Moving Heaven and Earth Go and Check on the Man’s Assistant. | 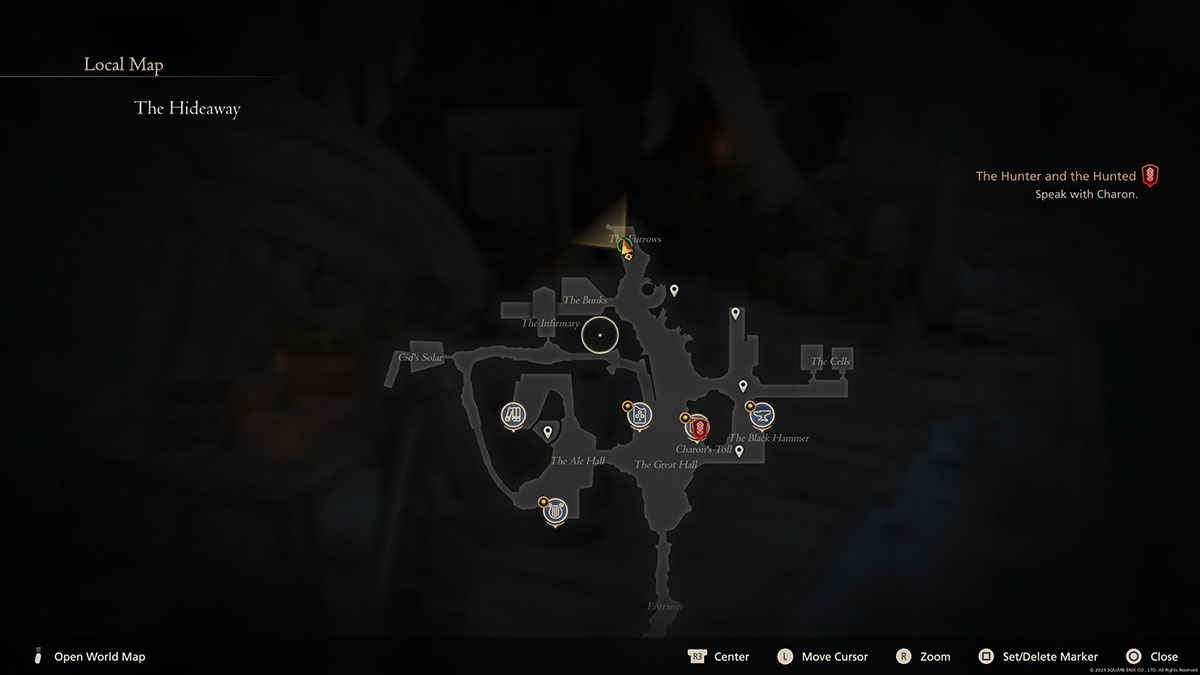 Speak to Chief Botanist Bohumil in The Furrows area of The Hideaway. | Fast Travel to Orabelle Downs to track down and protect Bohumil’s assistant. After being rescued, she’ll ask Clive to collect some soil samples. Do this by interacting with the soil at the set locations before returning to Bohumil. This side quest is the first that made us laugh out loud because of how much Bohumil loves dirt. | 18 XP, 10 Valley Madder, 20 Sharp Fang, and 30 Bloody Hide. |
| All Bark Speak to the nobleman by the cart | 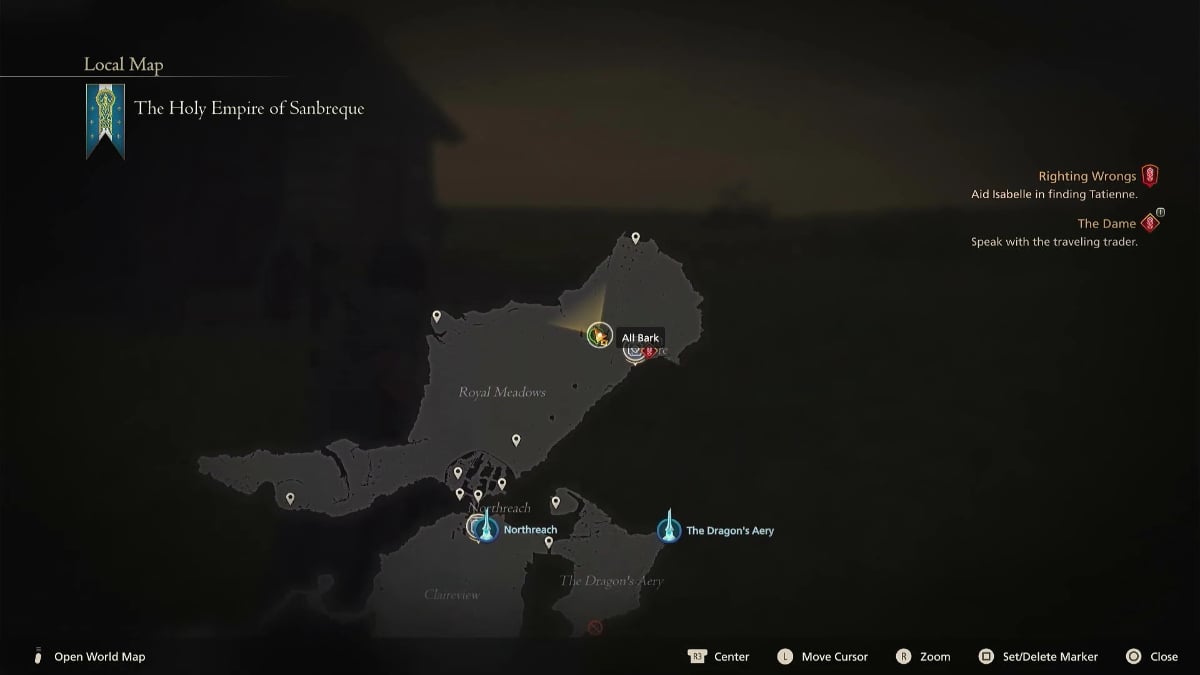 At the top of the map from the Northreach Obelisk. | In the All Bark side quest, players must navigate a delicate situation where a nobleman has lost his son. This includes discovering the son’s condition and explaining it to the nobleman in a way that won’t end up with Clive getting stuck with a sword. | 20 XP and 30 Magiked Ash. |
| What a Bird Wants Agree to carry the package to Martha’s Rest | 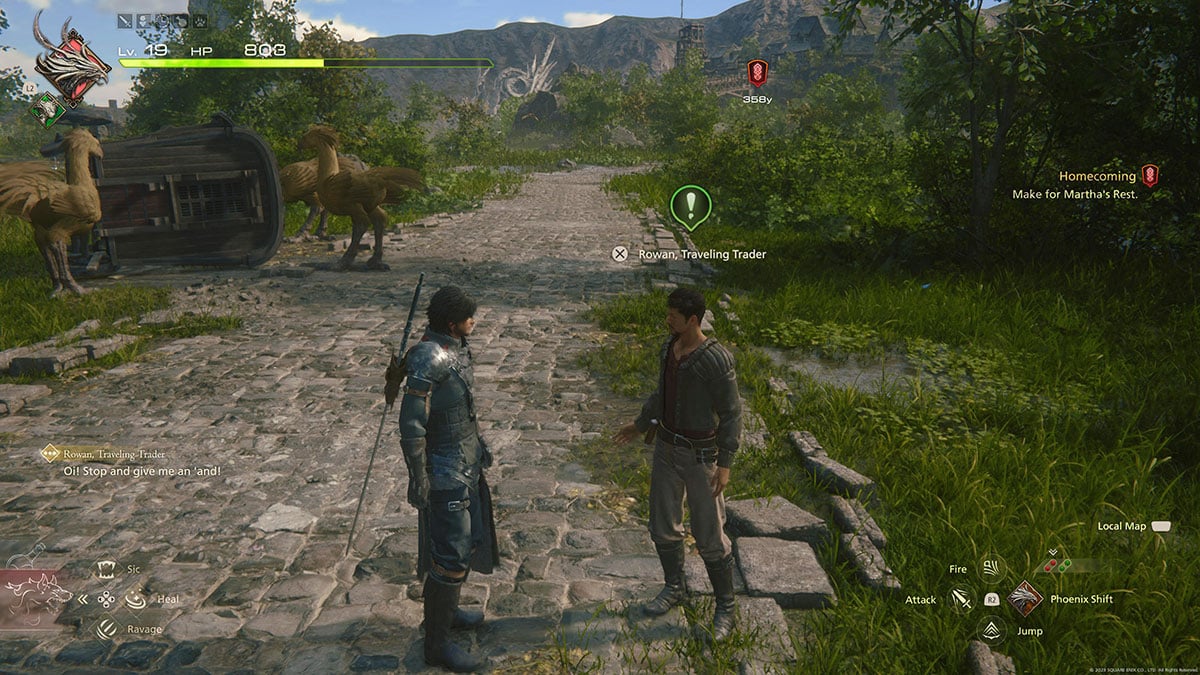 On the way to Martha’s Rest. Speak to the man by the overturned cart. | Take the goods from the man by the cart and run them over to the man at the stables. | 10 Sharp Fang, 5 Bloody Hide, and 18 XP. |
| False Friends Agree to help with the search | 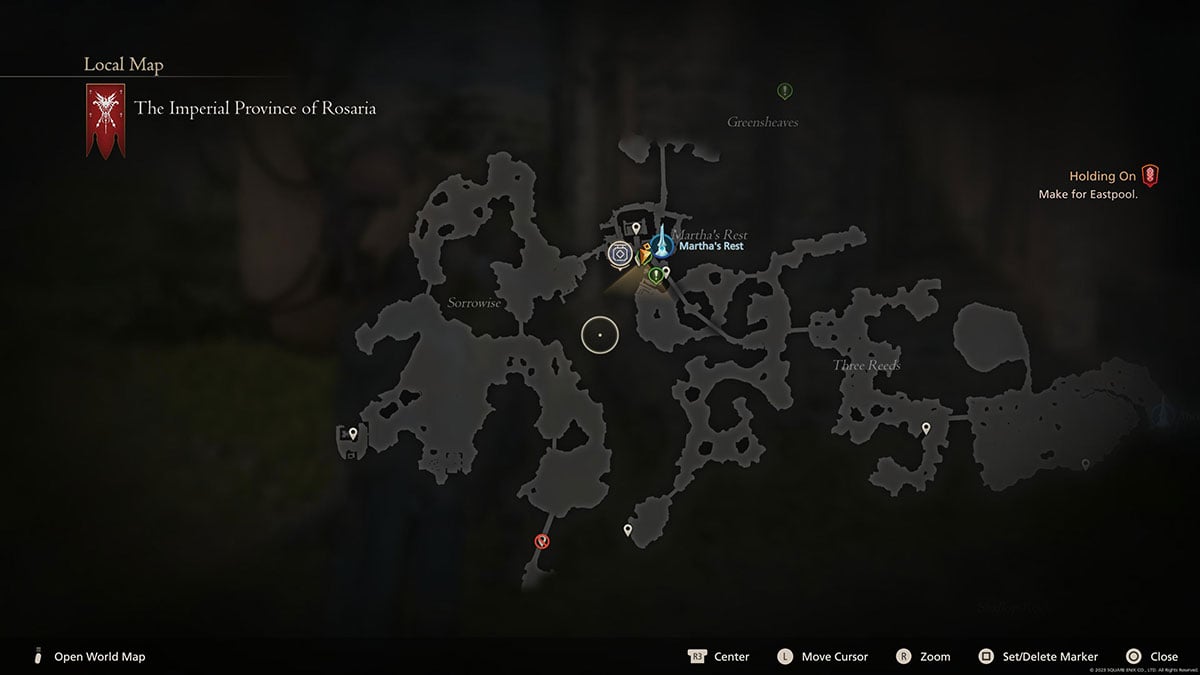 Speak to the man by the Chocobo in Martha’s Rest. | Follow the map marker to find Norreis’ lamp. Search further, and kill more monsters, until Norreis can be seen near a shack. Clive needs to speak to him before returning to Martha’s Rest. When he does, he’ll use the lamp to convince people to stop looking for Norreis so Martha can save him. | 20 XP, 10 Magicked Ash, and 1 Meteorite. |
| Crystalline Lifeline Search the swamp for the crystal | 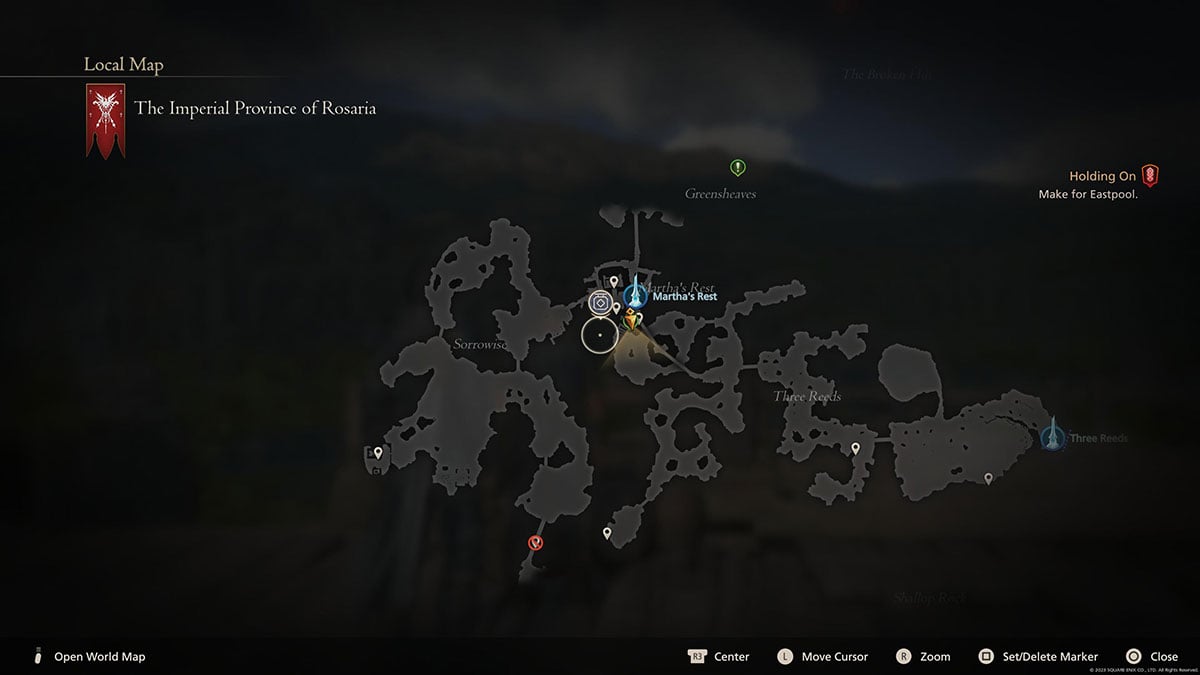 Speak to the man with the fish in a bucket. He’s at Martha’s Rest, close to the ladder down to the swamp. | Take the ladder down to the swamp and kill the monsters there, overgrown crabs, until Clive finds the Foul Crystal. Then, head back to the fishmonger and give him the crystal so he can freeze his fish once more. | 19 XP, 1,000 Gil, 10 Wyrrite, and 10 Magicked Ash. |
| Beast Against Beast Agree to deal with the wolves | 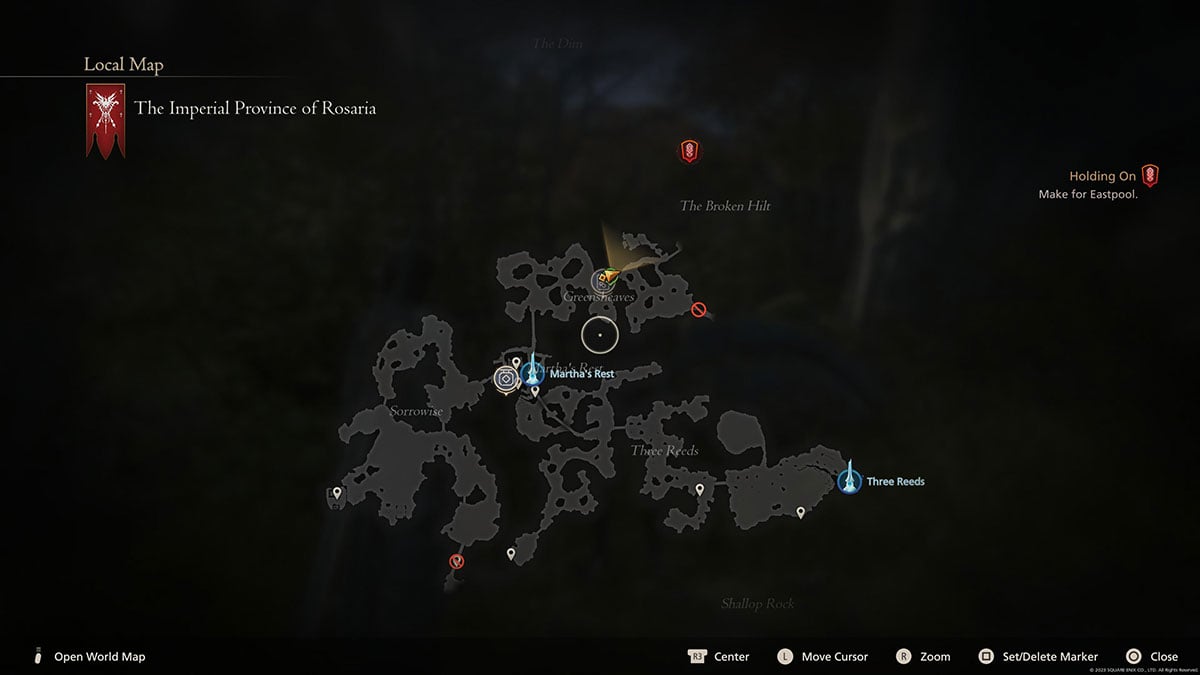 Speak to the man on the road towards The Broken Hilt in Greensheaves. | Kill the pack of wolves blocking the path. The Alpha is particularly powerful but should go down eventually with enough force. | 20 XP, 1,000 Gil, 10 Wyrrite, and 1 Meteorite. |
| Needs of the Many Search for the missing Bearer | 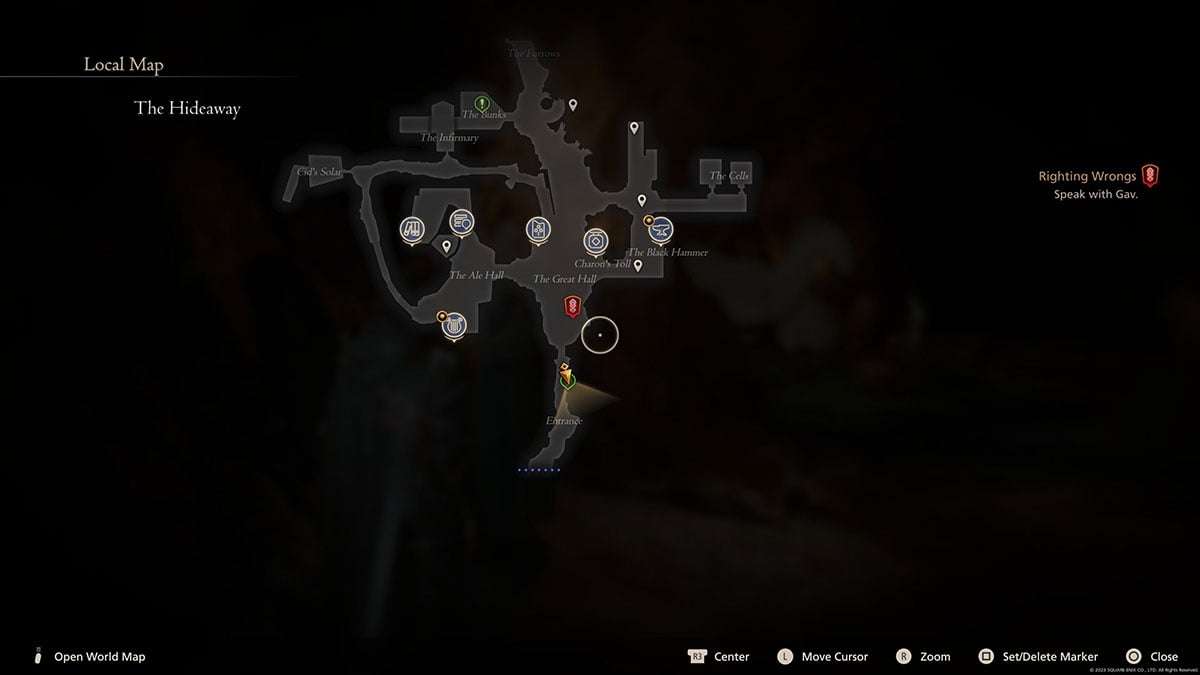 Speak to Alban the Postmaster at the entrance to The Hideaway the second time Clive returns there. | Kill the enemies in the forest and track down Randal, the missing Bearer. Then, once he’s been located, return to Alban at The Hideaway. | 20 XP, 30 Wyrrite, 30 Sharp Fang, and 1 Meteorite. |
| Welcoming Committee Agree to go and talk to the Bearers | 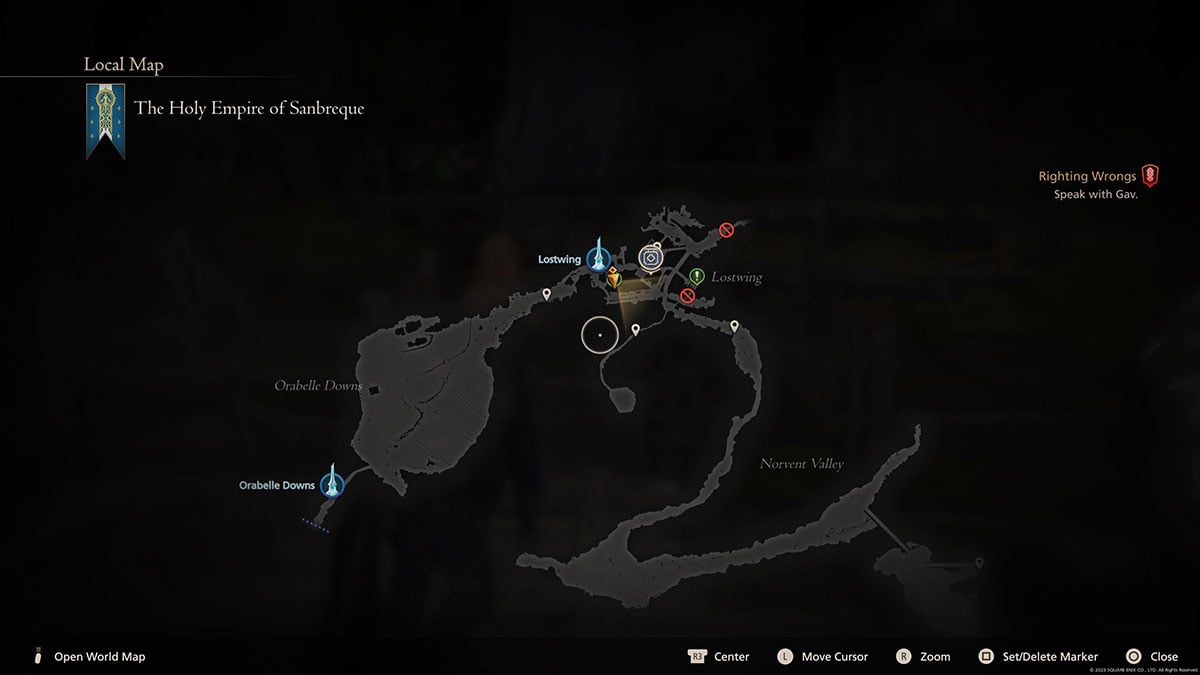 Speak to Alain in Lostwing after returning to The Hideaway for the second time. | Speak to the Bearers and get them some food from the inn. | 15 XP and 1 Gil Bug. |
| Dying on the Vine Exterminate the Wasps | 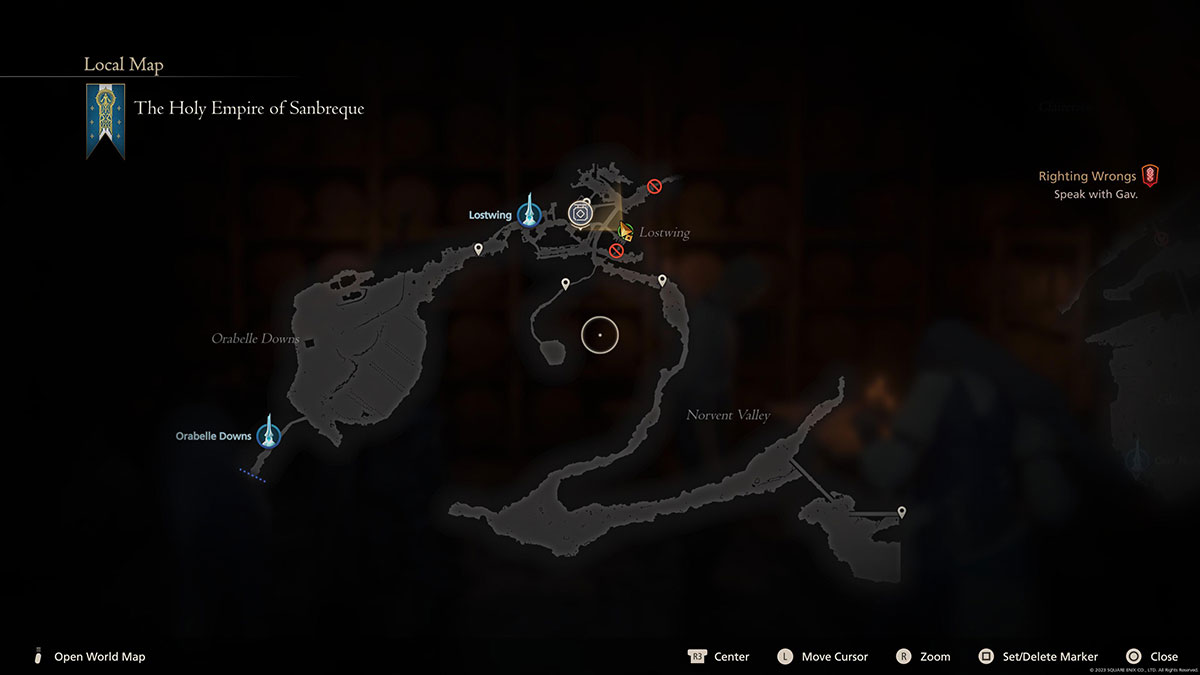 Speak to Emile in the wine cellar in Lostwing following Clive’s return to The Hideaway for the second time. | Head to the vineyard and kill all of the wasps there before returning to Emile. | 15 XP, 10 Sharp Fang, and 1 Black Blood. |
| Red Letter Day Offer to search for the missing items | 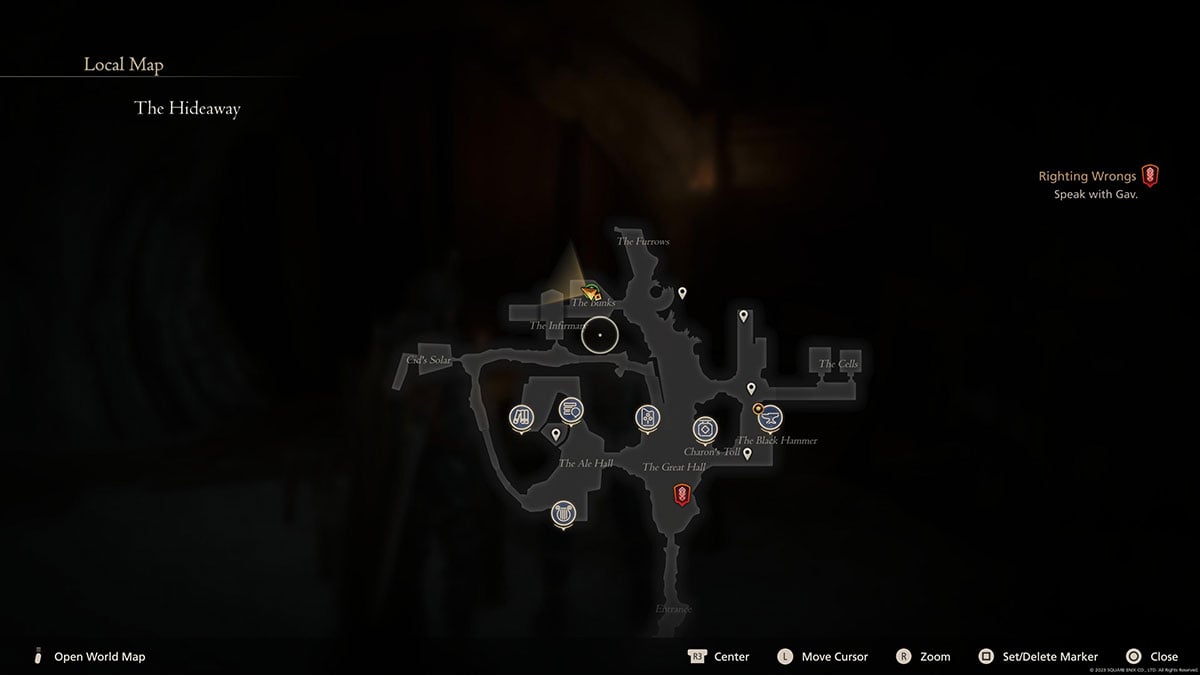 Speak with Glenn, the courier, in The Hideaway after Clive returns there for the second time in the story. | Visit the vineyard in Lostwing to pick up the items Glenn has dropped. Then, speak with the locals to discover where Cid’s letter has gotten to. After collecting it, return to Glenn in the Hideaway. | 20 XP, 20 Wyrrite, and 10 Sharp Fang. |
| While the Cat’s Away Offer to go and deal with the bandits | 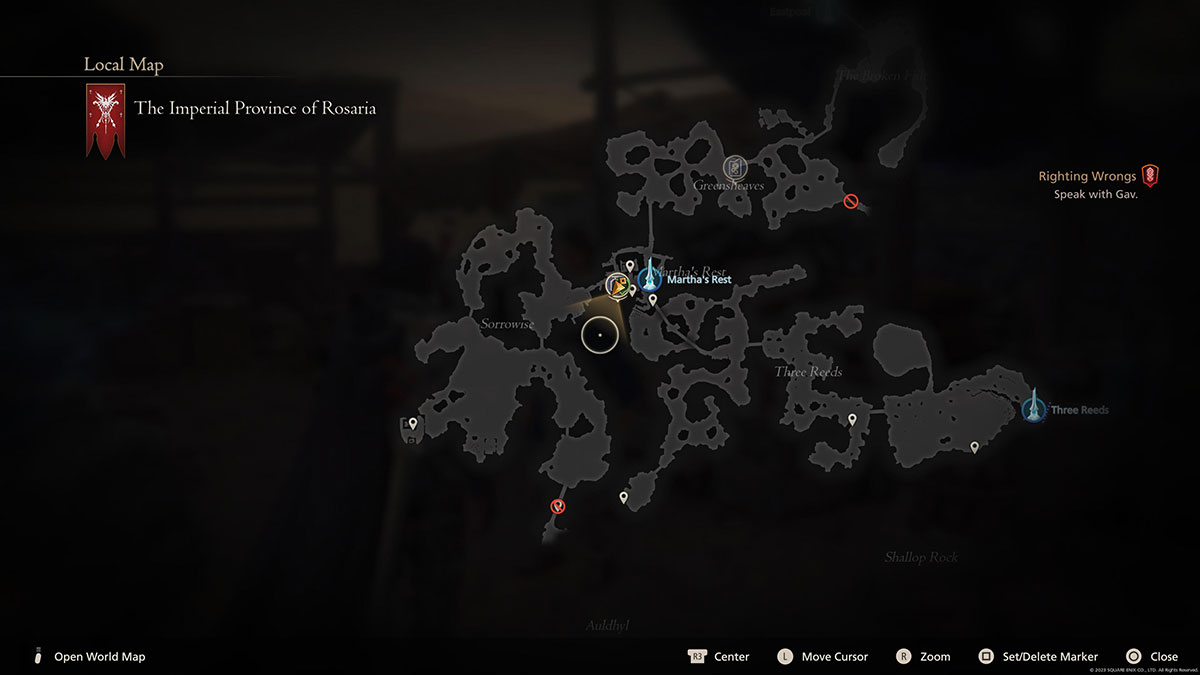 Speak to the Inn Hand at Martha’s Rest after returning to The Hideaway for the second time. | Enter Martha’s Rest and kill the bandits inside. After the bandits have been defeated, the quest will complete. | 20 XP, 10 Wyrrite, and 5 Steelsilk. |
| The Want Beyond the Wall Help the merchant with his dealings beyond the wall | 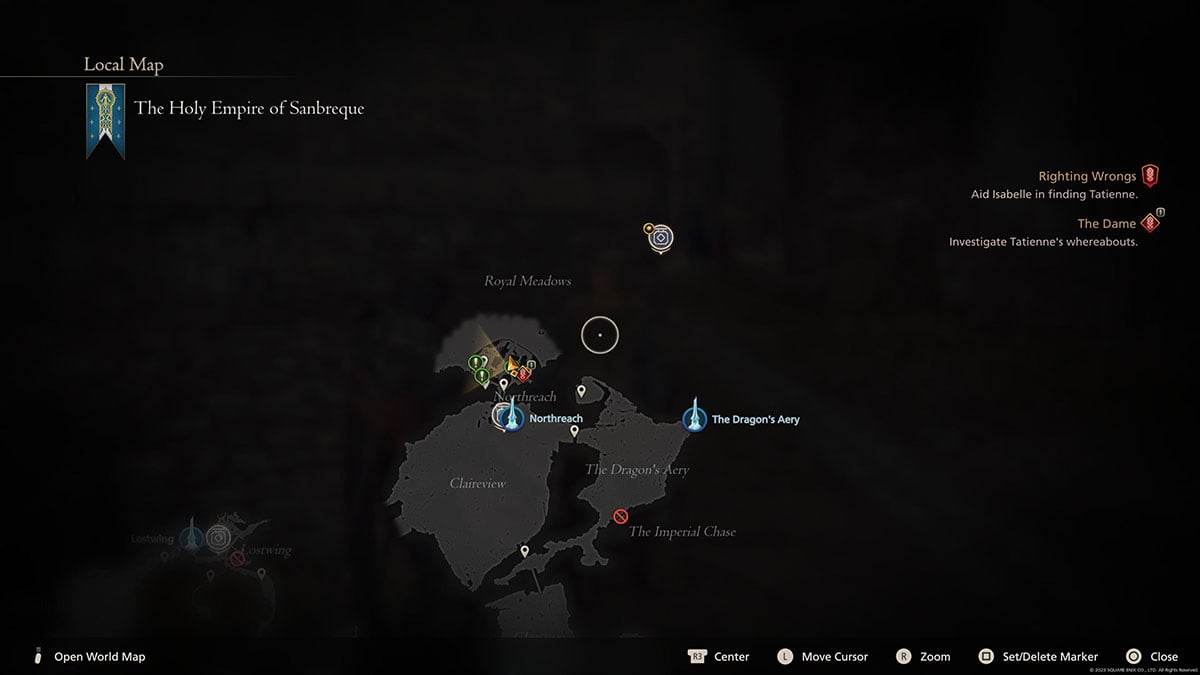 Speak to Etienne the merchant just after accessing the Veil. | Deliver three mysterious goods to merchants beyond the wall and take the items they give in return back to Etienne. | 18 XP, 20 Steelsilk, 20 Bloody Hide, and 1,000 Gil. |
| Pride Comes Before a Fall Rise to the soldiers’ challenge | 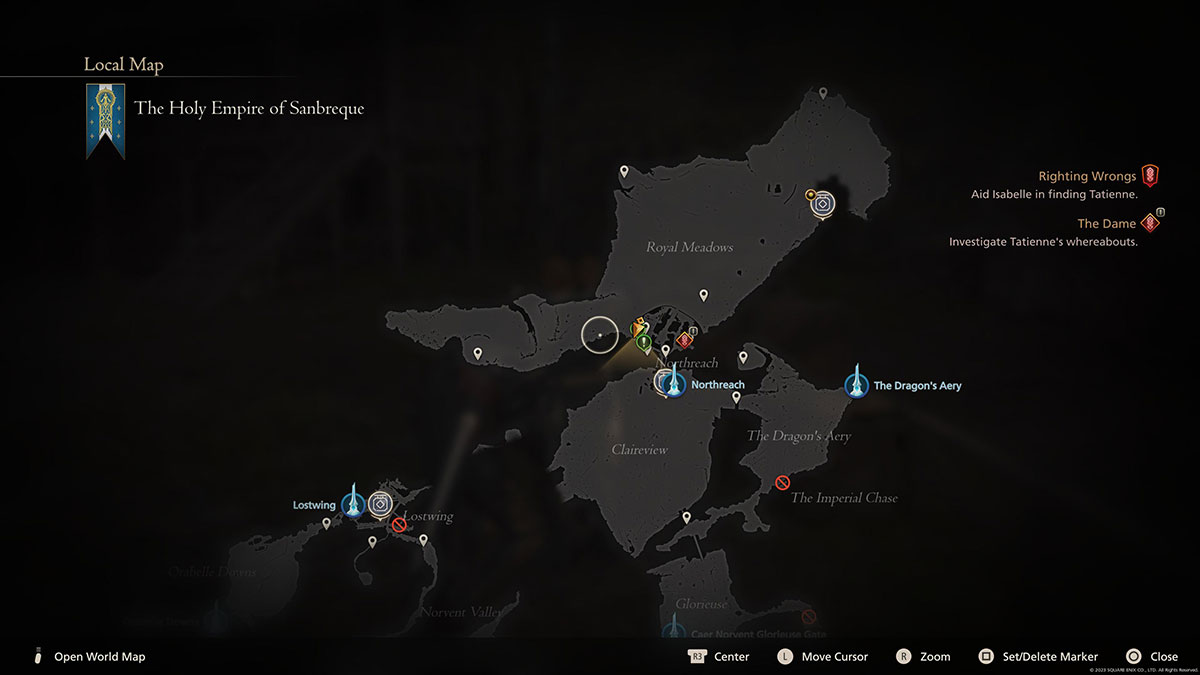 Speak to the soldiers in the training area just before the entrance to Royal Meadows. | Beat both of the soldiers in a fight. | 20 XP, 1 Meteorite, and 1,100 Gil. |
| Friend of the People Agree to help | 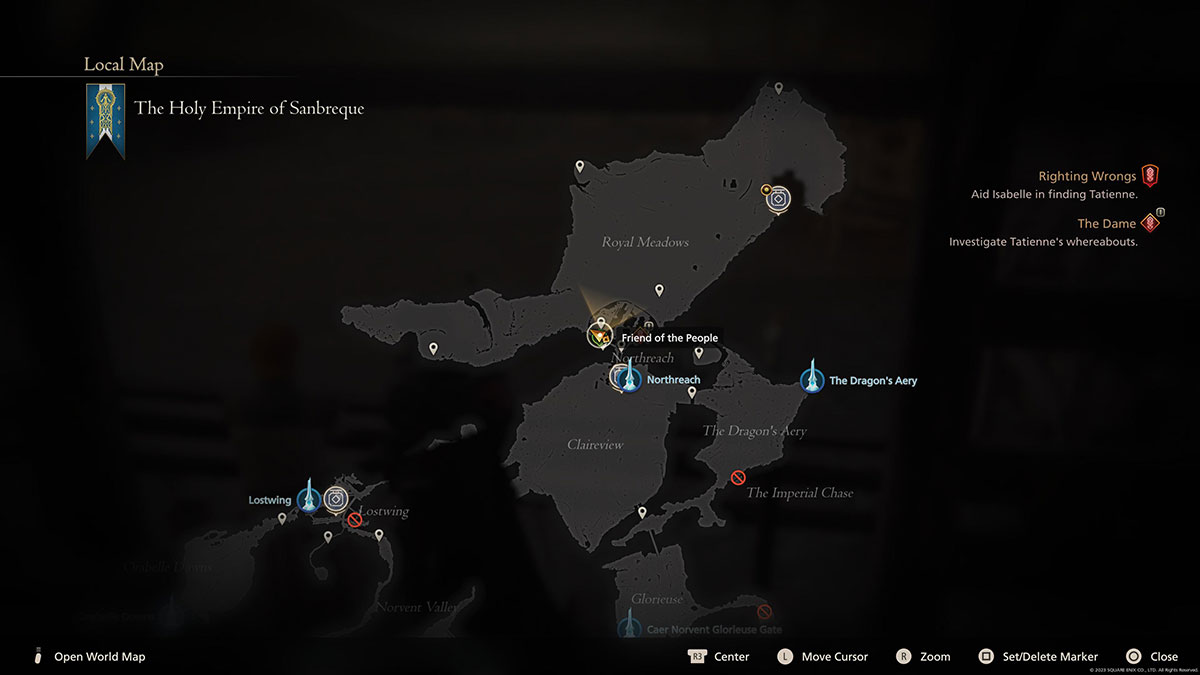 Speak to Mathieu, Oriflamme Official on the walkway above the soldiers’ training area. | Deliver food to the Bearers that are being abused. Then speak to the courtesan at the Veil to end the quest. | 18 XP, 25 Magicked Ash, and 1,000 Gil. |
Are there Missable Side Quests in Final Fantasy 16?
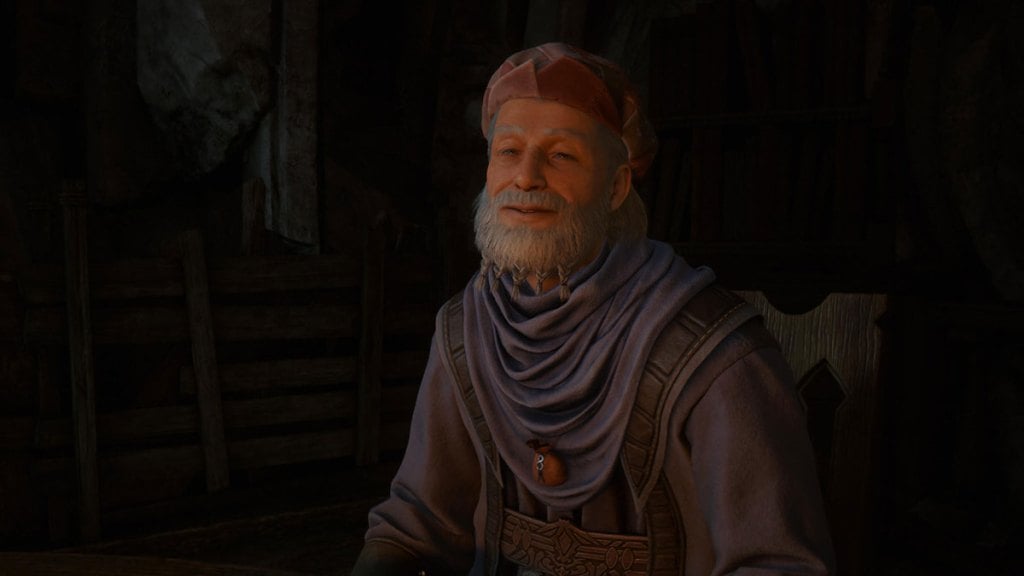
Yes, there are missable side quests in Final Fantasy 16. While all side quests are clearly marked with a green icon on the local map, players need to travel to where these side quests are to see them. There are specific points in the story that will lock out all incomplete side quests, so it’s worth traveling around and visiting The Hideaway regularly to catch up on all of them.
All Missable Side Quests Locked by the Story in Final Fantasy 16
In the table below, we’ve listed every side quest in Final Fantasy 16 that players might miss because the story locks them out if they aren’t completed after a certain point.
| Side Quest Name | Location | How to Complete |
|---|---|---|
| TBA | TBA | TBA |
How to Unlock Side Quests in Final Fantasy 16
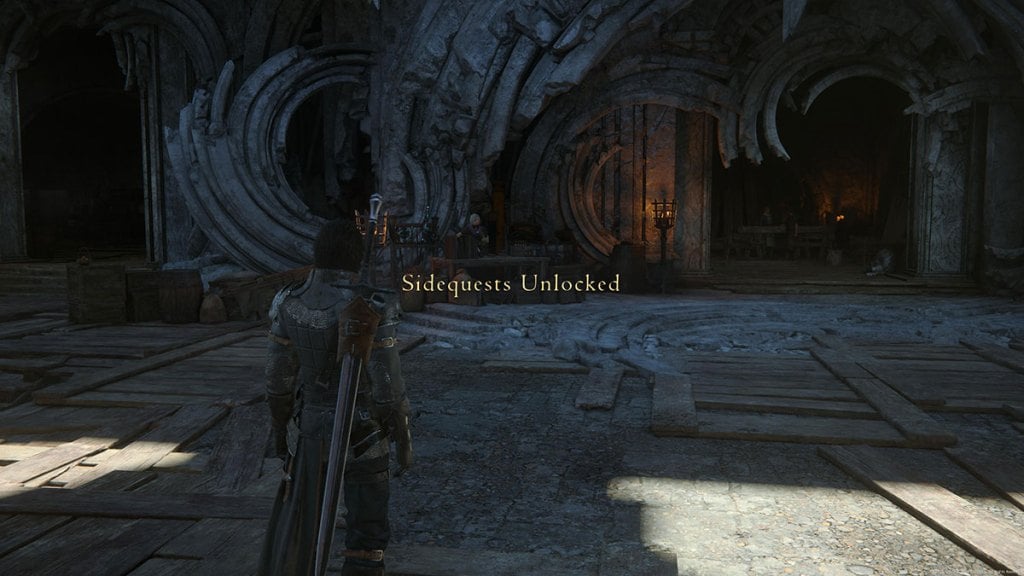
Side quests are unlocked as players work through the early stages of Final Fantasy 16’s story in The Hideaway. This is the area Cid brings Clive to after the main opening of the game. Players need to complete every objective until a screen informing them that side quests have been unlocked is presented. From then on, players can take on side quests from any characters with a green icon over their heads.

Published: Jul 5, 2023 08:17 am