Creativity is the game, and LEGO Fortnite lets you get inventive with all these blocks, beams, and railings and come up with the best vehicles to traverse its diverse world. However, functional vehicles are hard to come by.
I don’t know about you, but the thing I loved the most about LEGO as a kid was making cars. The first time I entered LEGO Fortnite’s sandbox mode, I noticed the small and large wheels in the toy section of the build menu and went absolutely mad. However, despite my attempts, I soon realized crafting functional vehicles that are compatible with the world of LEGO Fortnite wouldn’t be easy, especially if they’re land-based. That’s why I’ve assembled a list of the three best vehicles in the current version of LEGO Fortnite and a guide on how you can build them yourself.
Related: Is LEGO Fortnite Permanent?
Disclaimer: LEGO Fortnite is pretty finicky when it comes to Lego placement. Make sure to use Snap Mode and the Nudge feature to make building easier.
- Nudge: lets you move items a single row further, backward, and sideways.
- Snap mode: limits Lego placement to green positions only instead of free-roam.
An Overly Complex Steerable Car for LEGO Fortnite
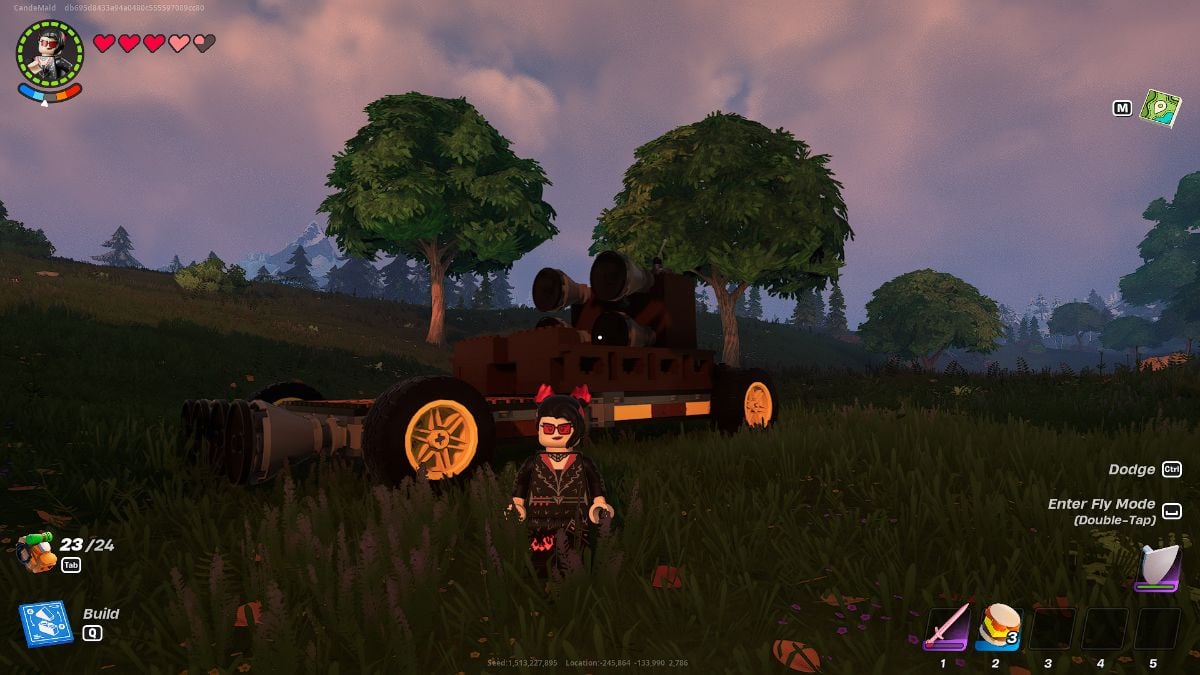
We can hate on it all we want, but the truth is there is no steering wheel in LEGO Fortnite’s current version. The devs have addressed it and will likely do so in the future.
Still, that doesn’t mean we can’t work around this issue with a couple of switches and thrusters. JYKU’s version of a car in LEGO Fortnite is as close to a fully steerable car as you’ll get. It works just fine, doesn’t break as quickly as the rest, and lets you freely explore all biomes of the map without doing much of a workout.
How to Make a Car in LEGO Fortnite
Here’s a step-by-step rundown of how to make a car in LEGO Fortnite:
| Appearance | Car Building Tutorial |
|---|---|
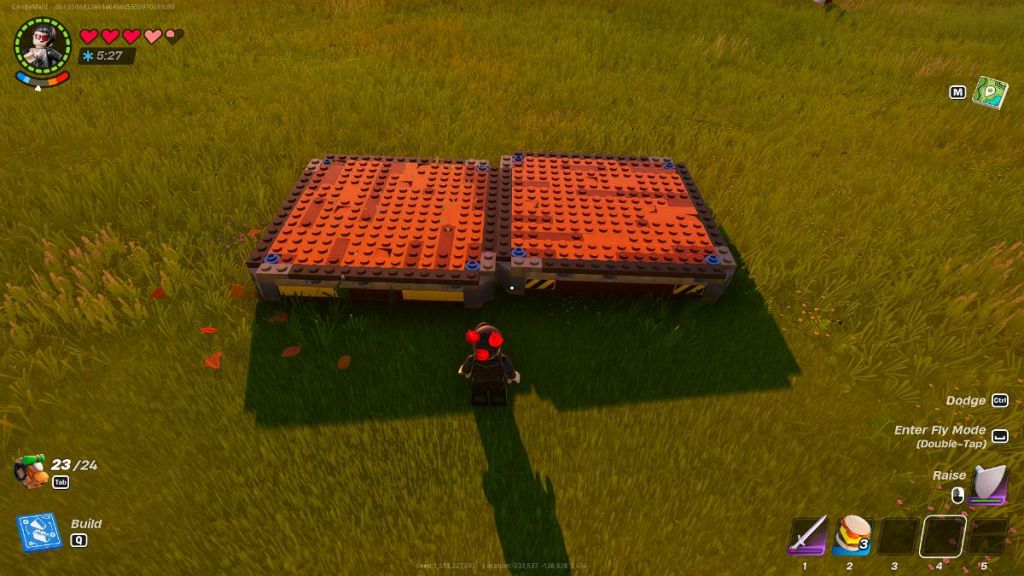 | Open the build menu, navigate to the toys category, and choose the Dynamic Foundation. Place two foundations side by side on a flat surface. |
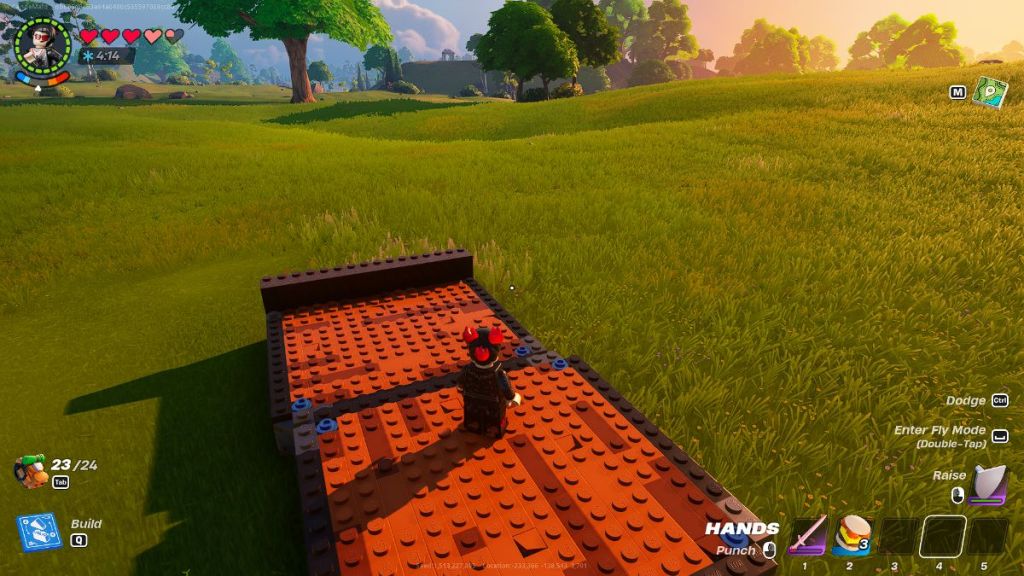 | From the build menu, select building parts and locate the support option. Choose the last support beam and attach it to the end of the dynamic foundation. |
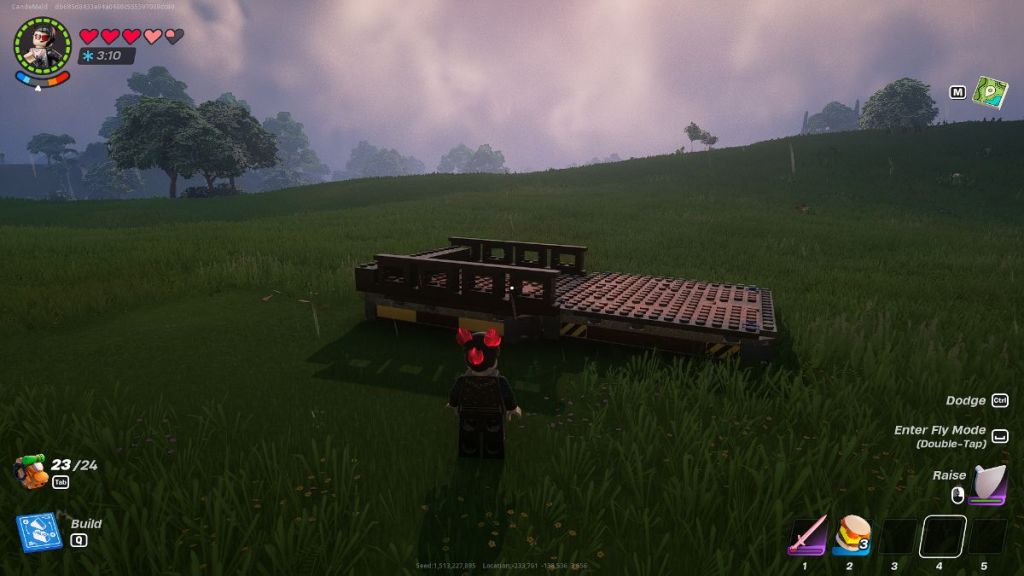 | Switch to fences in the build menu and select rustic railing 3. Attach these railings to the sides of the support beam. |
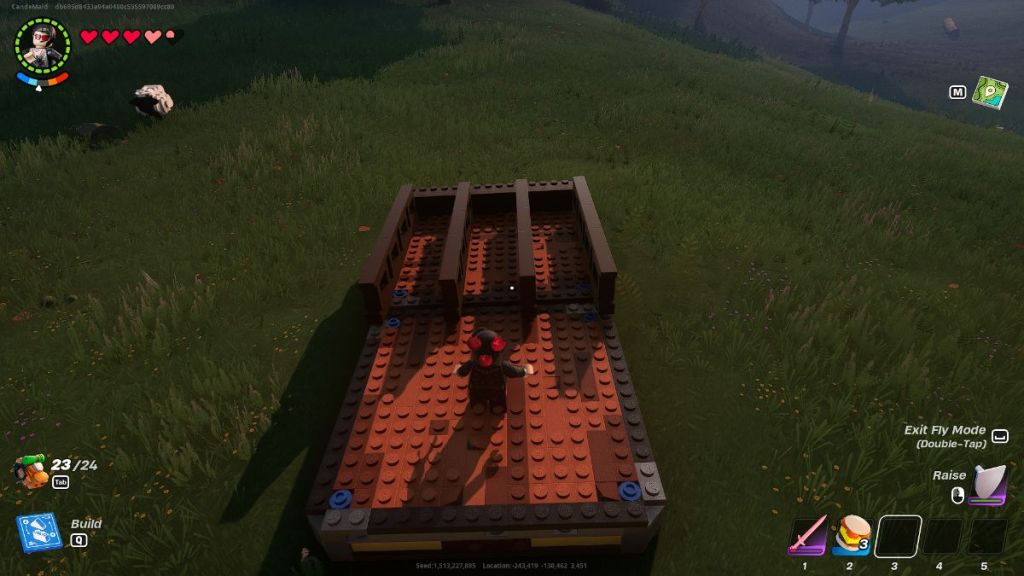 | Add two more rustic railings 3 four lines away from the ones on the side. Use the nudge key to help you out. |
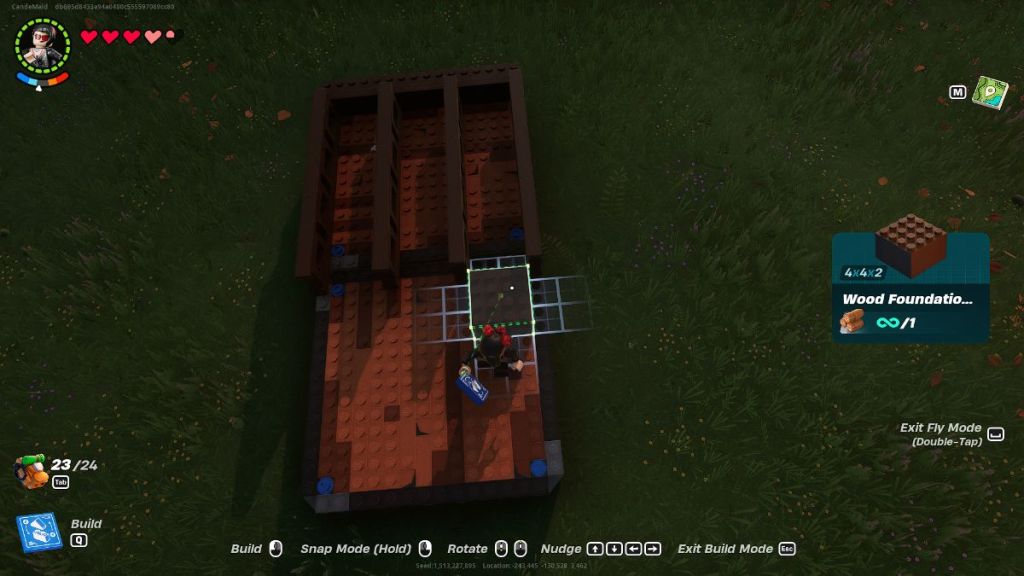 | Use Wood Foundation 1 to place blocks on the ends of the beams. You’ll be stacking three, but make sure the second is slightly unaligned with the rest. |
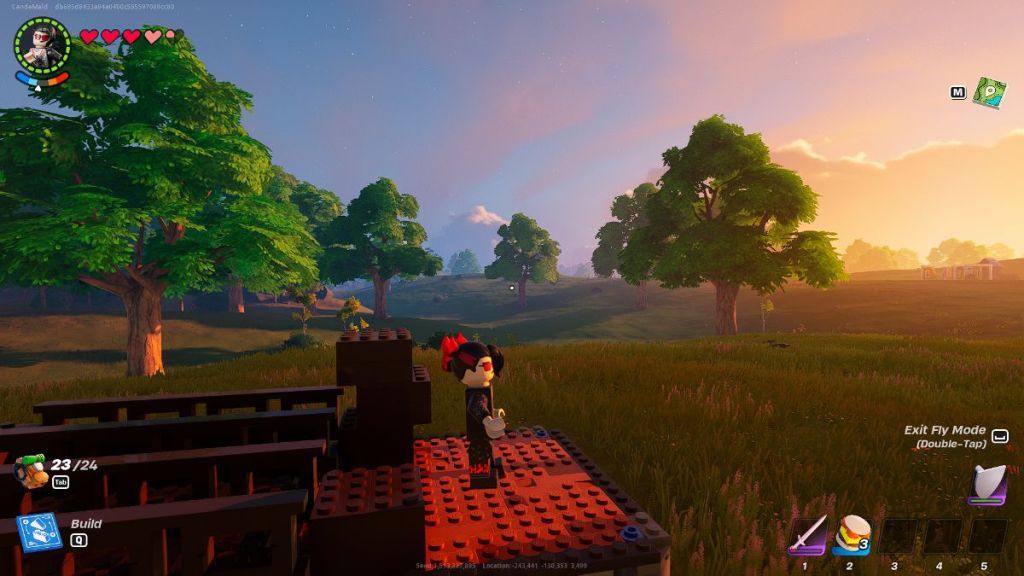 | Add a beam at the rear of the stacked blocks to complete the framework. This step ensures the activation switches work independently. |
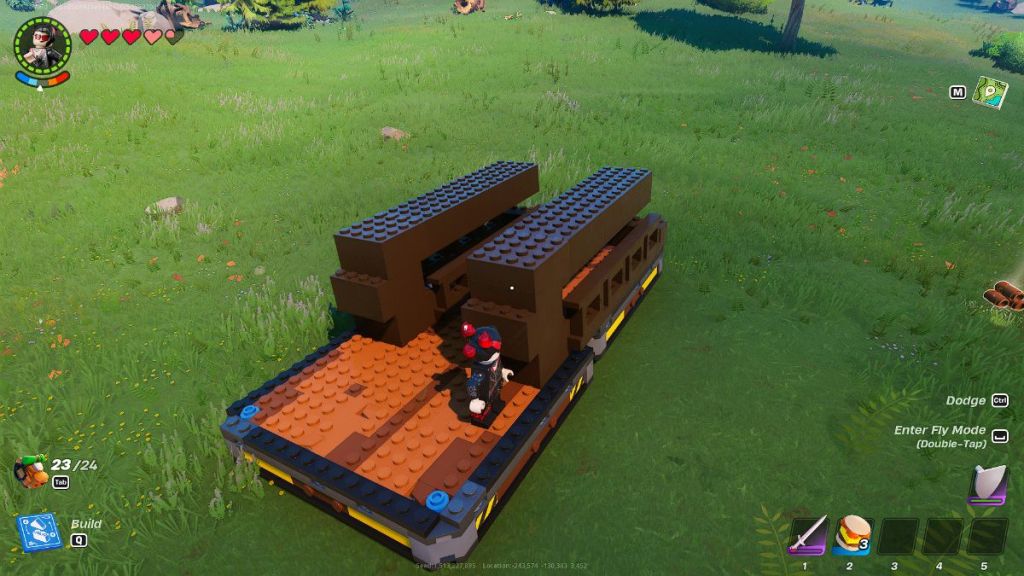 | Destroy two of the three staggered blocks to drop a beam into place. Keep one block for later use. |
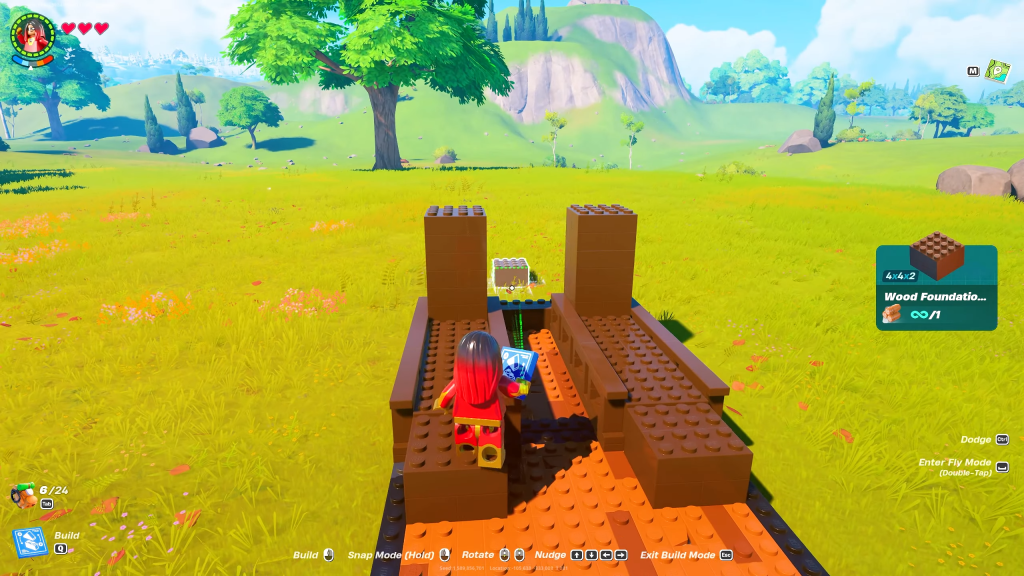 | Place additional blocks on top of existing ones in front of the car to form pillars for the thrusters. Then, attach four thrusters to the pillars on both sides. |
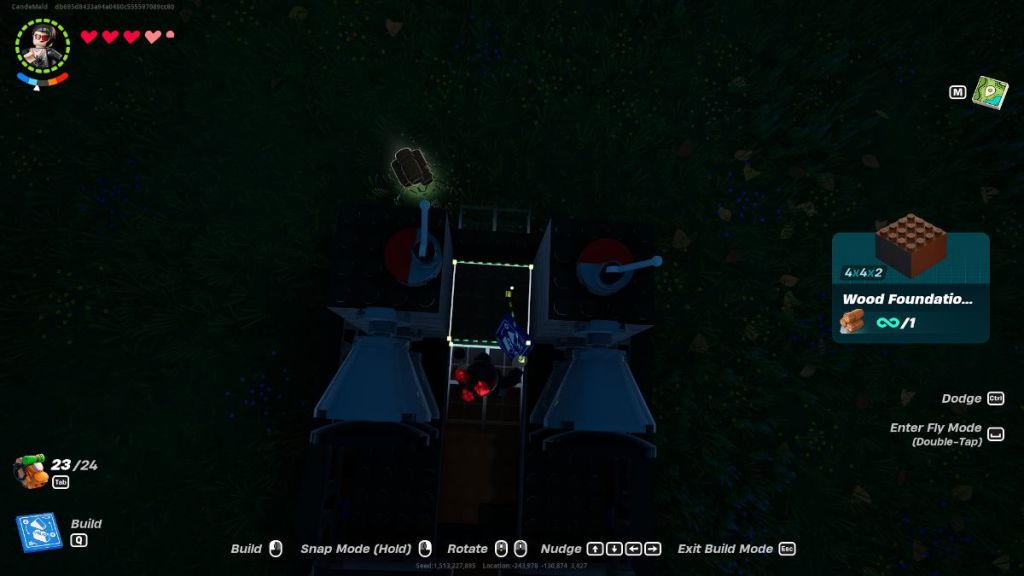 | Place three activation switches – two on the pillars and one using stairs for access. These switches control the back thrusters and turning mechanisms. |
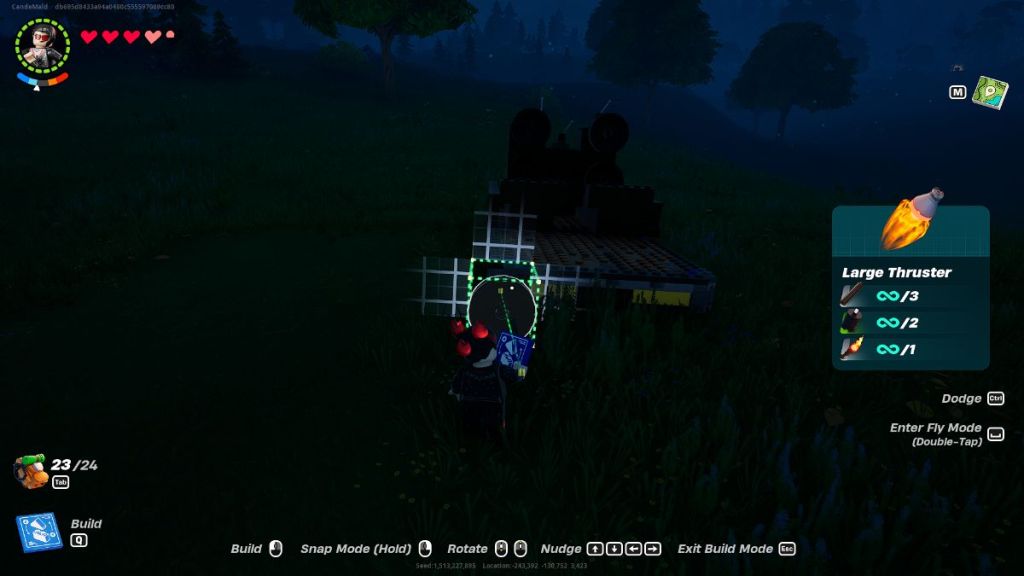 | Fix four large thrusters at the back of the build to lift it off the ground. |
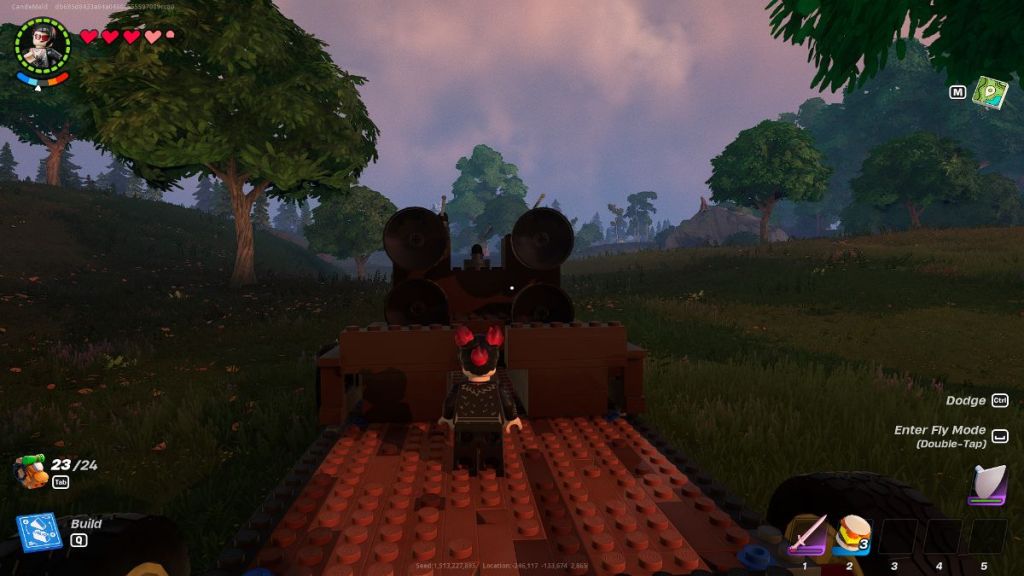 | From the toys category, select large wheels and place them at the back and front ends to elevate the car. Use the middle switch for back boosters, the right switch for left turns, and the left switch for right turns. |
An Easy-to-Make Plane for LEGO Fortnite
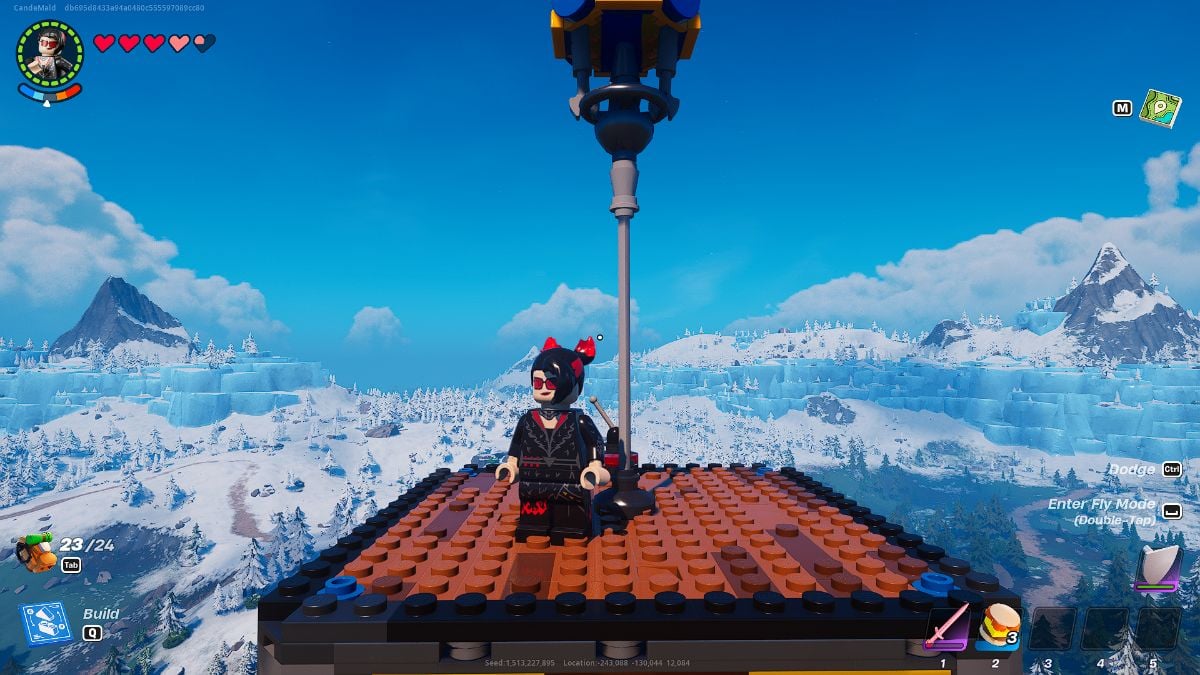
Nothing is faster, safer, and easier to build than the LEGO Fortnite plane. Soaring the skies of the map spares you the trouble of having to fight enemies, until the devs decide it’s time to add a dragon or a flying Brute.
In any case, its speed and comfort make the plane one of the best vehicles in LEGO Fortnite. At the very least, it’s the one vehicle that doesn’t feel forced in the current version of the game.
How to Make a Plane in LEGO Fortnite
Here’s a step-by-step rundown of how to make a plane in LEGO Fortnite:
| Appearance | Plane Building Tutorial |
|---|---|
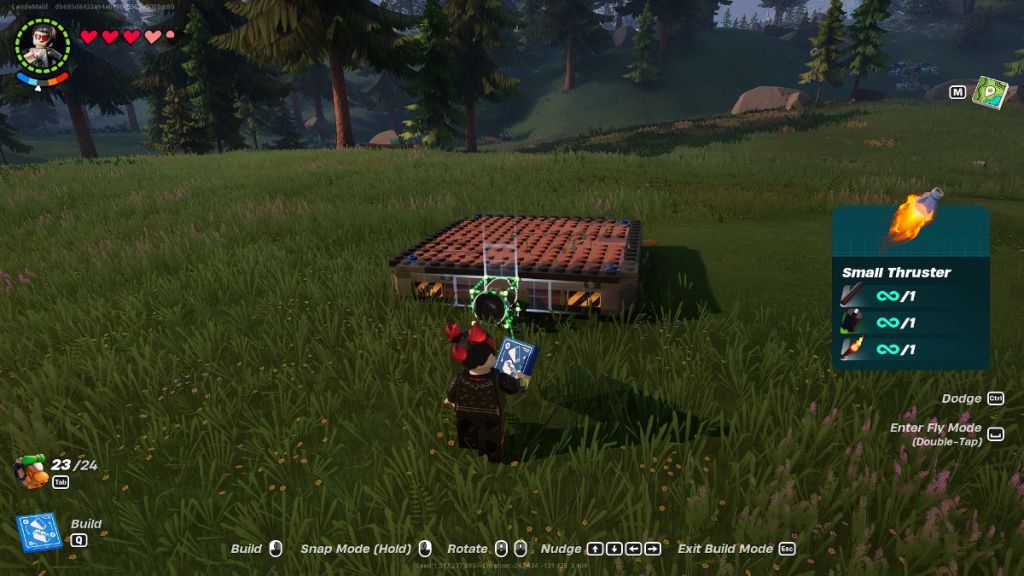 | Access the build menu, go to toys, and select Dynamic Foundation. Place it on a flat surface to create the base of the plane. |
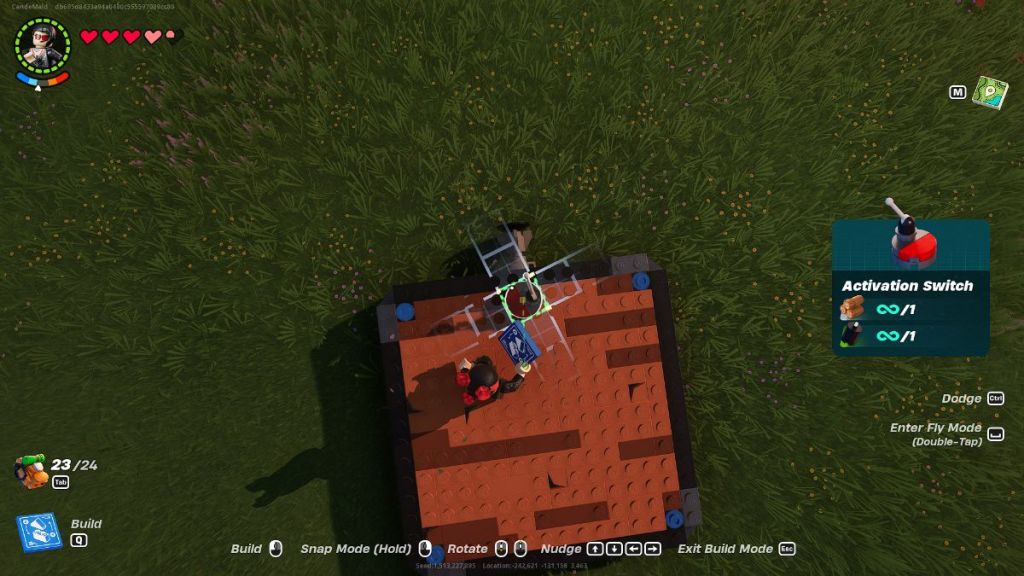 | From the build menu, choose the small thruster and place it at the back of the build. |
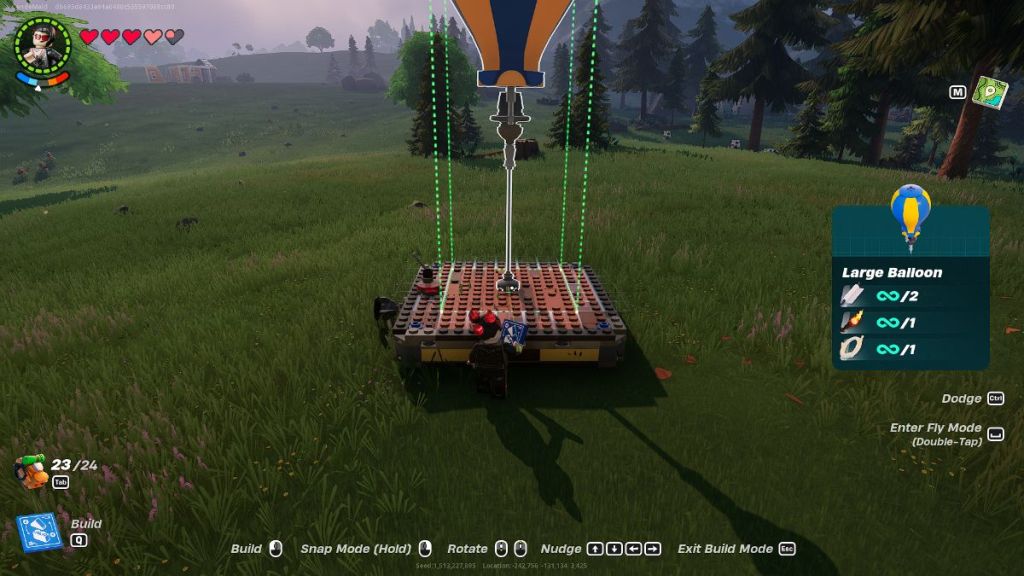 | Then, select the activation switch and position it in front of the thruster to control its activation. |
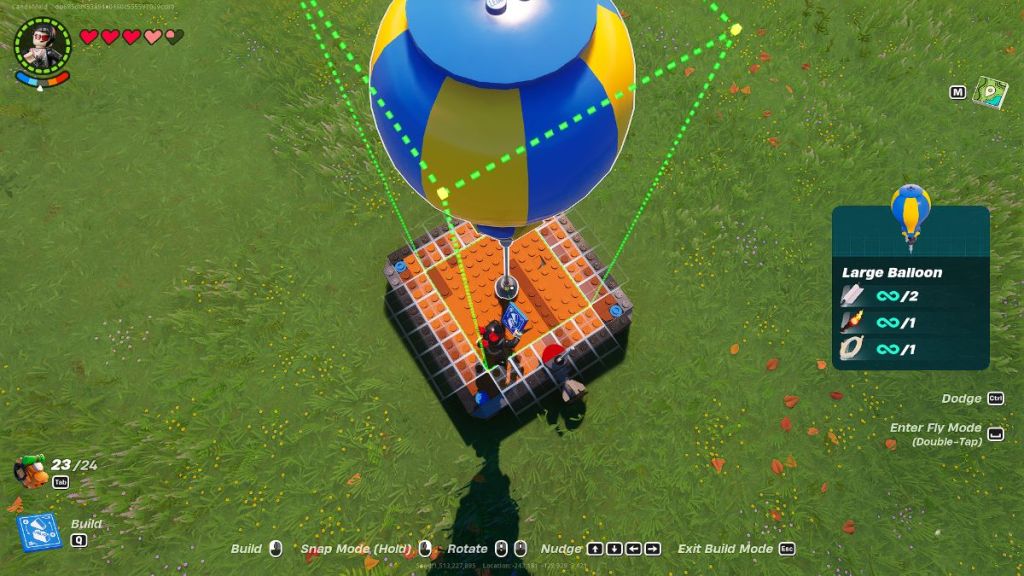 | Pick the large balloon from the toys category and place it in the middle of the build. This balloon will provide lift-off. Just make sure you’re on top of it so your plane doesn’t take off without you. |
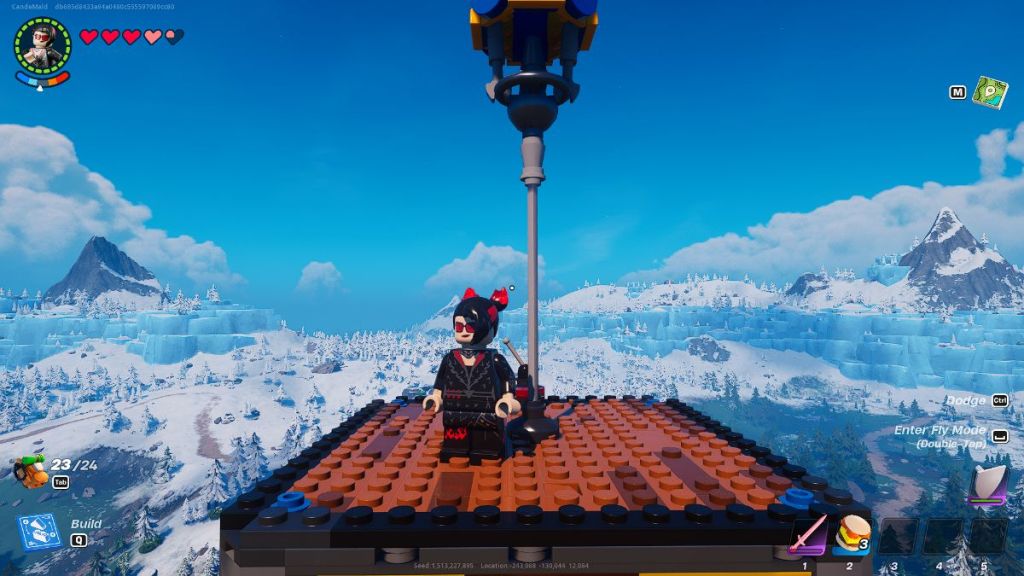 | The plane is ready to fly with the thruster and balloon in place. Activate the thruster using the switch to start moving around the map. |
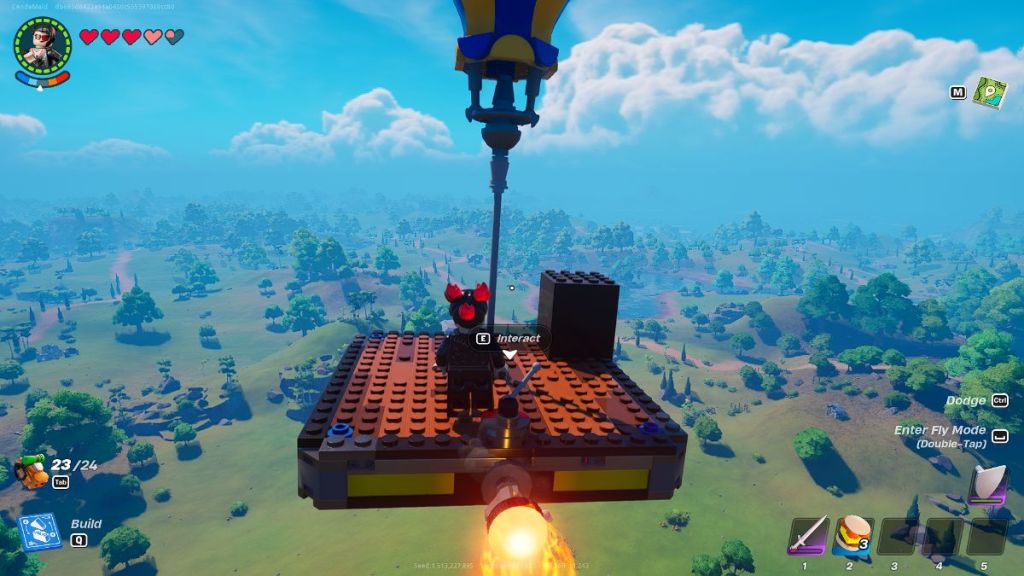 | To steer the plane, use Wood Foundation #3 from the building parts category. Place these blocks on either side of the building to turn left or right. Activate the thruster again to navigate in the desired direction. |
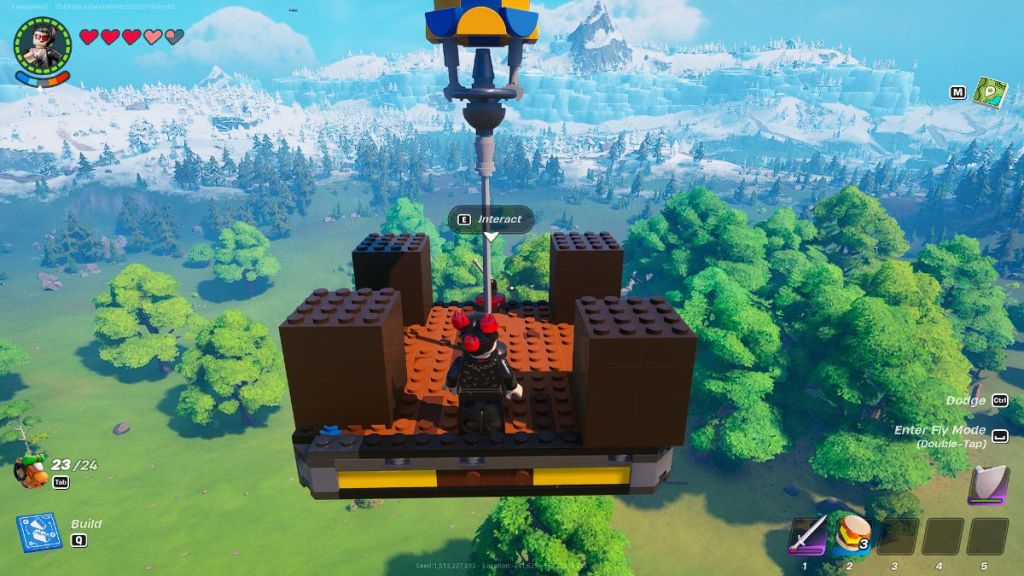 | To land, add as much weight on the plane as you can using Wood Foundations. |
A Train for All Your Goodies in LEGO Fortnite
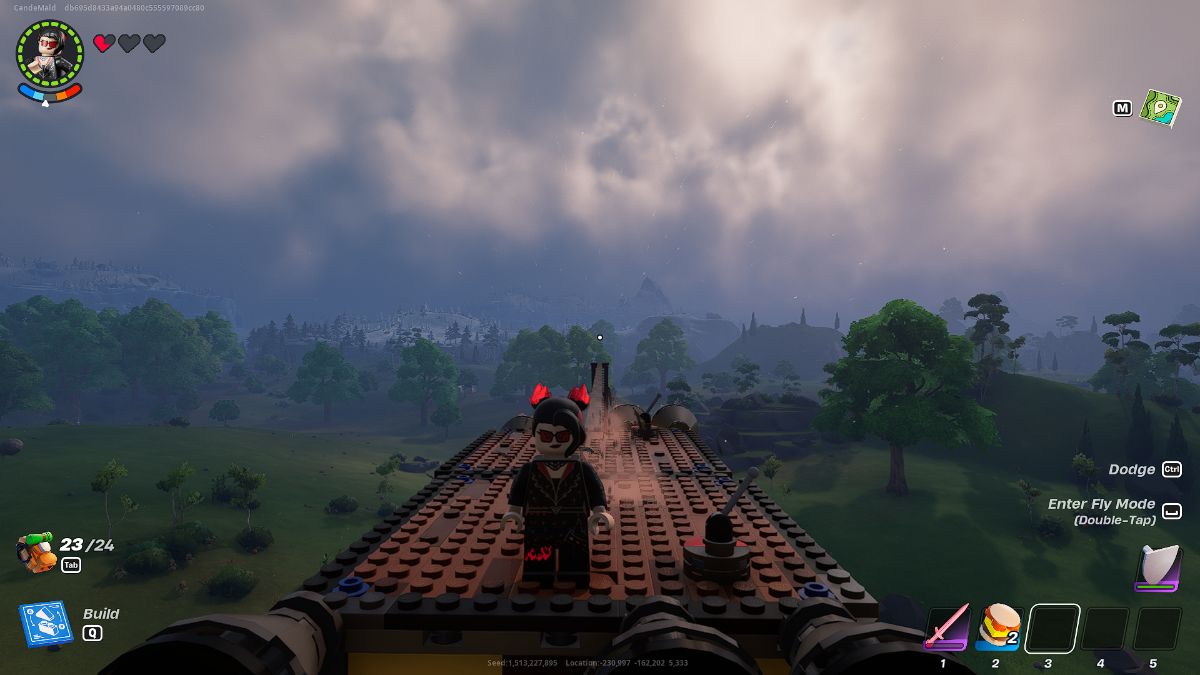
LEGO Fortnite, like many other survival games, gives me a perpetual fear of losing my precious loot. With the train, you can transport all your goodies from one biome to the other, or from caves to your village.
Of all three vehicles, the train takes the most work to assemble. However, unlike the car, once it’s built, this framework is a permanent transportation method both for you, your villagers and your loot.
How to Make a Train in LEGO Fortnite
Here’s a step-by-step rundown of how to make a train in LEGO Fortnite:
| Appearance | Train Building Tutorial |
|---|---|
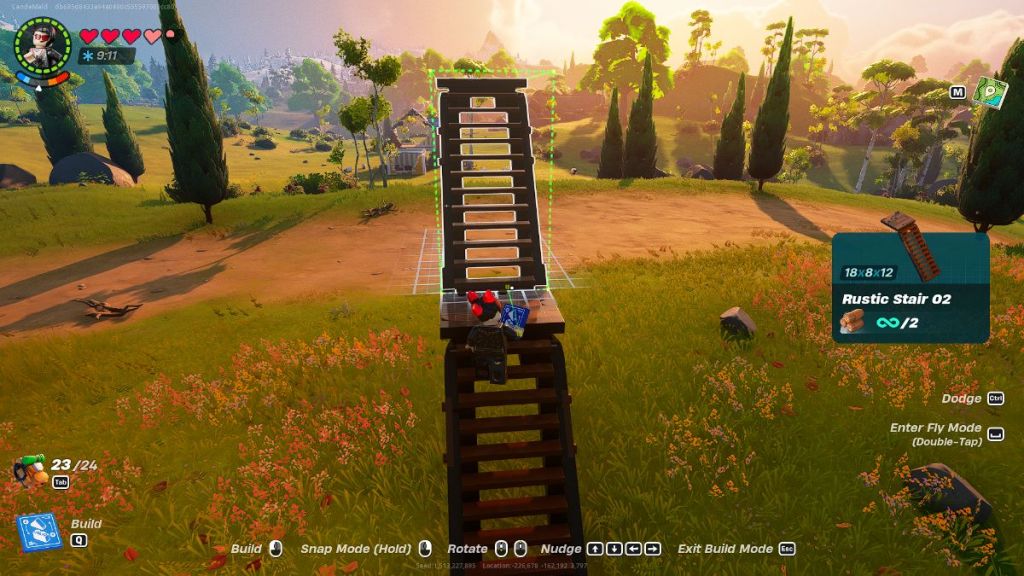 | Access the build menu, select stairs with a platform at the end, and build a series of elevated stairs to create an elevated track high enough to avoid obstacles. I usually place around eight or nine. |
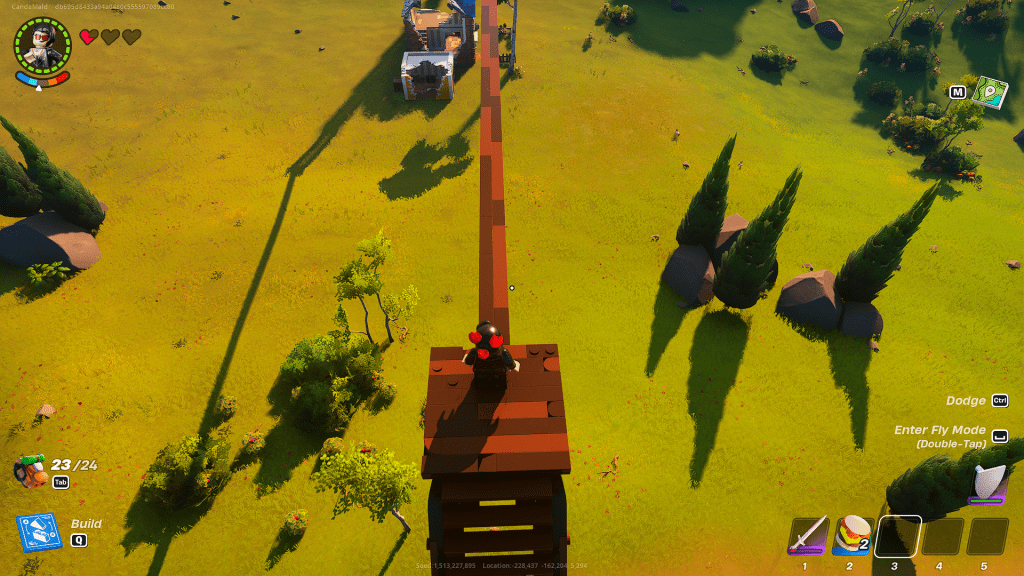 | Use rustic thin floor #3 from the floor category in the build menu. Place it in a straight line along the elevated platform to form the train tracks. The best way to do this is with the snap feature. |
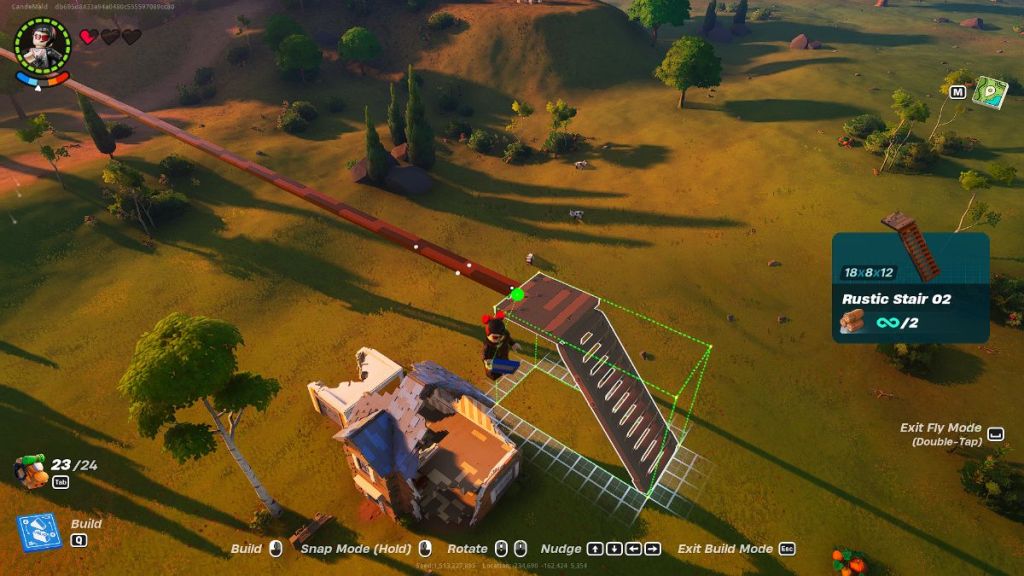 | When you’ve reached the endpoint, switch back to stairs with a platform and rotate them downwards to connect back to the ground. |
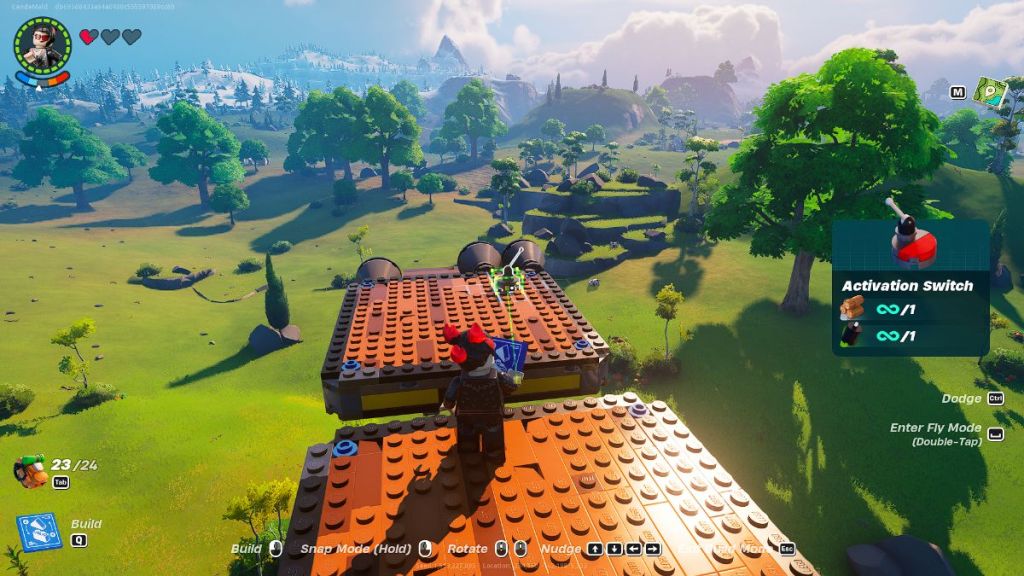 | At the top of the tracks, use the build menu to select Dynamic Foundation. Place two foundations spaced apart and aligned with the rails. |
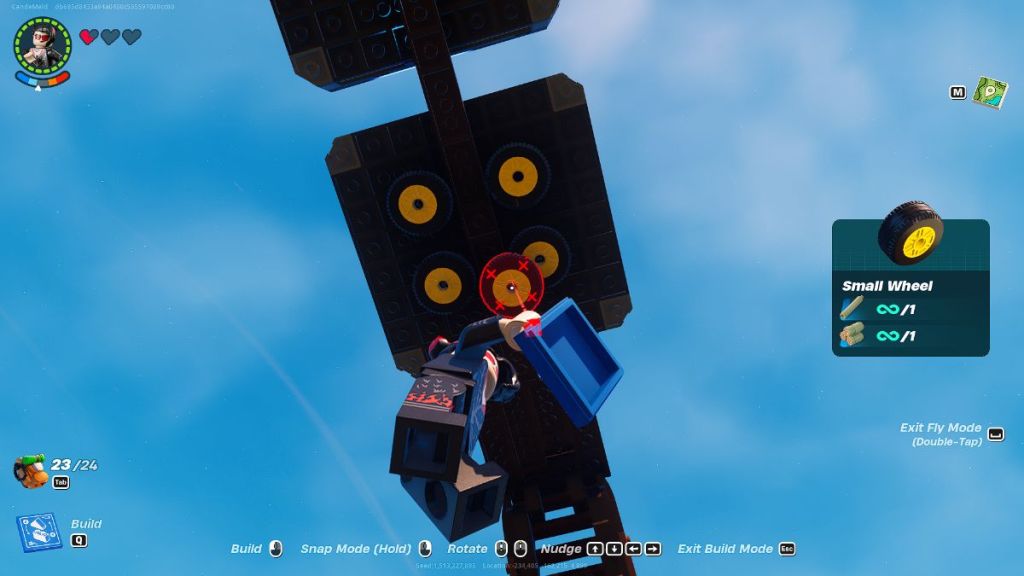 | Use small wheels from the toys category to attach two wheels on each side of the tracks underneath the platforms. Repeat this process for the other foundation. |
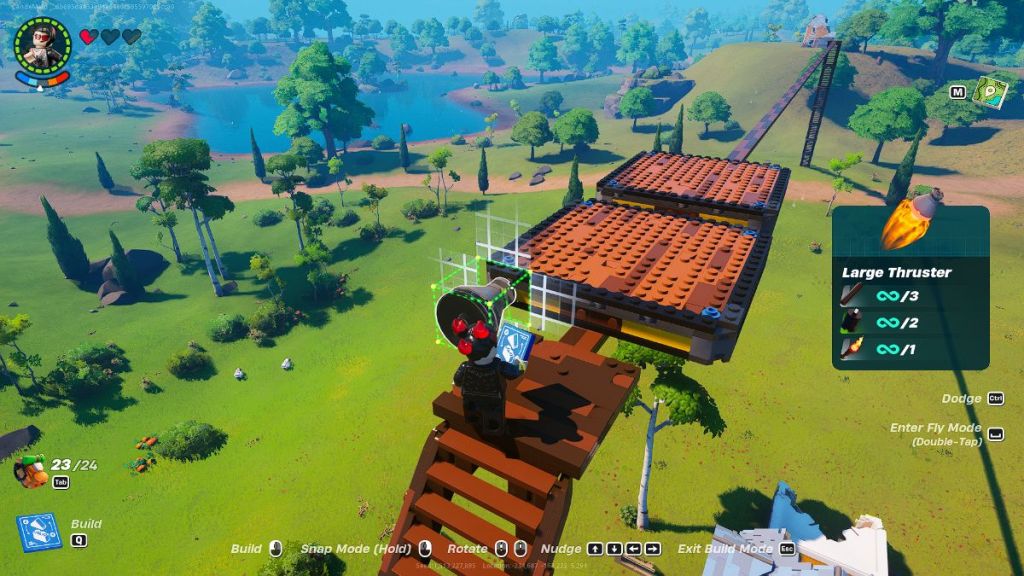 | Select large thrusters from the toys category in the build menu. Place two thrusters on one side and one on the other side of each foundation, aligned with the rail direction. |
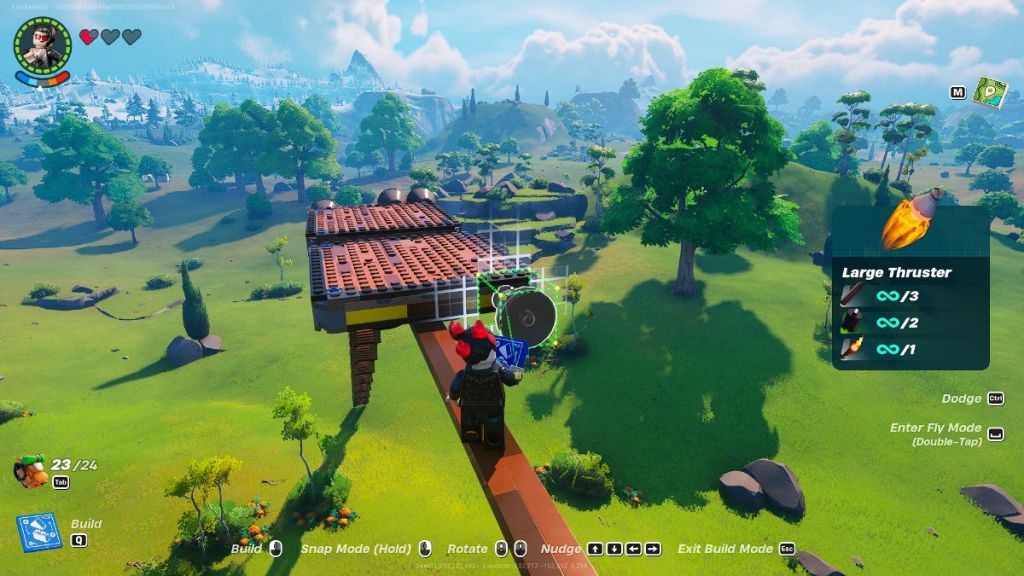 | Place activation switches from the toys category in front of each set of thrusters on both platforms. These switches will control the train’s movement. |
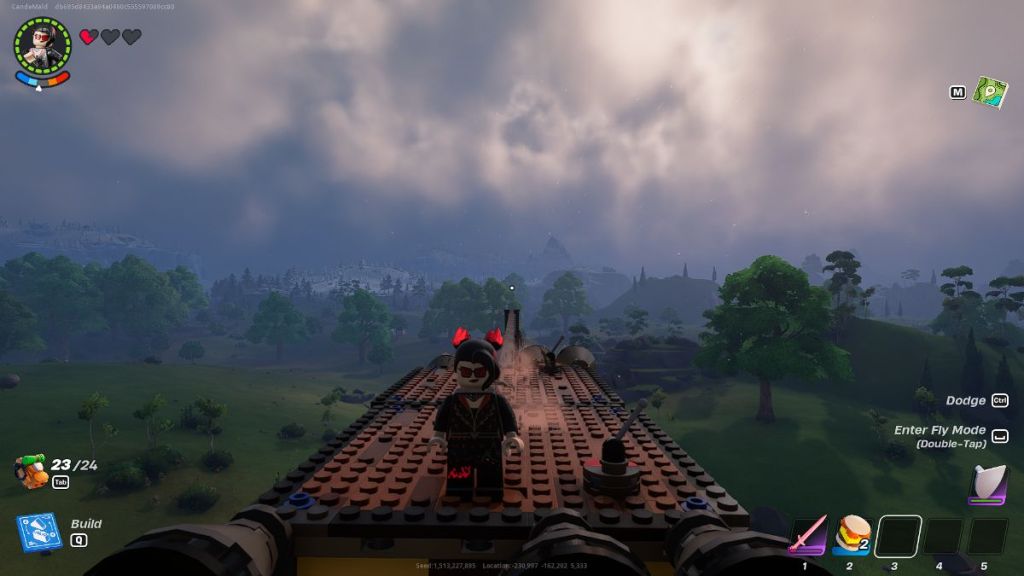 | Stand on the first platform and activate the switch to propel the train along the tracks. Before you reach the end of the tracks, activate the second platform’s switch to avoid shooting into the sun. |



Published: Jan 5, 2024 09:43 am