In Chapter 4 Walkthrough of Metal Gear Survive, you will have to Reactivate Wormhole Transporter within the Dust. Wormhole transporter is a device that will allow you to fast travel between different locations and base camp.
In Chapter 2 and Chapter 3, you had gathered all the memory boards (total 4 of them). Now we will progress to Chapter 4. Through the first three Chapters, you would have learned well the game mechanism, in which gathering items and crafting is very important. In Chapter 4 the main objective is to Reactivate the Wormhole Transporter within the dust, a device that will allow you to fast travel between different locations on the map, and instantly return to the base camp.
Reactivate Wormhole Transporter Within The Dust Walkthrough
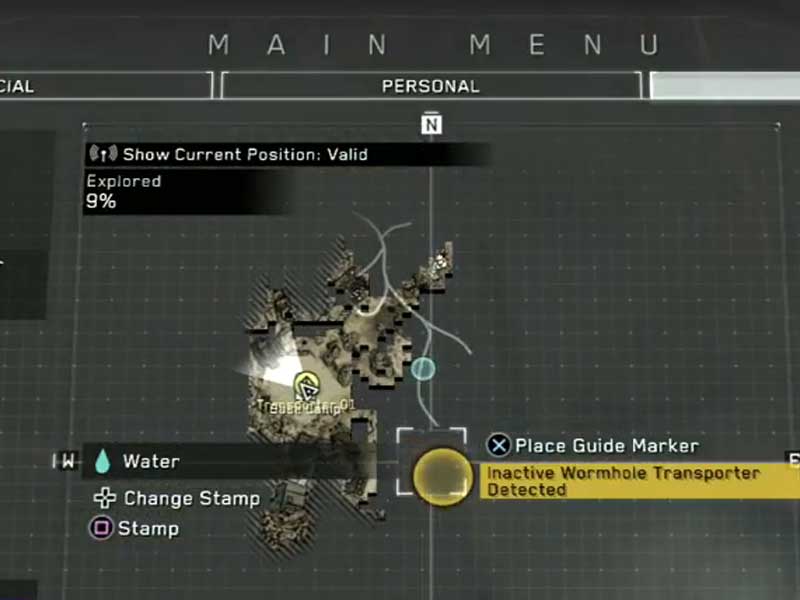
Wormhole Transporter Location:
After syncing your iDroid with the AI, you will learn about Wormhole Transporter. These devices are more like a Fast Travel point between two locations. Once AI Virgil tells you about the same, you can activate one of them in the Dust. Before moving visit the Weapon Workbench once you will unlock High-Level crafting. This will allow you to craft firearms and highly complex items. Now to craft them you have to visit Advance Weapon Workbench, you can look through the database or through the information of weapon to find the facility for crafting. Check the Firearm section once. There is also an ammo section where you can craft round for the weapons. Through Construction Terminal, build an Advance Weapon Workbench so that you can build up your Firearms. Get a pistol at-least.
Firearm Burkov Pistol Crafting Recipe:
- 10x Gears
- 5x Springs
- 10x Iron
- 10x Screws
- 100x KUB
- Facility: Advance Weapon Workbench
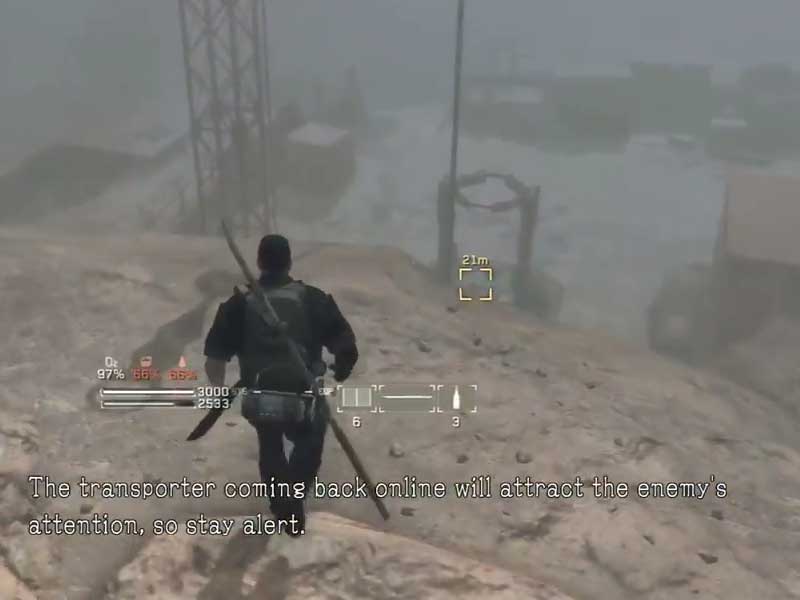
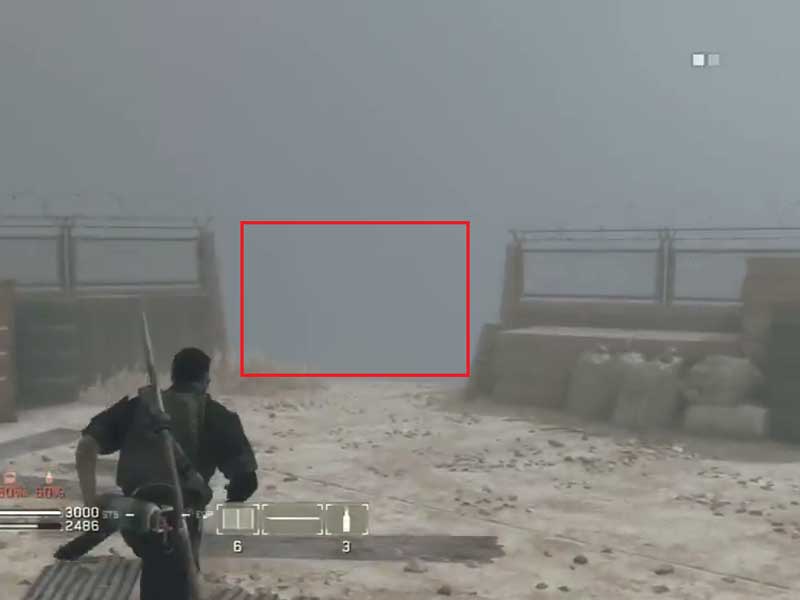
It is recommended to craft all the defending units you can, like the Sandbags, fences, etc. You will have to defend the Wormhole Transporter for few minutes, because after activating it a lot of Wanderers will attract towards it. Follow the Wormhole Transporter location on the map, you will have to enter the Dust, once you reach, and activate the transporter, you will have to defend it for a while. A lot of Wanderer’s will be attracted towards it, so it is necessary to lay out a plan to defend it. Begin you surveying the area first. Gather all the items you can find in the facility. Check every corner and buildings first. There is a container also.
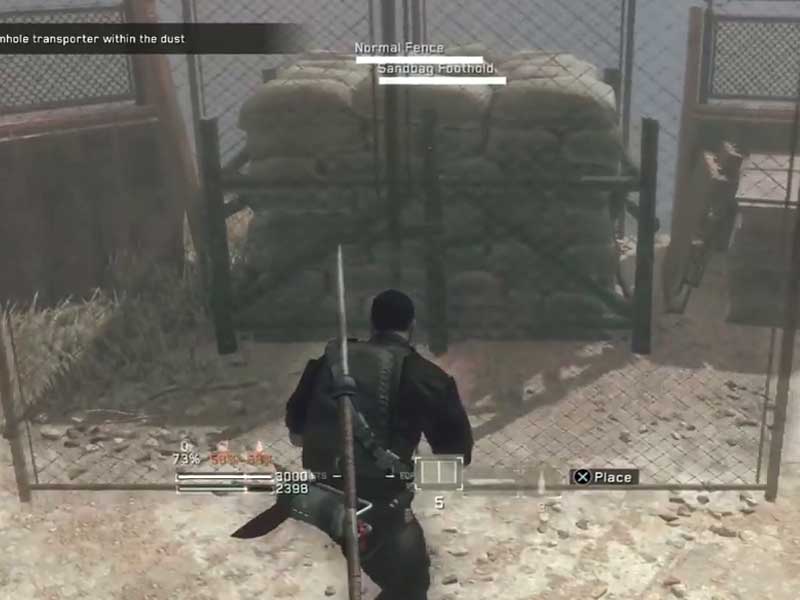
Once done look for an open area around the transporter, block them by fences. Check all around so that you don’t leave easy access. Put once fence a bit further of open area, and then put the second one some steps away. Then add a Sandbag Foothold and another fence a bit far away so that you can stand in between. Activate the transporter and stand in between the fences so that you can do two things, first block the enemy passage and second defend yourself from two sides. As the transporter is active, you have to defend it for 2 minutes and 28 seconds. Now go on the extreme left and add some more defenses, these are the only two paths from where the Wanderer’s will come. Don’t let a horde of enemies to stand near a fence, if you do this they will break it really easy, use your pistol. Once it is activated go near the Transporter and head to the base. AI Virgil will tell about more transporter location. You will have to activate them also.
In the next cut scene, you will see a crashing military helicopter. This ends Chapter 4, in the next Chapter 5 you will be on a rescue mission, you can also read our Metal Gear Survive Wiki guide for more updates on the game.



Published: Feb 23, 2018 03:43 am