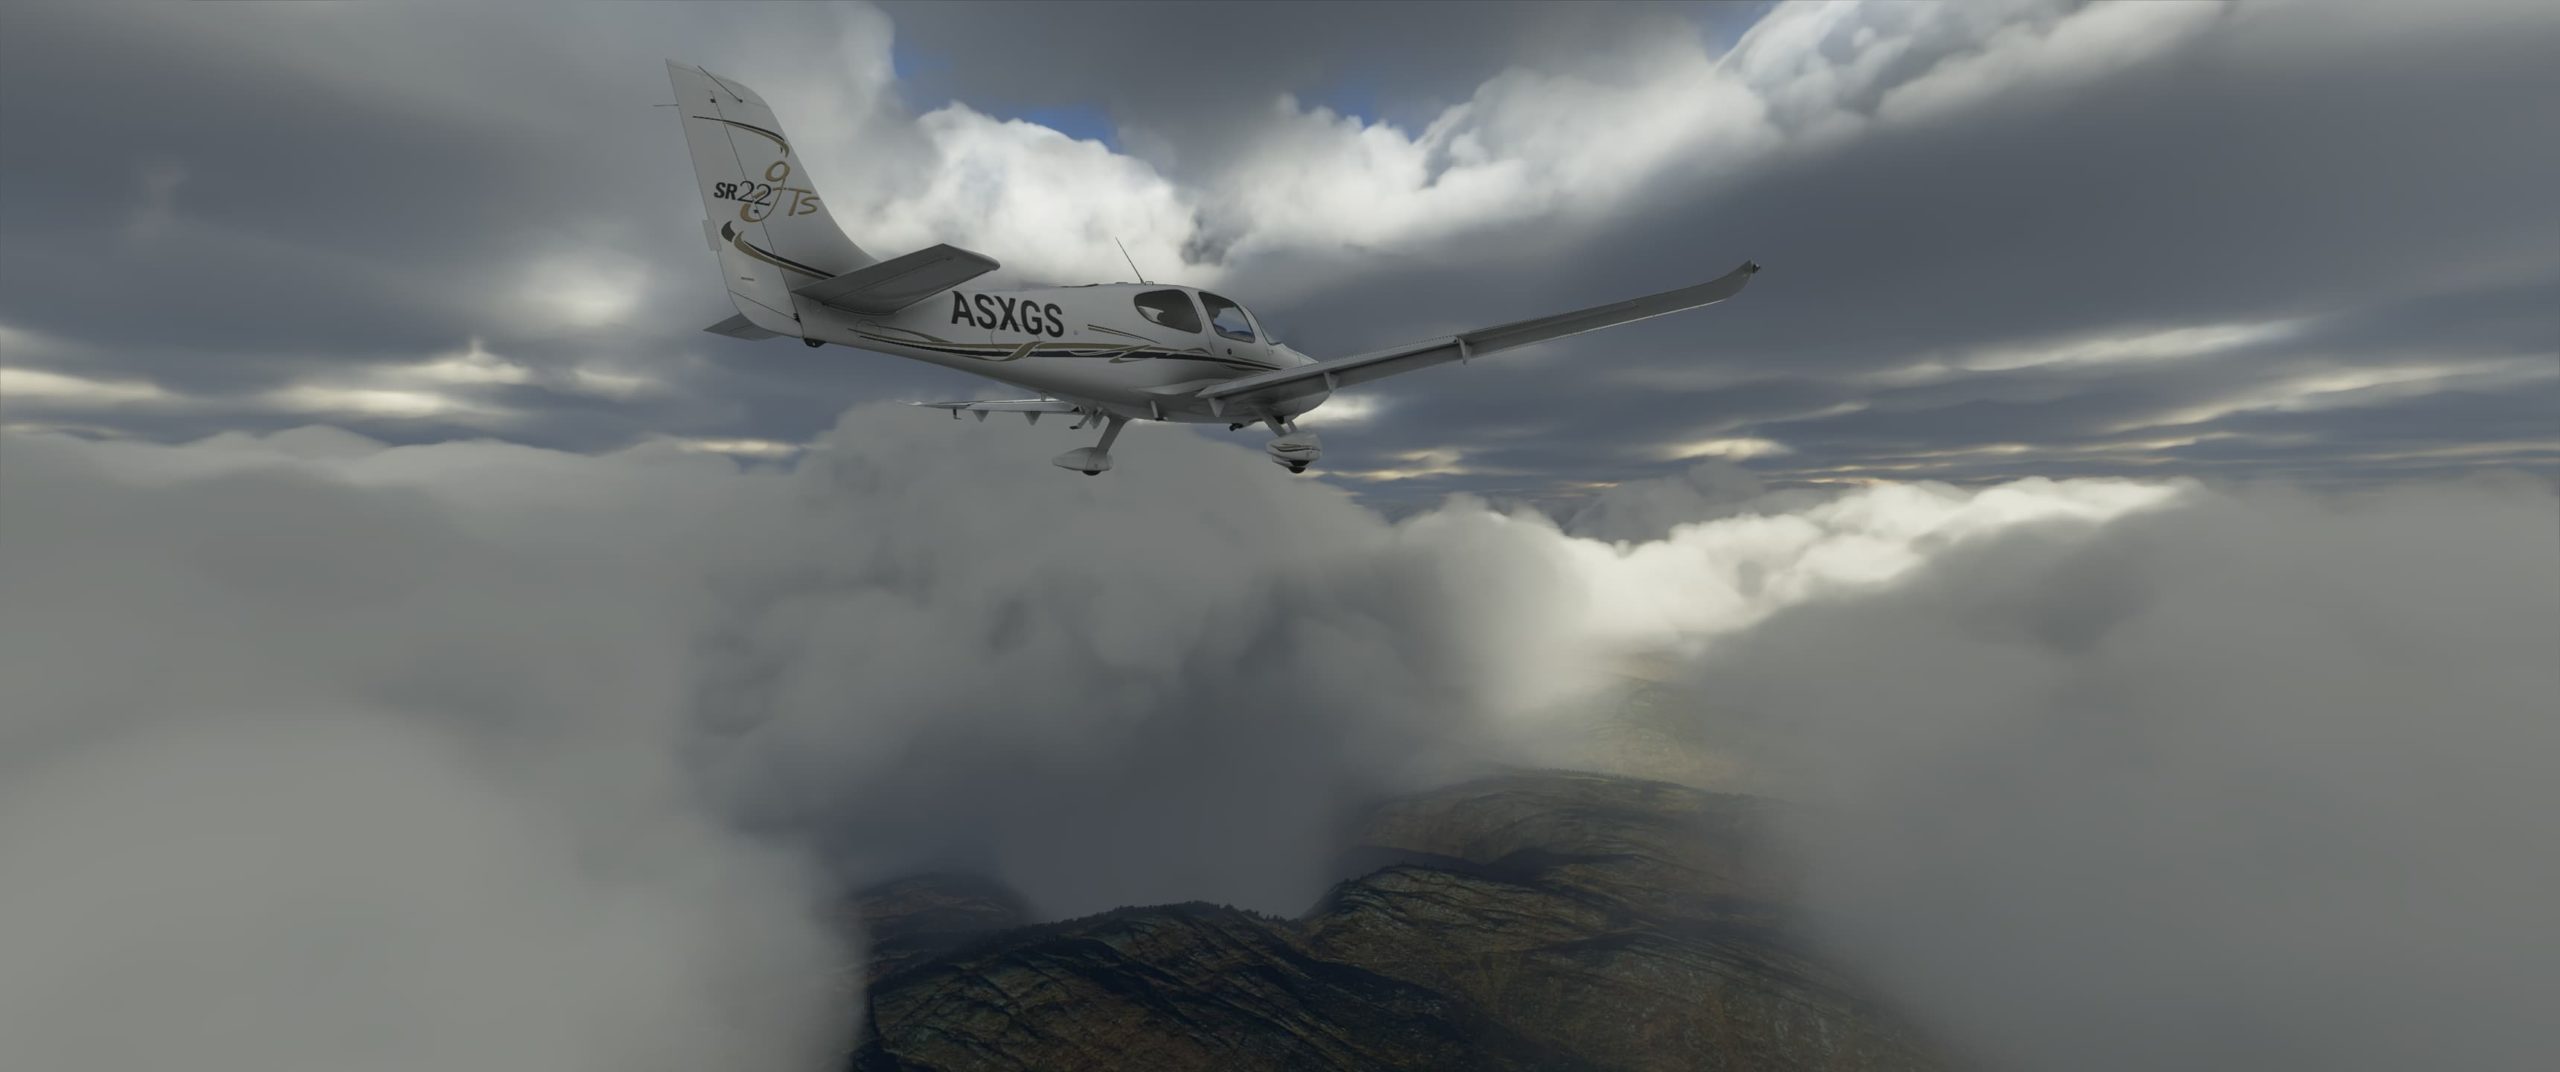
Microsoft Flight Simulator is an awe-inspiring game that also looks stunning. When you are 6,000 feet up, with the entire world laid out below you, and those beautiful weather systems all-around your plane, it can be one of the most visually impressive games on the market. As such, people will want to take plenty of screenshots.
There are a couple of important things you will need to know if you want to take some truly spectacular shots, so in this guide, we will run through them.
How to take a screenshot
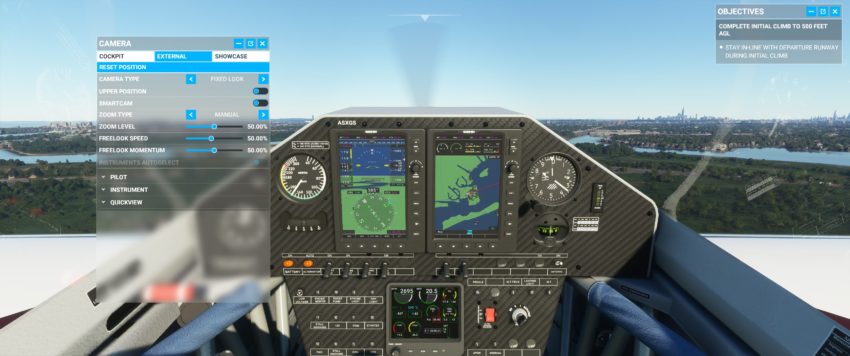
To take a screenshot you will need to use the Showcase camera. This can be found in the menu that populates at the top of the screen when you are in your plane. The showcase camera will place you in a drone camera and give you assorted options. The most important thing to remember is that flying your plane like this is very difficult, so it is a good idea to turn on the Autopilot function if you plan on dedicating some flight time to getting good screenshots.
You can also hit the Insert button to switch directly to the Drone camera with the external HUD deactivate, although you will still see whatever waypoints and onscreen help you have set up in your Assistance settings.
You can control the drone camera using whatever controller method you have been using to control your plane, and you can pan all around the plane, allowing for some smashing shots of the vehicles and surrounding areas.
Each plane will also have a range of external camera options that you can find at the bottom of the Showcase camera menu. This will give you a fixed position shot of the plain, and some of them look fantastic in their own right.


Published: Aug 17, 2020 08:34 am