A new exotic quest has arrived in Destiny 2, and it’s one of the more secret activities you can find in the game. You’ll need to make your way over to the EDZ, namely the Gulch region, and begin searching for the floating nodes that you find in this area. Each node gives you part of a password, and you’ll need this access to begin the quest. Here’s what you need to know about how to complete the Node.Ovrd.Avalong exotic quest in Destiny 2.
How to start the Node.Ovrd.Avalong exotic quest in Destiny 2
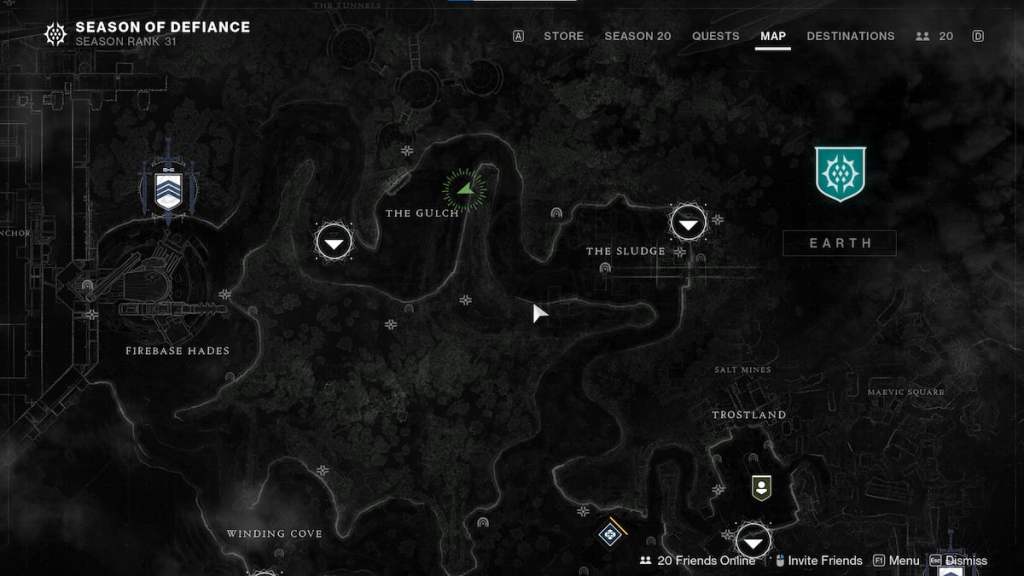
The Vex nodes you need to find appear at the center of the region. You’ll need to walk up to the ones at the center of the Gulch, in the large area with multiple Cabal, to grab the first code. Obtaining these codes is time-locked, so you’ll need to be quick to track them all down.
Related: How to find all Action Figure locations in Neomuna in Destiny 2
Here’s the region where you need to go to find the nodes.
You can find one underneath the bridge.
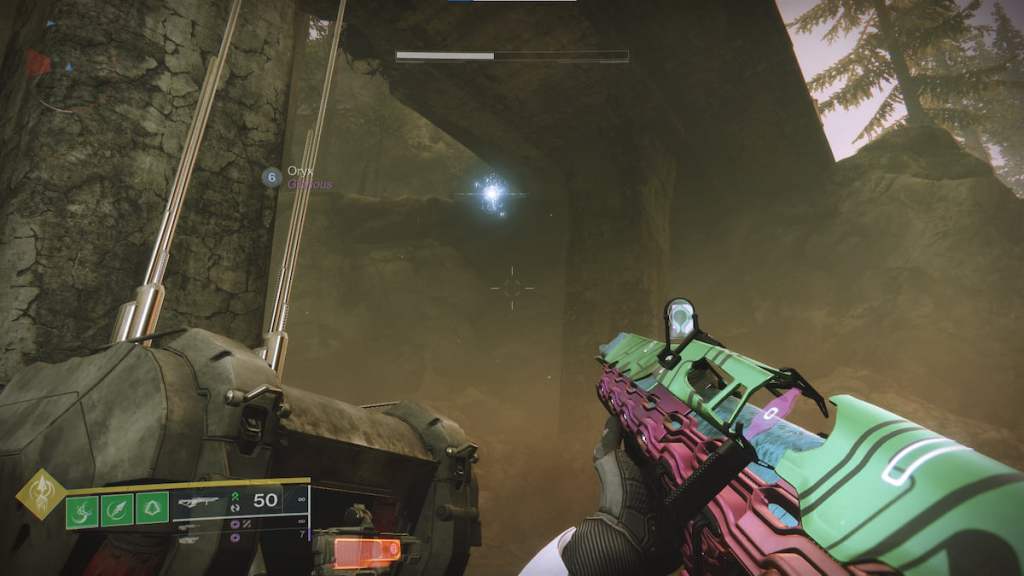
Another one close to the bridge, to the right, in a small Cabal camp.
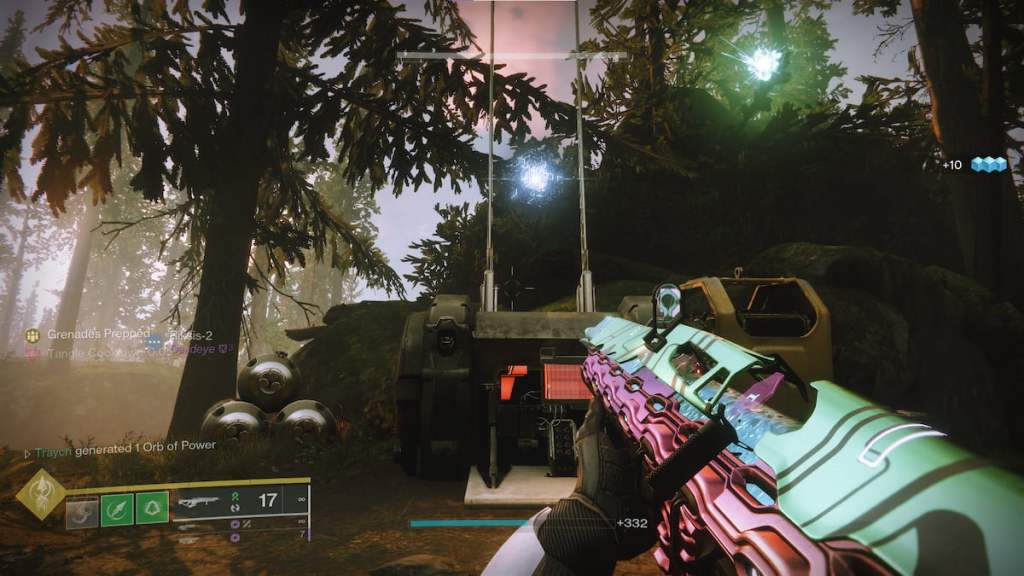
One at the center of the lake.
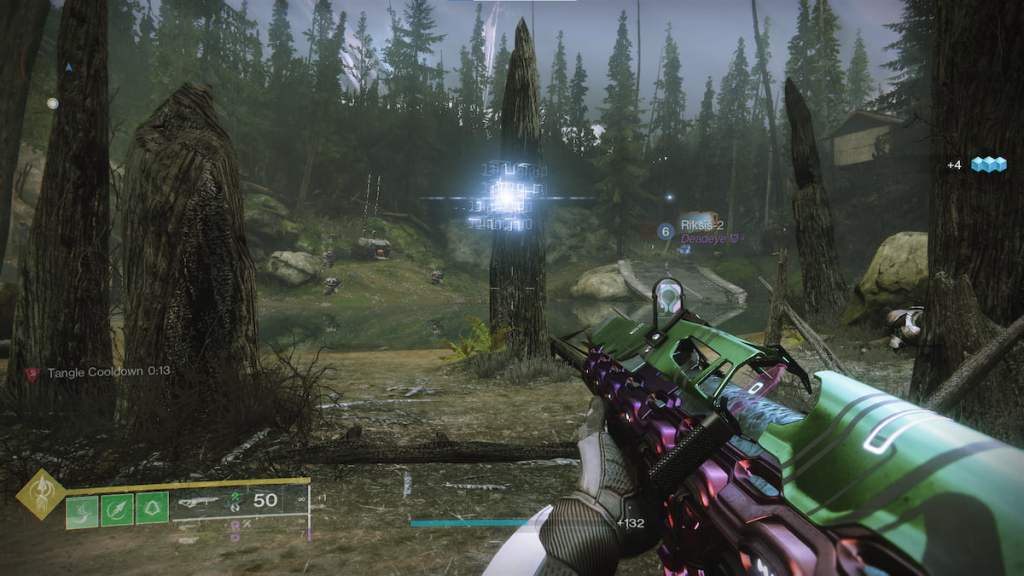
Another to the left of this previous location.
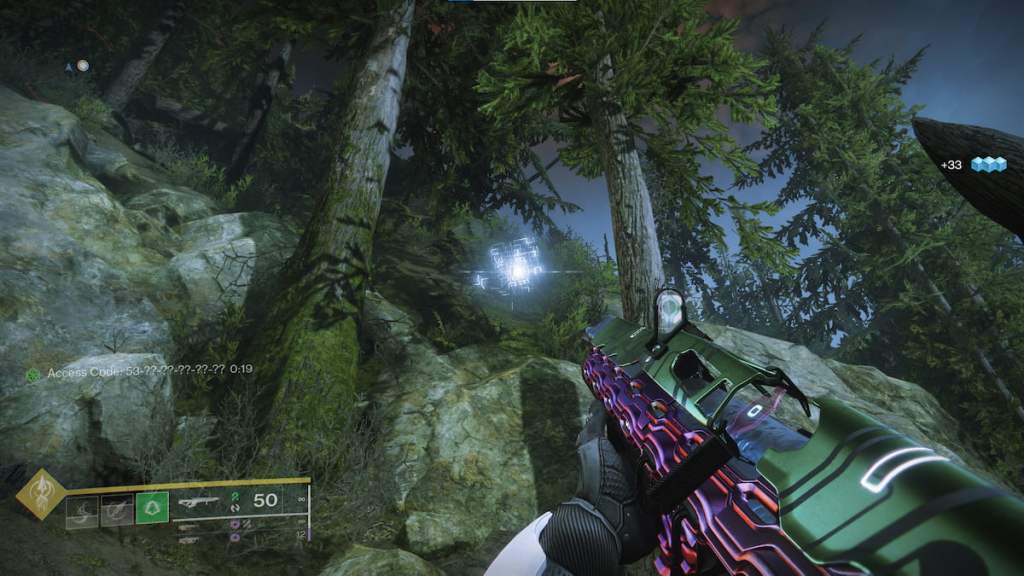
One further back, closer to the sign at the top of the Gulch.
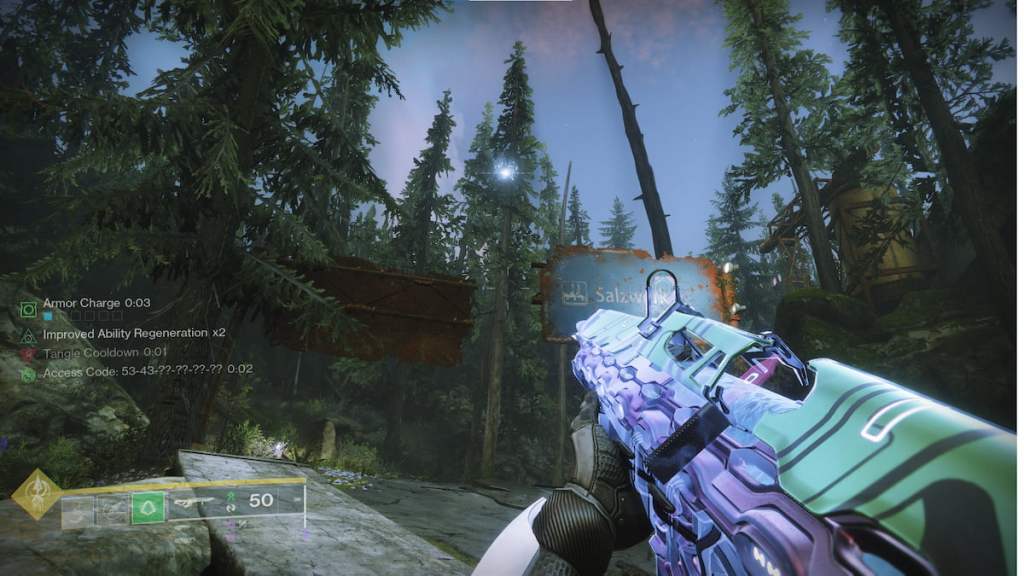
A final one will be in the trees, on the east side of the Gulch.
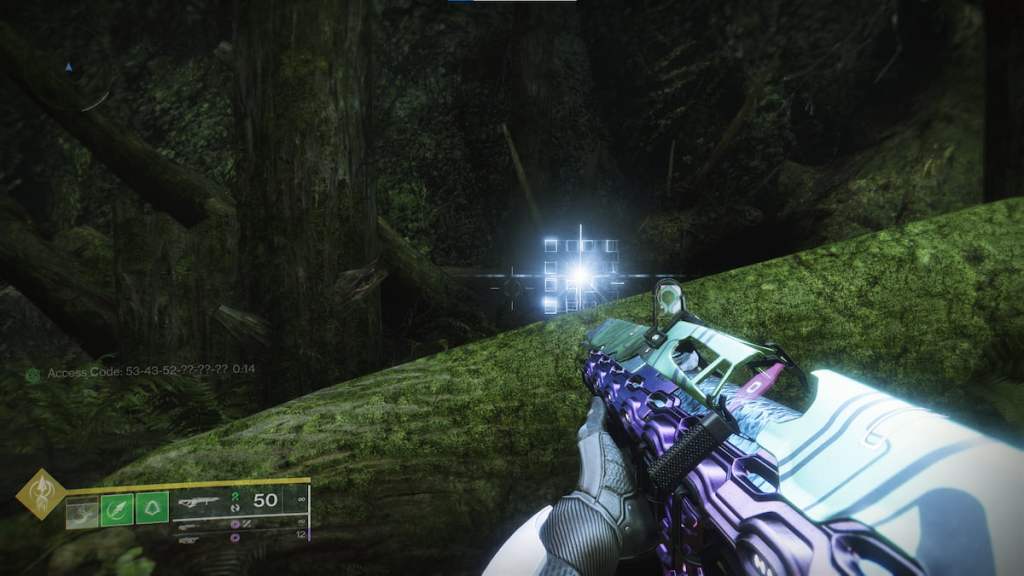
This will give you a simulated cave access code, and you will need to make your way to the cave on the southeast part of the area, underneath the large Vex cloud.
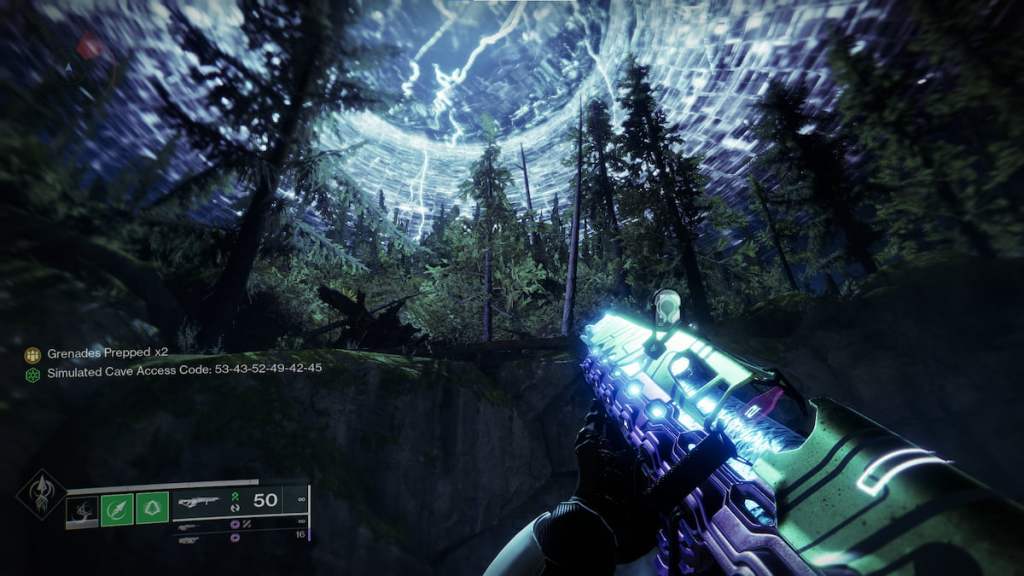
When you arrive, a Harpy will appear and you can choose to start the exotic quest by speaking to them, giving you the chance to earn this latest weapon. You need to explore the Vex network code and discover its secrets.
All Node.Ovrd.Avalon quest steps in Destiny 2
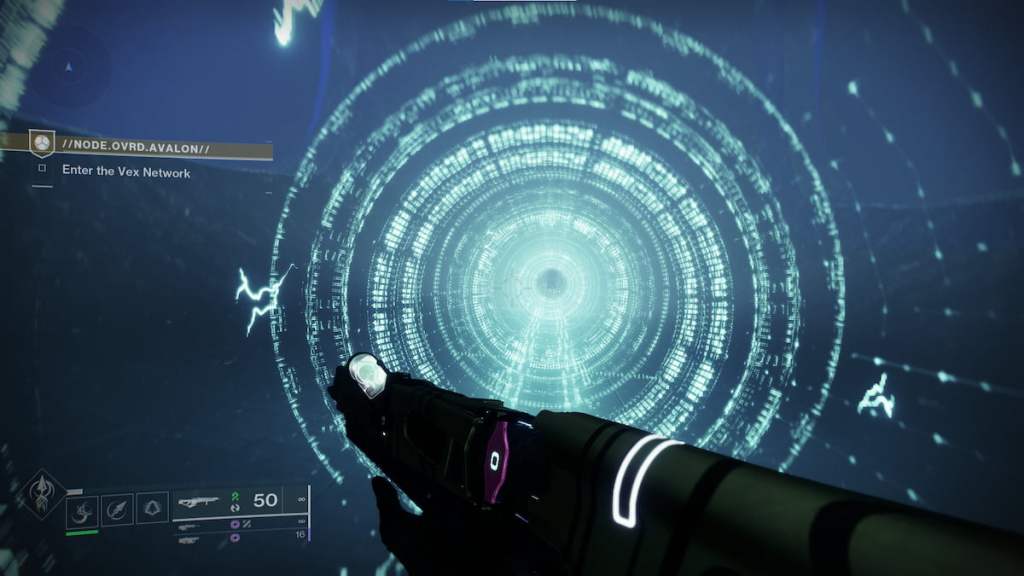
Continue your way forward, and there will be a large, maze-like area you need to progress through. Go through the bottom area, where a small area lifts itself up, and slide through. Proceed forward, and you’ll arrive at a loop-like area where you need to reach the bottom, and find a small crack in the wall to continue the mission.
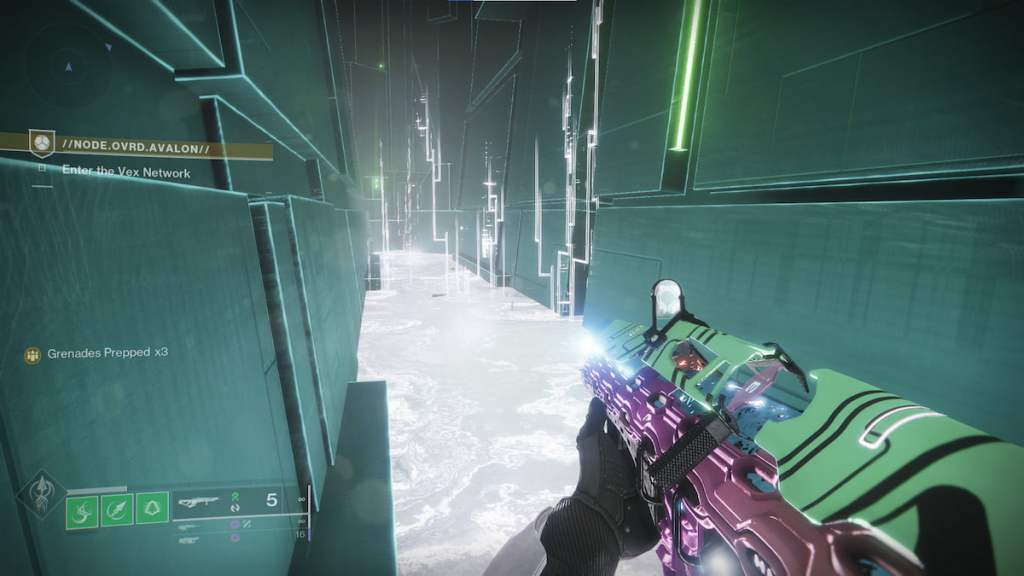
The next area is a straightforward shot, and you’ll go down into a large chasm, and that’s where you can expect a lot of the fighting to happen moving forward in the Variant Security Protocol area. Here, you’ll need to access three layers of code that appear on the walls. These codes will also have multiple Vex spawning in this small area, so you’ll need to find the codes and fight off the Vex.
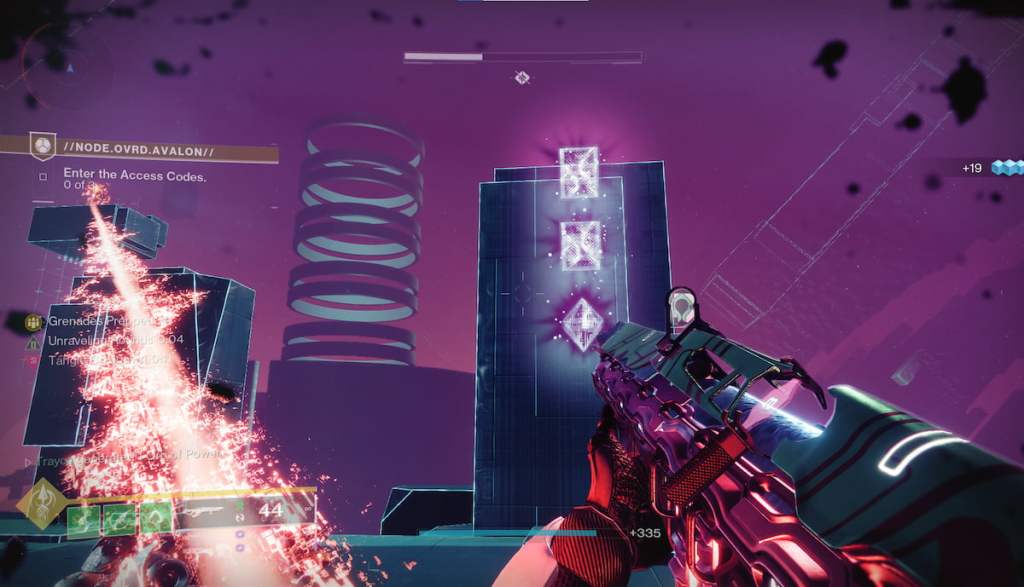
You’ll need to do this several times, and when you reach the end, there will be multiple powerful Vex in your way. We recommend waiting to use your Super against them or having enough Power Ammo to push through them when playing by yourself or with a fireteam.
Related: Where to find the Luna Hellmouth outcropping alcove in Destiny 2 via Upcomer
Once you defeat the powerful Vex, proceed forward, and Mithraks will guide you through the next area, hinting that there is something in the code attempting to reach out to you. Eventually, your path will lead you to a large chasm, and your goal is to reach the other side. You’ll need to time it so you reach this area when the platform is present, but it might disappear given the Vex code, so you need to be careful.
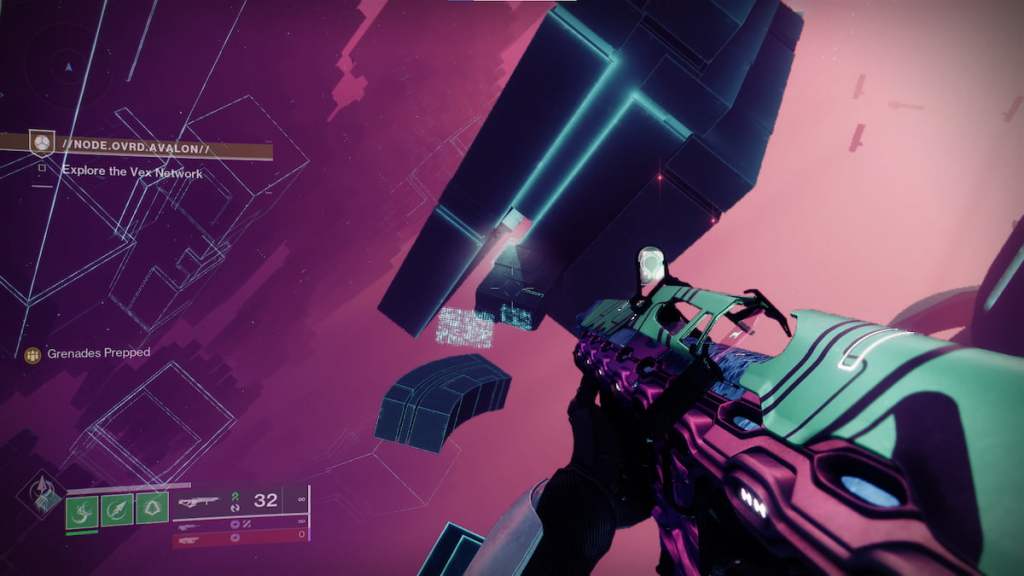
In the next area, there’s going to be a boss fight arena where the boss is hiding behind a protective shield. For this encounter, you need to defeat the minions that spawn in the middle and collect the motes that they drop until you’ve collected enough to submit to the center. When you’ve collected enough, the middle will drop out, and deletion will occur, eliminating the minions and teleporting you to the arena once again, where you can attack the boss for a short amount of time. This process will continue and repeat itself until you’ve defeated the boss.
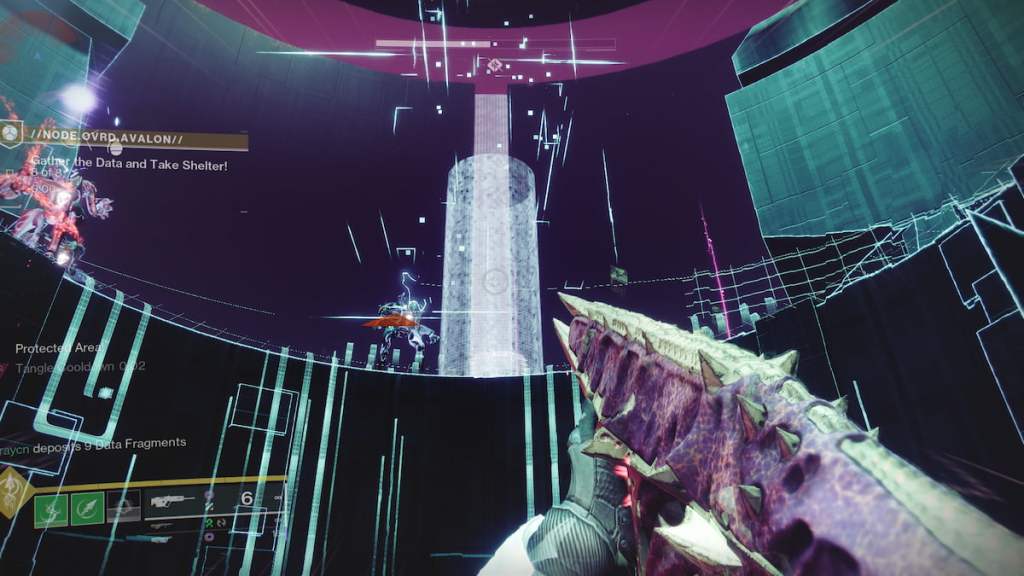
Upon defeating the Hydra, the next step is to make your way into the Node Core, and it should be a straight shot to the next area where you’ll take on the final boss of this encounter.
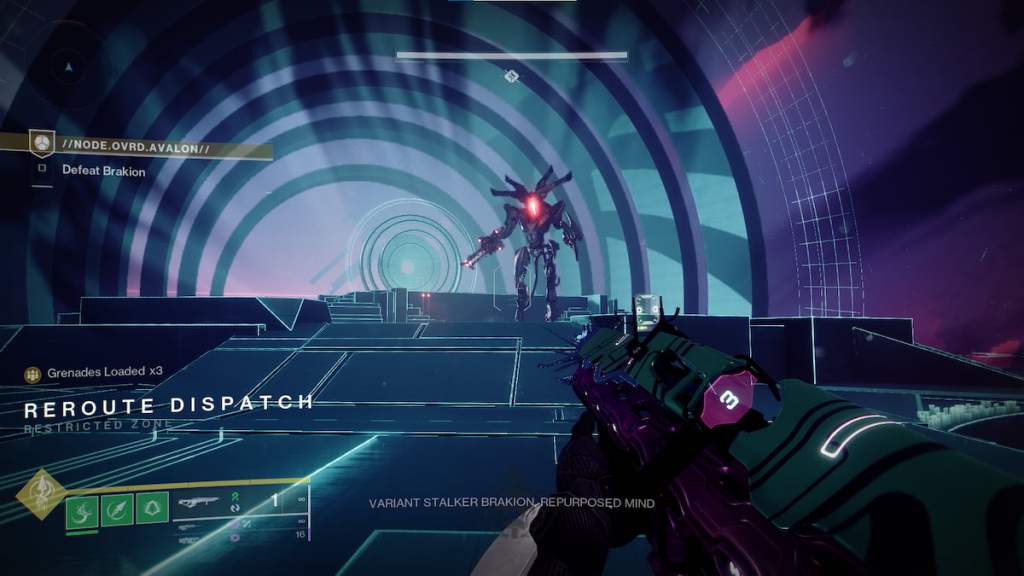
This boss battle will weave in the first mechanic from the beginning area of this exotic mission, and defeat the boss throughout the fight. Each time the boss’ shield goes up, you need to go around the room to find the exact code you need to shoot to break the shields, and then begin hammering against the boss. Once the boss has fallen, you’ll have completed the mission, and you can claim your prize.






Published: Mar 7, 2023 01:28 pm