One of the more important systems of Warzone 2.0, and one that can easily give you the upper hand in a fight, is Bounty Contracts. These optional but valuable side activities are scattered about Al Mazrah and Ashika Island, and they give you loot, intel, and other advantages, should you be judicious in their use, as other players can use your sidetracking to their advantage as well.
Related: How to Restore Honor in Resurgence Battle Royale in Call of Duty: Warzone 2.0
How to find and complete Contracts in Warzone 2.0
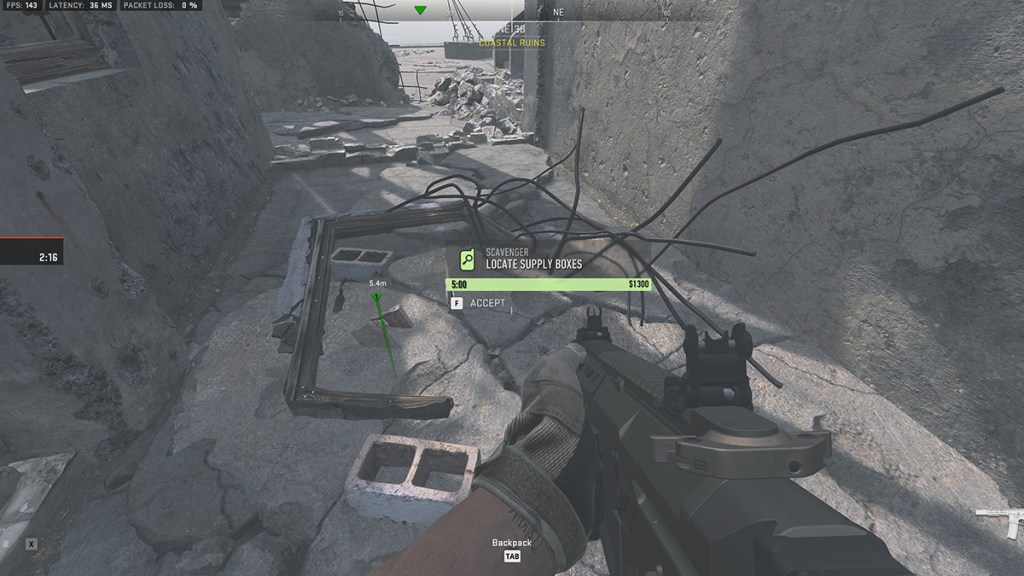
When you load into Warzone in the Battle Royale modes and open your map, you’ll see various green folder icons scattered around. These are the locations of all the Contract pickups available, and they’ll remain active on the map until you or another Operator picks them up.
In Battle Royale, contracts will be more limited in scope than in DMZ, focused on providing you with intel on other teams or identifying where you can find high-value supply crates filled with higher-tier loot, weapons, and equipment. Bounty Contracts will have a crosshair icon, and Scavenger contracts will have a magnifying glass. Some of them can be a little difficult to find, so look around the area near their icon carefully for the cell phone object that starts them. It will be highlighted in white on your HUD.
Completing these objectives is as simple as following the instructions on the screen. For Battle Royale, the Contract you’ll use most is a Bounty on other players. Once accepted, you’ll see the Bounty’s name on the left side of the screen with three colored bars beneath their name. These bars identify how close you are to your target. When only one bar is filled, you’re a way out; when you reach three bright red bars, you’re within a few meters at most.
Beware that other players can also pick up Bounties against you and your squadmates, and you’ll be marked as Hunted on the left-hand side of the screen. The indicators are the same but in reverse. The more bars below the hunted player’s name, the closer the enemy is to reaching you. Note also that successfully defeating the enemy hunting you does not reward Path of the Ronin event progress, only completing the Bounties yourself.


Published: Feb 15, 2023 04:55 pm