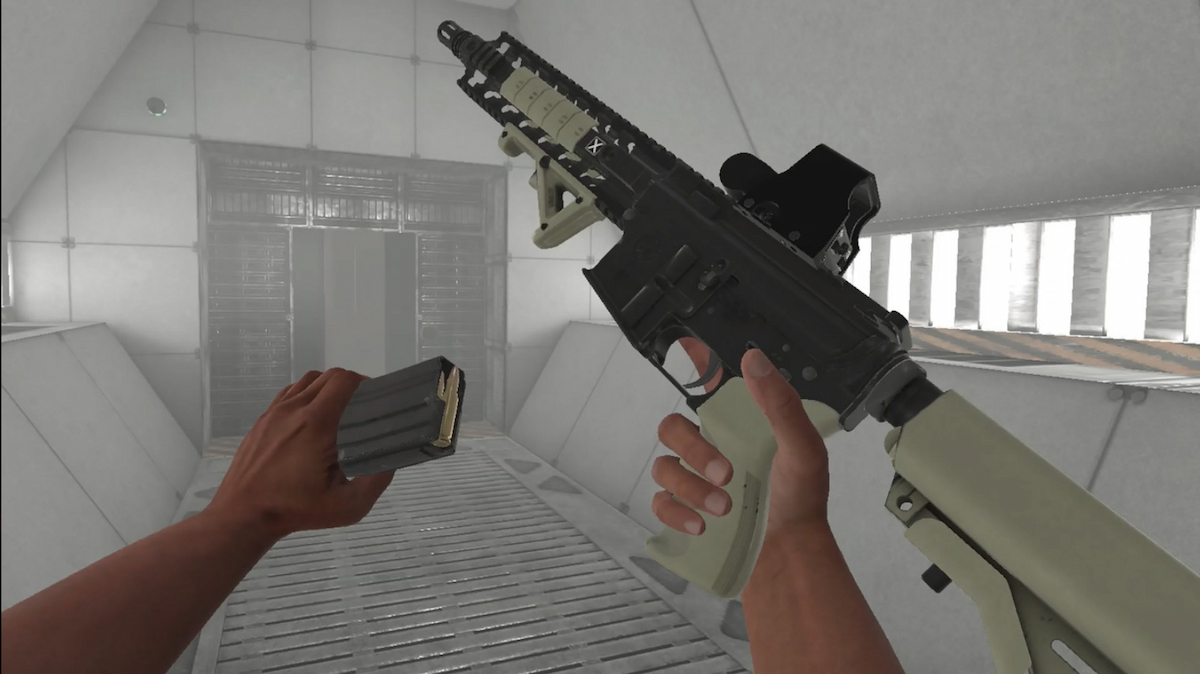
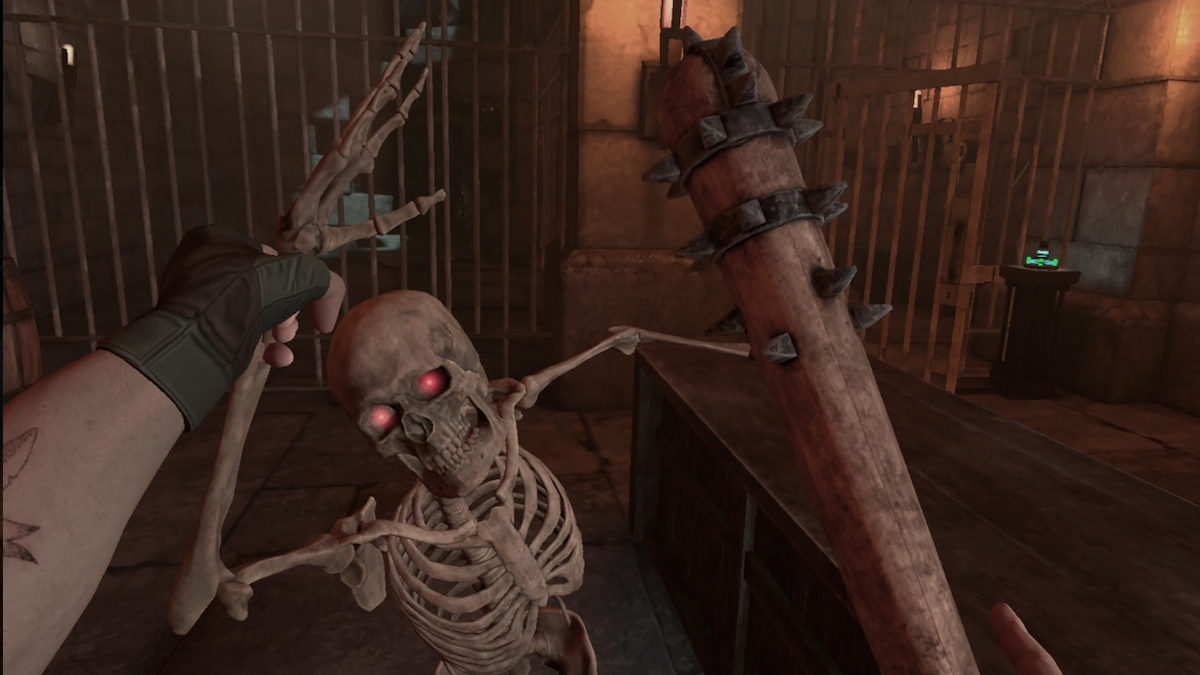
Bonelabs, the follow-up to Stress Level Zero’s hit Boneworks, is on VR systems, and with it, you can expect plenty of mods and player-generated content to follow. One inclusion fans and modders can look forward to exploring is custom avatars, a feature that the developer themselves are proud to show off that not only lets you have cool-looking skins, but also affect your gameplay. But how do you go making and playing as your own avatars? In this guide, we’ll walk you through how to create and use your own custom avatar for Bonelab.
Related: How to play SteamVR on Oculus Quest
How to create avatars in Bonelab
To create your own custom avatars, you’ll first need to download Unity, the game development engine, and set up Github, a hosting service that developers and modders use to share and collaborate on projects. From here, you will need to download a specific tool called the MarrowSDK, which is the tool you’ll need to create the avatar. There are quite a few steps involved from here, but thankfully there is an in-depth tutorial that can guide you through the full process of how to use the tool, import, and create your avatars, as well as spawnables and levels if and when you want to take your creativity a bit further.
How to import and use custom avatars
To use your custom avatars, you’ll need to add them to your mods folder. Someone new to modding may find this intimidating, but you’ll see that the process of installing mods is quite an easy process once you know what to do. Put simply, you’ll want to find your mods folder in the game directory, which depending on your system will be founding different places. Their locations are as follows:
- For PC: AppData/Locallow/Stress Level Zero/Bonelab/Mods
- For Quest 2: Android/data/com.StressLevelZero.BONELAB/files/Mods
You’ll then drop your .sdk file into this folder, and the next time you load up, you should find your custom avatar in the Mod Node, ready to download. Finally, head over to the Body Mall in-game and you should find your custom avatar ready to use.


Published: Oct 3, 2022 01:36 pm