Building your base in 7 Days to Die is one of the keys to surviving the harsh, post-apocalyptic world where the game takes place. However, the game doesn’t offer much in the ways of tutorials or guidance, particularly when it comes to upgrading objects that you’ve built. Wasting time struggling with simple upgrade recipes is a sure way to get overrun by zombies. No matter what platform you are playing on, it is a good idea to keep your base secure by upgrading your walls.
One of the key materials to upgrade are the frames which can be built immediately in the game. However, if you want to build walls to protect yourself from the dark creatures that haunt this version of Arizona, you want to upgrade these frames. Here is how to do so.
How to upgrade frames in 7 Days to Die

Upgrading items in the game isn’t made particularly clear from the onset. However, it isn’t a particularly difficult process to upgrade the frames that you build into a block. While frames are fast and cheap to craft, they offer very little protection against encroaching zombies. Blocks can’t be moved but they offer significantly more protection. Crafting them isn’t hard; you just need to have the right materials in your inventory and the right tool in your hand.
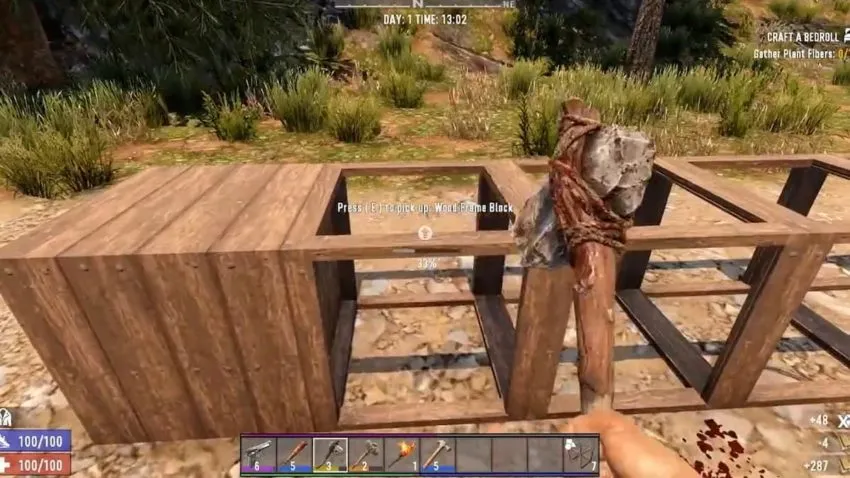
First, you need to place a Wooden Frame on the ground, which can be built using just two Wood resources. Once it is placed, you need to have at least eight more Wood resources in your inventory and a Stone Axe.
With the Stone Axe equipped and the appropriate materials in your inventory, you just need to hold the right mouse button down while highlighting the Wooden Frame. A progress bar will appear on the screen. Once it is completed, a Wooden Block will take its place. These objects aren’t as flexible or as easy to move as a frame, but they will stop a zombie for much longer. They can also be further upgraded using Cobblestone Rocks to create Cobblestone Blocks.


Published: May 25, 2022 06:56 am