Becoming a Pirate Legend in Sea of Thieves has its perks, but it’s really an opportunity for longtime players to have more to do in the endgame. Legend of the Veil is a Voyage type that only Pirate Legends can purchase and propose, though any player in a party with a Pirate Legend can partake. This is a multi-step quest, and like other types of Voyages in Sea of Thieves, there is an element of randomization. We’ll take you through all the possible steps, though.
Related: How to achieve Pirate Legend status in Sea of Thieves
How to start the Legend of the Veil voyage
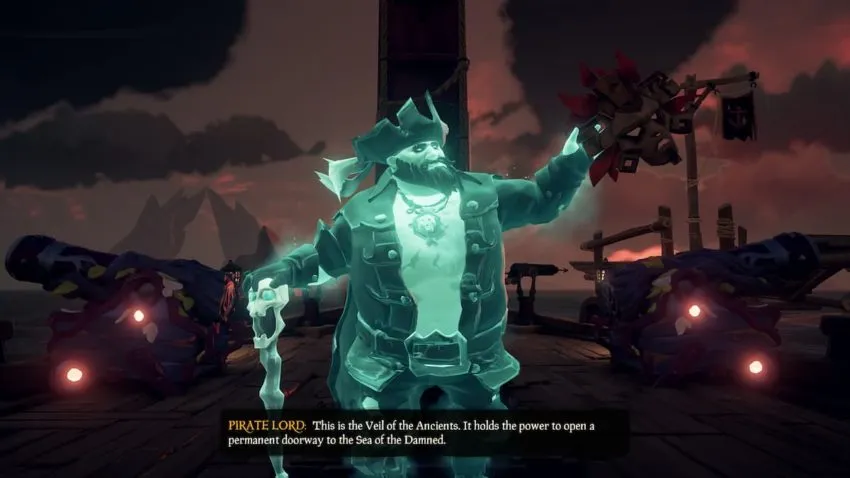
Basically, your main objective in Legend of the Veil is to obtain three Veil Stones, which you will put into the Veil of the Ancients. Buy this quest from the Pirate Lord for 250 Gold in the secret Athena’s Fortune hideout (again, only Pirate Legends can open this space) and vote on this quest on your ship. The Pirate Lord will give some exposition, present the Veil of the Ancients to you, and give you your quest logs in a book.
There are three different possible quests you will go through to obtain the first two Veil Stones; the third Veil Stone will be obtained from a battle at the end.
Sudds Veil Stone quest
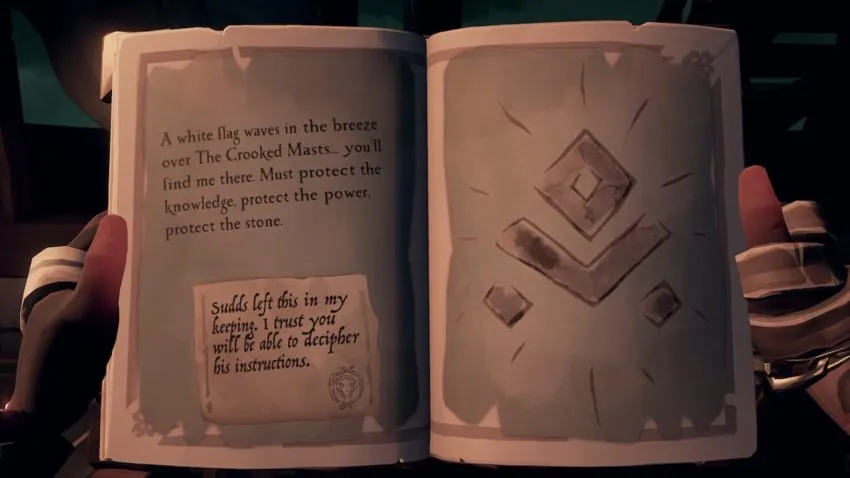
The end of your Quest Book may direct you to find Sudds, an astronomer and the North Star Seapost merchant. The book will explicitly tell you on which island to find Sudds — in our first example, he was on The Crooked Masts. Prepare to find him and get ready to do some map reading and test your knowledge of the Sea of Thieves world.
Speak to Sudds once you find him on the right island. He will add to your quest book, and you’ll receive one of a few different types of maps.
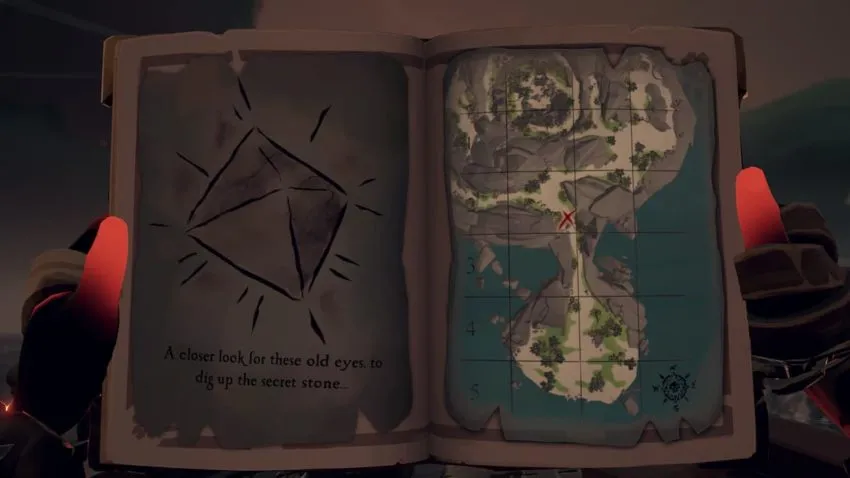
- Our example above shows a distinct island in Sea of Thieves with an X that marks the spot, like a traditional Sea of Thieves map — this one, however, is zoomed in, so you’ll have to figure out exactly which island this is first.
- Another possible Sudds puzzle is a pictorial map — instead of showing you the landscape of the island, this image in your book will be from a first-person perspective sketch and challenge your memory of certain landmarks in the game. These sketches take up two pages of your book and will have a symbol to show where to dig for the Veil Stone.
- Finally, the last possible Sudds puzzle has a map with a variety of symbols. These symbols correspond with paintings on rocks and walls. The key here is to figure out which symbol on the map is erroneous and not actually there; this is where you’ll find the burial site of the Veil Stone.
Belle Veil Stone quest
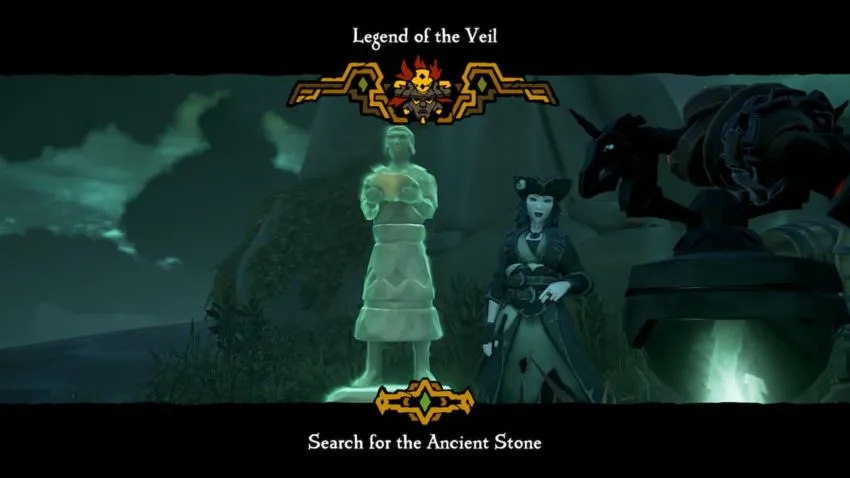
Similar to Sudds, the location of the character of Belle will be at the end of your Quest Book. Sail to that island, where you will find an eerie ghastly aura surrounding it. Find Belle on the island and speak with her; she will provide you with an Enchanted Lantern.
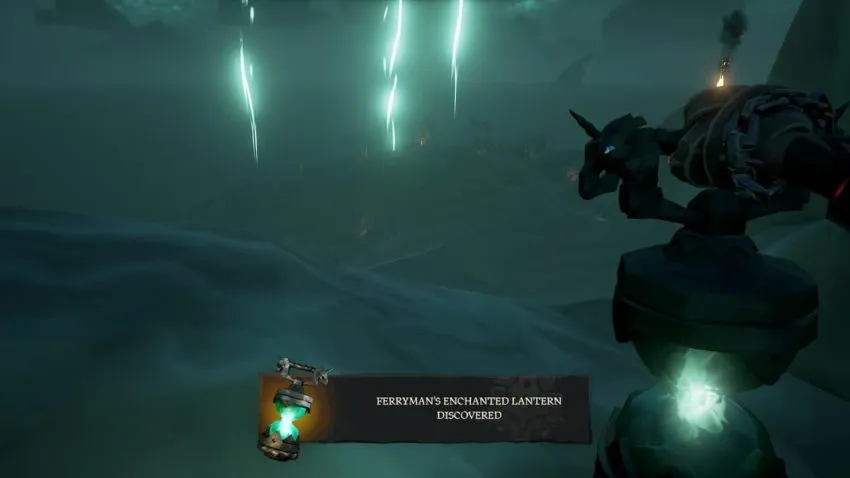
In short, your task here is to light braziers on six ancient statues, the first being next to Belle; however, you can only see these statues while you hold the Enchanted Lantern up. When you first start this task, you will see pillars of light over the remaining statues. These won’t be around forever, but they’re a good starting point, and your Lantern will basically act as a radar for these statues. This may take a while if you have one or two left remaining, so comb the island and hold up your lantern; try not to sprint too much, as sprinting will lower your lantern.
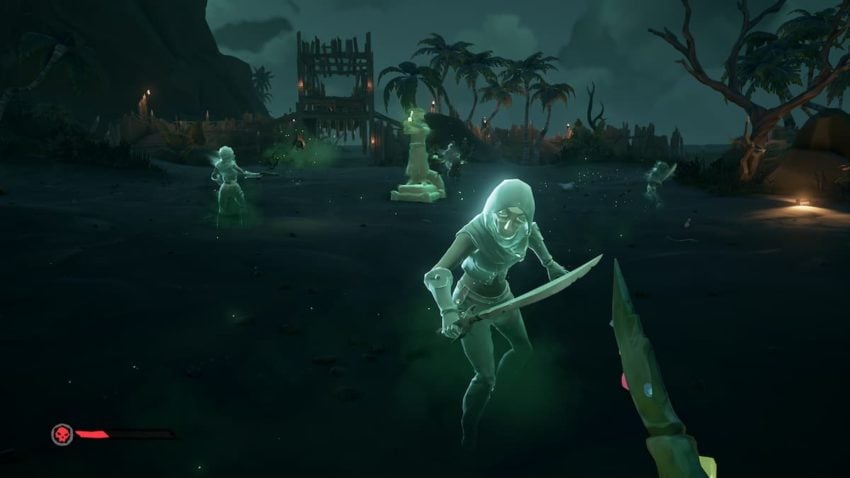
After lighting the final brazier, one final pillar of light will appear on the island. Surrounding that statue are Ancients performing a ritual, but Phantoms will appear to attack you and these Ancients. It will be a lengthy battle, especially if you are alone in your crew, but the Ancients will (somewhat) help. Make sure you have enough fruit, and you’ll eventually face off against the Soulflame Captain. After defeating this final miniboss, one of the Ancients will hand you a Veil Stone.
Shipwreck Veil Stone quest

This quest is just like standard shipwreck encounters in the game, but here, you’ll find a Veil Stone. Check your Quest Book for directions on where to go; as usual, look for the flock of seagulls flying in a circle. There will be multiple wrecked ships in this mess.

The Veil Stone will be in the Captain’s Quarters of the Grim Fortune. First, you must identify that ship through the nameplates above the Captain’s Quarters door. Then, search that ship for the Ships Log. That will add pages to your Quest Book and tell you which of the shipwrecks has the Grim Fortune’s Key.

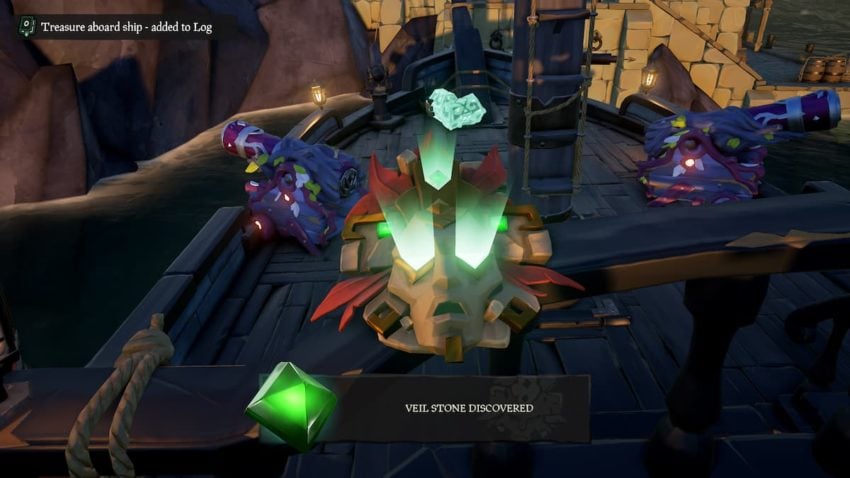
Identify the ship listed in the Ships Log and search every nook and cranny for that key, moving objects around, opening cabinet doors, and removing lids. Even the most menial props may be hiding it. With that key, you can then open the Grim Forture’s Captain’s Quarters and obtain the chest holding a Veil Stone.
Final Veil Stone – Ghost Fort battle
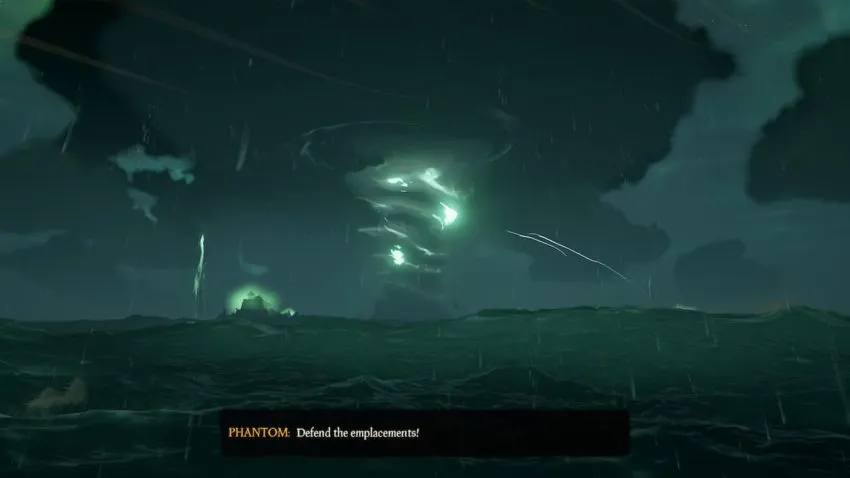
After obtaining two Veil Stones and placing them into the Legend of the Veil, you’ll then have to engage in a ship battle. It’ll be easy to find — after the Pirate Lord gives you instructions, look out for the giant tornado in the distance. Sail towards it.

You’ll see haunted sea fort emplacements, with ghost ships surrounding them. You can fight back against the ghost ships, or you can focus on destroying these forts. The three surrounding emplacements will take five cannonballs each to defeat — you’ll know you’ve successfully hit the fort if your cannon shot leaves a nice green glow on the Wall.

After defeating these emplacements, you’ll destroy the last fort, which will emerge when the tornado stops. Employ the same strategy to end this final ghost fort, but this will take a lot more time and firepower. Aim above at the towers and from where enemy cannon fire is coming from — again, notice the green glow marks to confirm your hits.

Your reward will be sitting in the remains of the fort: numerous pieces of treasure, including the final Veil Stone to place in the Veil of the Ancients.




Published: May 6, 2022 03:38 pm