How to defeat the Dreadnought Hiveguard in Deep Rock Galactic
Hit it where it hurts.
Screenshot by Gamepur
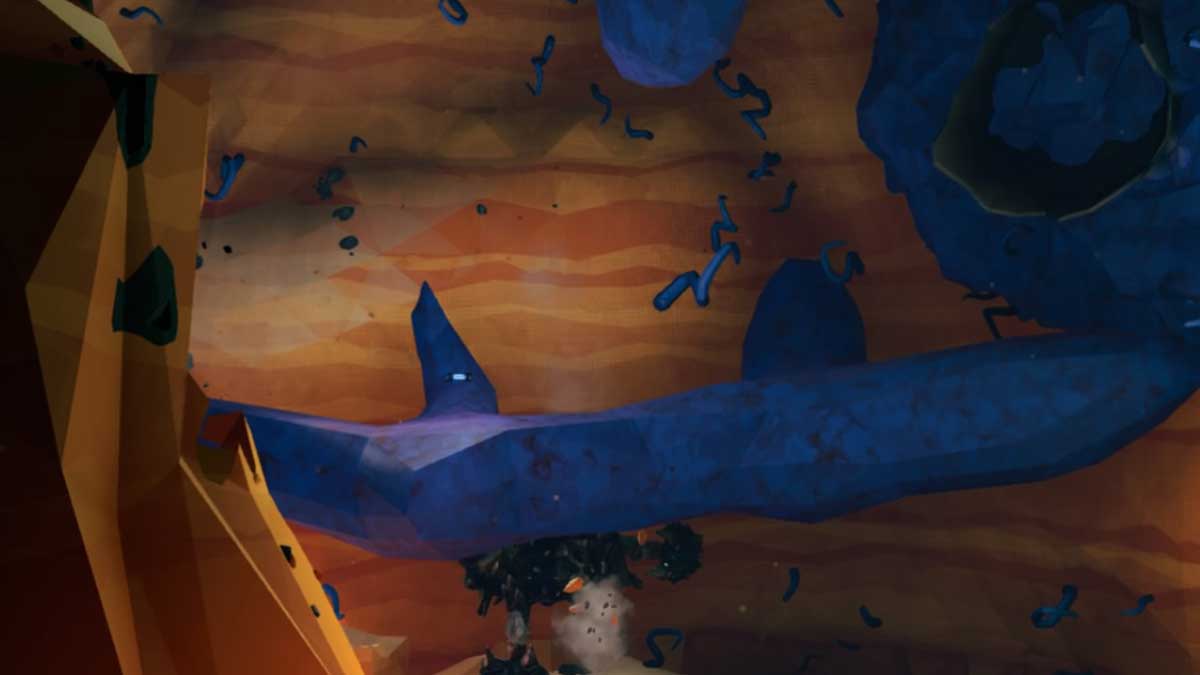
The Dreadnought Hiveguard is one of the strongest and most challenging bosses to fight in Deep Rock Galactic. It’s a colossal bug that you’ll find in the deepest part of Deep Rock’s caves. To kill it, you need to understand each phase of the fight and how to damage it. This guide explains how to defeat the Dreadnought Hiveguard, so you aren’t left quaking in your boots when it awakens.
Fight through three phases

To defeat the Dreadnought Hiveguard, you need to battle through three phases. These are as follows.
- Phase 1: Invulnerability
- Phase 2: Shoot the shields
- Phase 3: Damage phase
Phase 1

Throughout the fight, the Dreadnought Hiveguard will move through these three phases regularly, providing you consistently deal damage. The first phase is a period when you can’t damage the boss. Regardless of how many bullets and explosives you throw at it, its health won’t change. Smaller enemies, called Glyphid Sentinels, will spawn around the area during this phase. You need to kill all of these smaller bugs before moving to the next phase of the fight.
Phase 2

The second phase of the fight sees the Dreadnought Hiveguard’s shell open in three places. This reveals fleshy pink areas on its body that you need to shoot to whittle down the three yellow health bars that appear. Two of these fleshy areas are on the creature’s legs, and one is above its head on its back. You’ll finally be able to deal some damage to it once you’ve destroyed all of these parts.
Phase 3

In the final phase of the fight, the Dreadnought Hiveguard’s abdomen opens, revealing a colossal fleshy pink area that you can shoot to deal damage. This is the only phase of the fight in which you can damage the enemy’s health, so make it count. After a short period of vulnerability, the shell will close, and you’ll need to fight through the first two phases once again. When you’ve finally dealt enough damage to the boss, it will explode, and you can head out of the cave victorious.