Best Call of Duty: Warzone Season 3 loadouts
Prepare the best equipment before you drop.
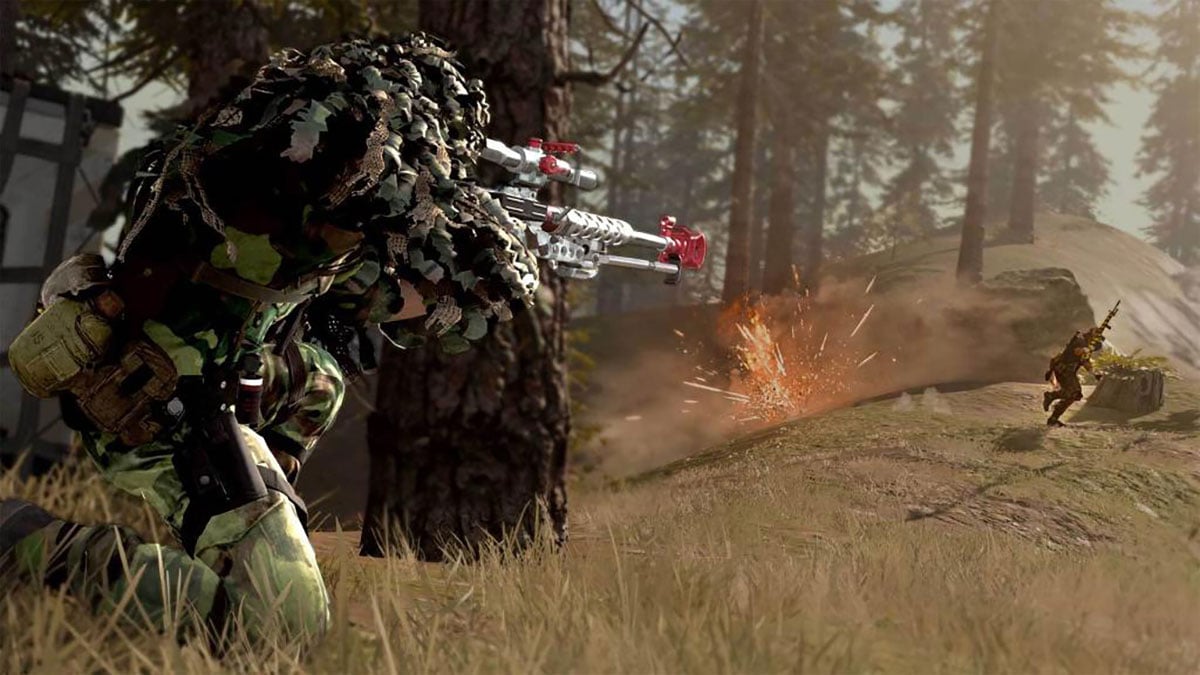
Image via Activision
Call of Duty: Warzone Season 3 has arrived, and with it, a handful of nerfs were given to several popular weapons, such as the AUG, M16, and the FFAR. With these previously beloved guns getting the boot, players have become much more creative with what they use in Warzone to dominate the game. Most of the time, you’ll have to grab whatever weapons you can and hope for a loadout drop to appear. When it does, we have a few recommendations of what type of loadouts you need to have prepared.
More often than not, you’ll be replacing a lot of your lethal and tactical equipment throughout the match, but we have a few recommendations of what you can start with. Don’t take those to heart, though. The best lethal and tactical equipment all comes down to personal preferences and how you use them.
Best Season 3 loadouts
Kilo 141 and Diamatii
- Primary: Kilo 141
- Muzzle: Monolithic Suppressor
- Barrel: Slinguard Arms 19.8 Prowler
- Optic: VLK 3.0x Optic
- Underbarrel: Commando Foregrip
- Ammunition: 60 Round Mags
- Secondary: Diamatti
- Muzzle: Agency Suprressor
- Barrel: 7.2” Task Force
- Laser: SWAT 5mw Laser Sight
- Stock: Dual Wield
- Ammunition: Salve 30 Rnd Fast Mag
- Lethal: C4
- Tactical: Stim
When you want to fire at enemies from a distance, you can always rely on the Kilo 141. With the Monolithic Suppressor, it’ll be difficult for enemies to pinpoint your position, and the other attachments will make it easier to control the weapon. If you have to fight close quarters and don’t have time to reload, the Diamatti burst pistol is a dependable sidearm that you can mow down several opponents, especially when dual wielding this weapon.
For the final choices when it comes to lethal and tactical equipment, we recommend C4 and the Stim. The C4 can always protect a one-way entryway or toss-up into a window on the second floor. The stim is a handy addition to give you a burst of health and even more running potential.
Krig 6 and .357
- Primary: Krig 6
- Muzzle: Agency Suppressor
- Barrel: 19.7” Ranger
- Optic: Axial Arms 3x
- Underbarrel: Field Agent Grip
- Ammunition: Salvo 50 Rnd Fast Mag
- Secondary: .357
- Barrel: .357 Long
- Laser: 5mW Laser
- Trigger Action: Lightweight Trigger
- Ammunition: Snake shot
- Perk: Akimbo
- Lethal: Molotov Cocktail
- Tactical: Stun Grenade
The Krig 6 is a handy assault rifle, and you can expect it to remain useful at close, medium, and long range. You can expect to take down enemies after a brief burst, but you want to keep your aim as center as possible. The agency suppressor will improve your recoil control and increases your bullet velocity, along with the 19.7” ranger barrel. For your secondary, the .357 is a hefty beast that can decimate enemies that enter close quarters with you, but you’ll only want to use it in desperate situations.
The molotov cocktail and the stun grenade can be useful in most engagements. The stun grenade has the chance to surprise any enemies you’re about to attack, and the molotov cocktail can stop them from rushing to a particular area, or it can act as a funnel, based on how you use it.
FARA 83 and M19
- Primary: FARA 83
- Muzzle: Agency Suppressor
- Barrel: 15.5” Contour
- Optic: Axial Arms 3x
- Underbarrel: Field Agent Grip
- Ammunition: Salvo 60 Rnd Fast Mag
- Secondary: M19
- Muzzle: Monolithic Suppressor
- Laser: 5mW Laser
- Trigger action: Lightweight Trigger
- Ammunition: 32 Round Mags
- Perk: Akimbo
- Lethal: Frag Grenade
- Tactical: Smoke Grenade
The FARA 83 is becoming increasingly popular in Call of Duty: Warzone’s Season 3. You can expect to see more players using and experimenting with it as they try to find a more effective arrangement. If you’re trying it out for the first, we highly recommend using it with the above attachments. The 15.5” contour will primarily be used for the strafe speed, and the agency suppressor helps returns the weapon’s bullet velocity to normal as the contour brings it down by 30%. The fast mag reduces the time it takes to reload the weapon, and the field agent grip will keep your horizontal recoil under control. We recommend the M19 with the monolithic suppressor, lightweight trigger, and the Akimbo perk as a secondary weapon.
For your lethal and tactical equipment, we recommend the frag and smoke grenade. The smoke grenade is always useful to make it more difficult for your allies to be seen when crossing through an open area, or you can make it harder for enemies to see through a window. The frag grenade is always a solid choice that you can always find useful during firefights.