How to use photo mode in Assassin’s Creed Valhalla
Time to take some stunning shots of Dark Age England.
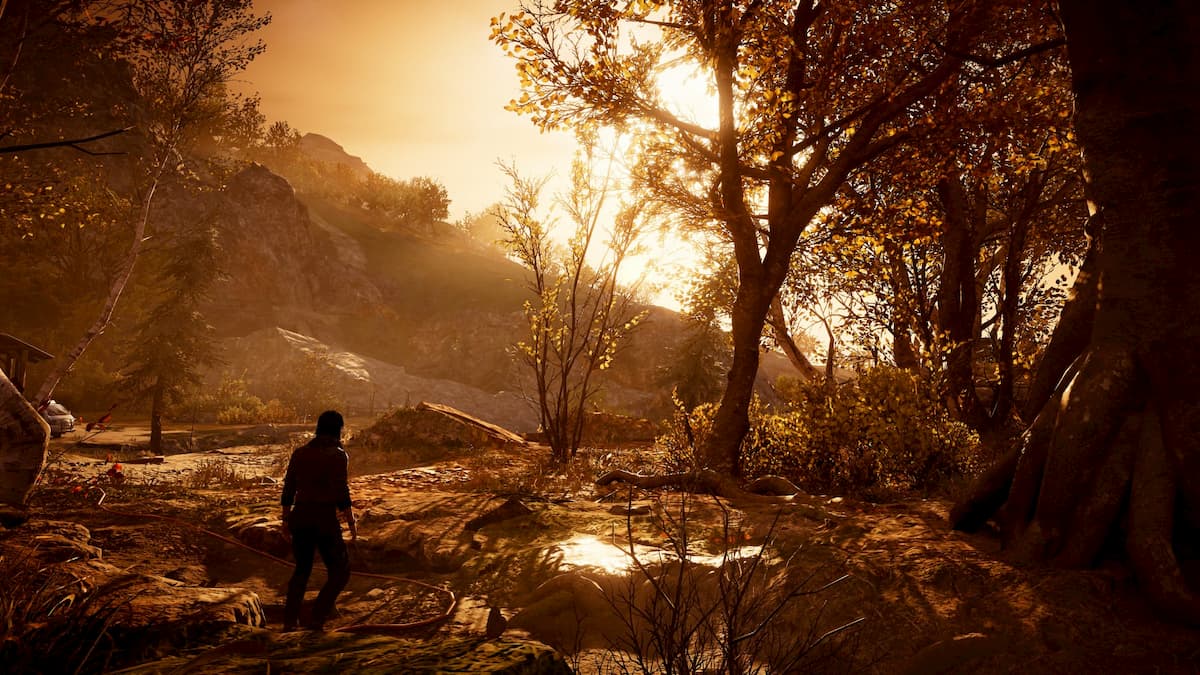
After receiving feedback from the fans, Ubisoft decided to reduce the size and length of Assassin’s Creed Valhalla as compared to the past two titles in the franchise. While it might not be the largest or lengthiest Assassin’s Creed game, it is definitely the best-looking title.
From the lighting and shadows to the overall texture quality, Ubisoft has done a stellar job in making the game visually appealing, without using ray-tracing. With such a beautiful world available for players to explore, the Photo mode becomes an absolute necessity. Thankfully, it is present in the game.
Accessing the Photo mode is quite easy. First, you need to go to the Options menu and check if Photo mode is enabled under the Gameplay tab. Once you have photo mode enabled, you can simply go back in-game and press the F3 key on your keyboard (L3 + R3 on the controller) to access the Photo mode.
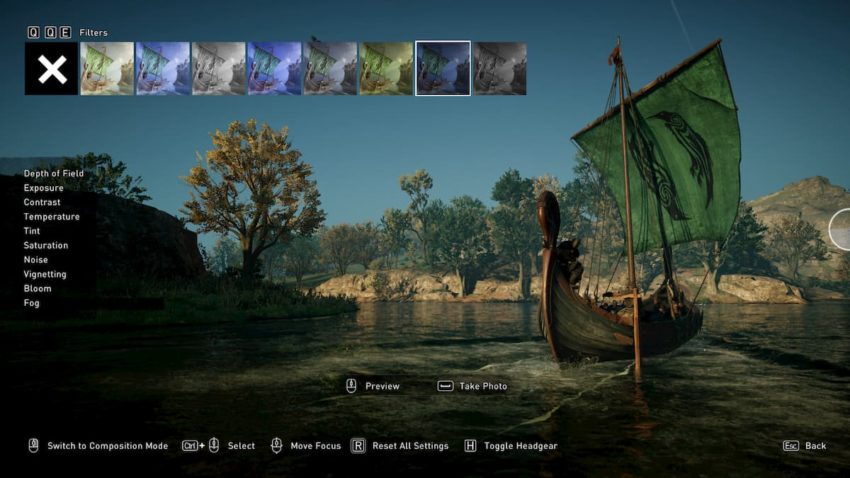
While this might not be the best Photo mode out there, it still does a pretty fine job. You get several options to choose from to grab the perfect shot. Apart from the camera orbit, offset and angle adjustments, there is an Edit mode as well.
The Edit mode allows you to change the colors and filters of the photo. There is a wide range of options, including depth of field, saturation, bloom, and even fog, which you can increase or decrease as per your liking. You can toggle between Edit mode and composition mode (which allows you to change the camera) with the right mouse button (R3 on the controller).
Once you have the perfect setting per your liking, you can press Spacebar (X/A on the controller) to take a photo. The photos get saved in Documents/Assassin’s Creed Valhalla/Photos directory on your PC.